


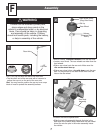

Assembly
8
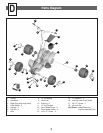
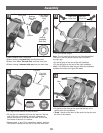
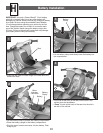
• Fit a cap nut on the end of the rear axle.
• Fit the cap nut assembly tool over the cap nut. Tap
the end of the cap nut assembly tool with a hammer
to secure the cap nut on the end of the rear axle. Pull
on the rear wheel to be sure it is secure.
Hint: You may need the help of another adult to support
the other end of the rear axle while you tap the cap nut.
•Turn the vehicle upright.
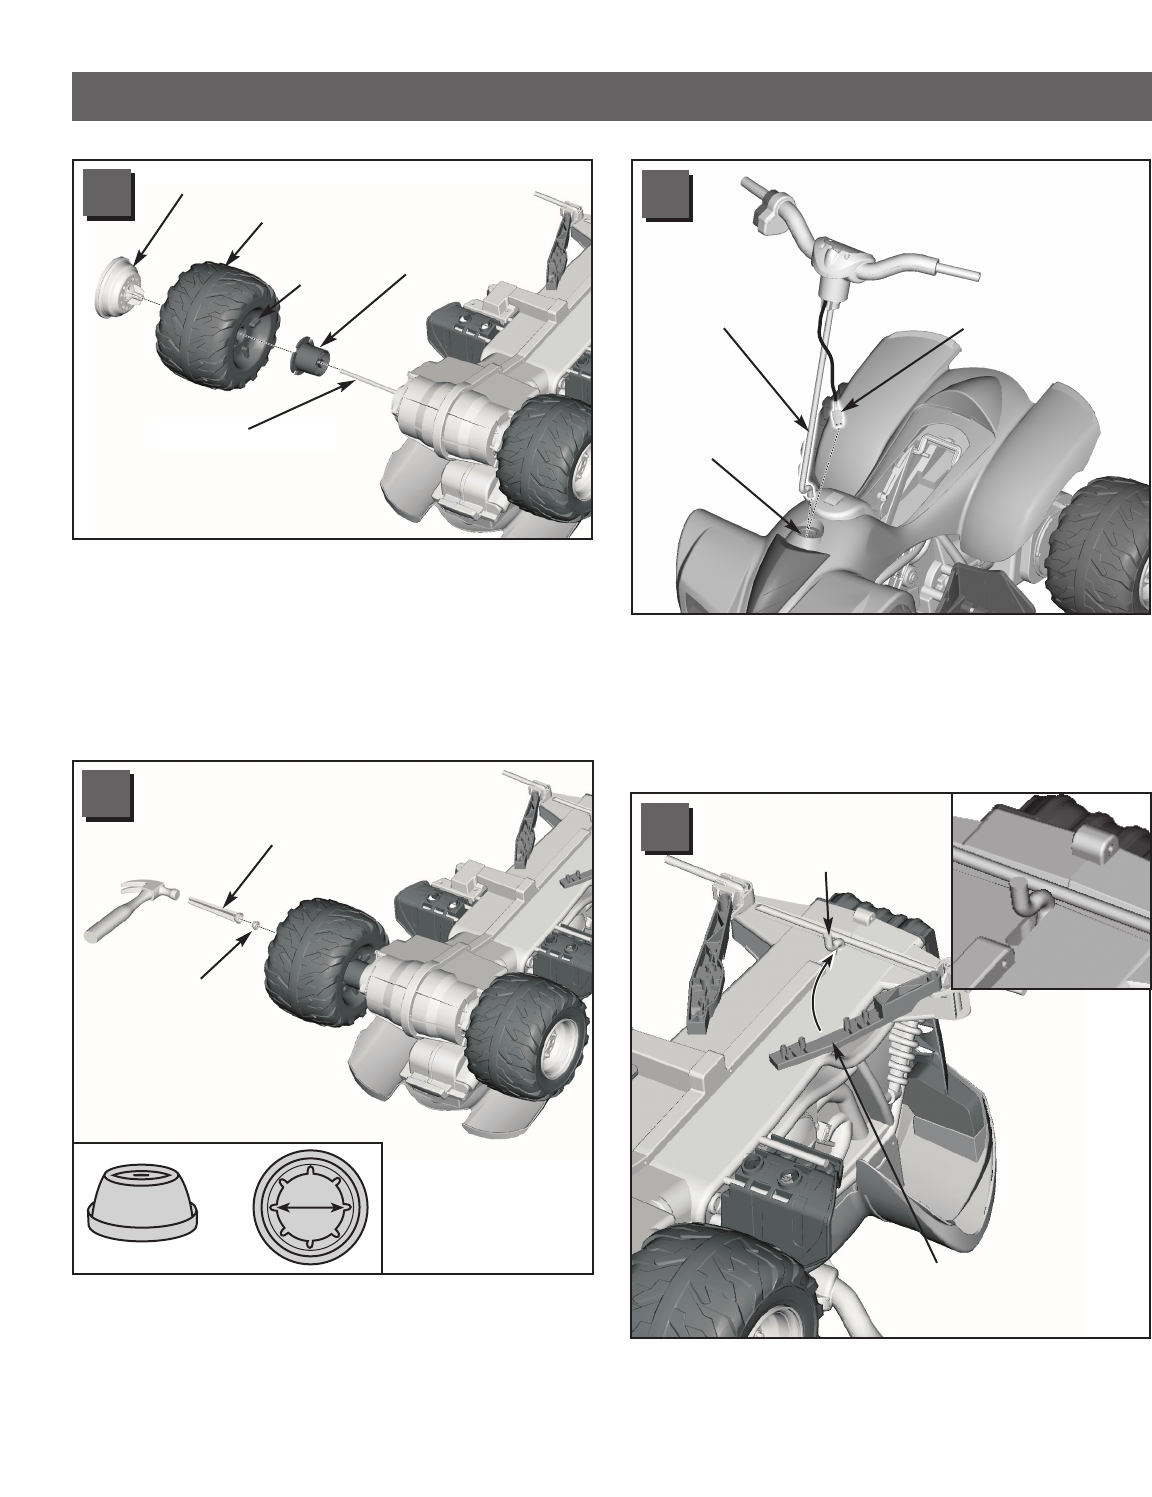
5
• First, fit the handlebar steering column and the
handlebar connector down through the large opening
in the front end of the vehicle.
• Now, lift the front of the vehicle slightly and push down
on the handlebar assembly to “snap” it in place.
6
Cap Nut
Steering
Column
Handlebar
Connector
Large
Opening
Cap Nut
Assembly Tool
.437"
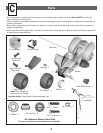
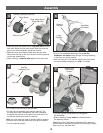
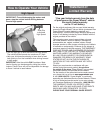
• Slide the other rear wheel driver, ring side out, onto the
rear axle. Make sure the rear wheel driver fits onto the
pins in the motor assembly inside the vehicle.
• Slide the other rear (wider) wheel onto the rear axle.
Make sure the ribs on the rear wheel fit into the grooves
on the rear wheel driver.
• Slide a hubcap, indented side out, onto the rear axle.
4
Rib
Rear Wheel
Rear Wheel Driver
(Ring Side Out)
Hubcap (Indented Side Out)
Rear Axle
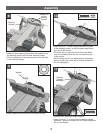
•Turn the vehicle upside-down and straighten
the handlebar.
• Slide a steering linkage under the hooked end of
the steering column.
Hint: Only one of the steering linkages will fit under the
hooked end of the steering column. If the steering linkage
does not fit, try the other one.
7
Steering
Linkage
Hooked End
of Steering
Column