TO USE JUMP SEAT
WARNING: Please follow all
of these instructions to ensure the safety
of your child. Keep these instructions for
future reference.
To Use Jump Seat you must remove the rear seat.
STEP ONE: REMOVING THE REAR SEAT
1. Unsnap Rear Canopy buttons from the back of the rear seat.
2. Remove the rear canopy by sliding the square ttings upward until
they disconnect from the frame.
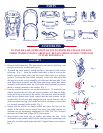
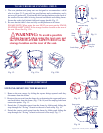
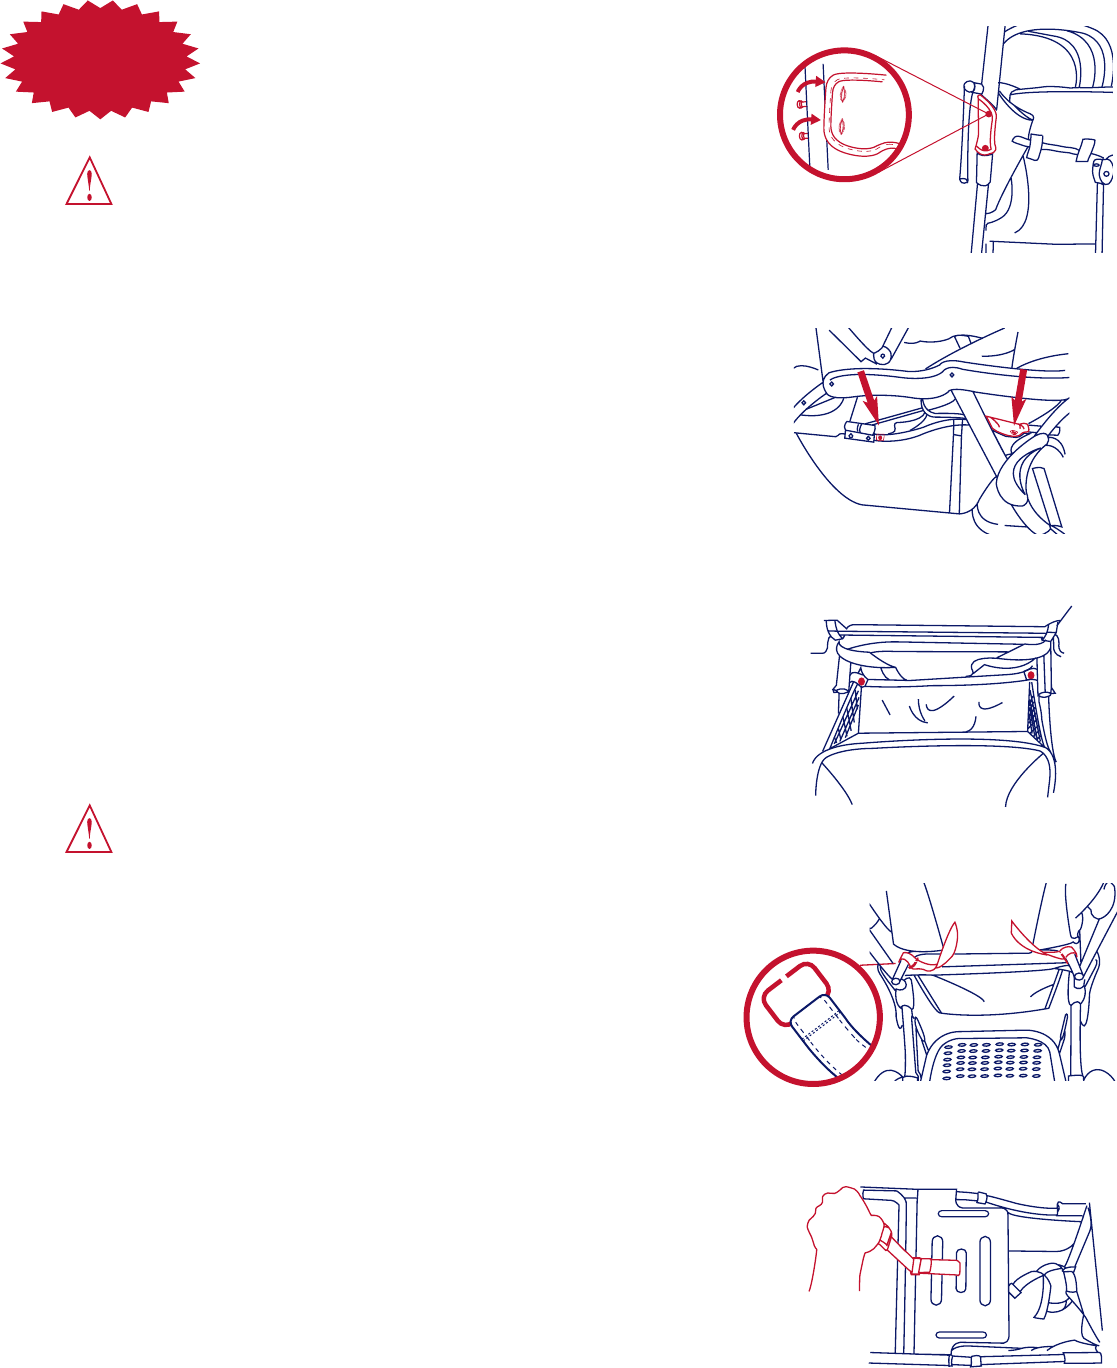
3. Remove the rear seat from the frame by unbuttoning the upper and
lower seat back fabric from the frame (Fig. 13 & 14) and unsnapping
both front connection points (Fig. 15).
4. Detach the (2) shoulder straps from the frame by folding and sliding the
strap through the “D-Ring” located on the end of each strap (Fig 16).
5. Remove Rear Seat.
ATTENTION: Crotch strap will t through the bottom of the Rear Seat, do
not remove crotch strap.
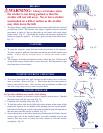
WARNING!!! Do not use jump
seat at this point. The harness strap must
be adjusted before proper and safe use
can commence. Read below for harness
adjustment.
STEP TWO: ADJUSTING SAFETY HARNESS
1. Disconnect straps on jump seat that run underneath the Jump Platform.
2. Remove Jump Seat Pad. Crotch Buckle will t through provided
slots. DO NOT REMOVE crotch Buckle.
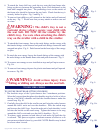
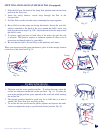
3. Pull Crotch Buckle towards the rear of the Sit N Stand so that the buckle
will be orientated closer to the edge of the jump platform (Fig. 17).
STEP THREE: INSTALLING JUMP SEAT PAD
1. Feed Crotch Buckle through provided slot closer to the edge of the
Jump Pad.
2. Slide the pad over the front of the Jump Seat platform and into the
front pocket of the Pad cover.
3. Fold the Pad over the seat and secure the connecting velcro straps
together.
Upper
Lower
Snap point
Fig. 13
Fig. 14
Fig. 15
Fig. 16
Fig. 17
Updated Release 04/18/08
D-ring
Attention


