29
RQT9038
HDMI connections (continued) Page
Card
Other difficulties with playback
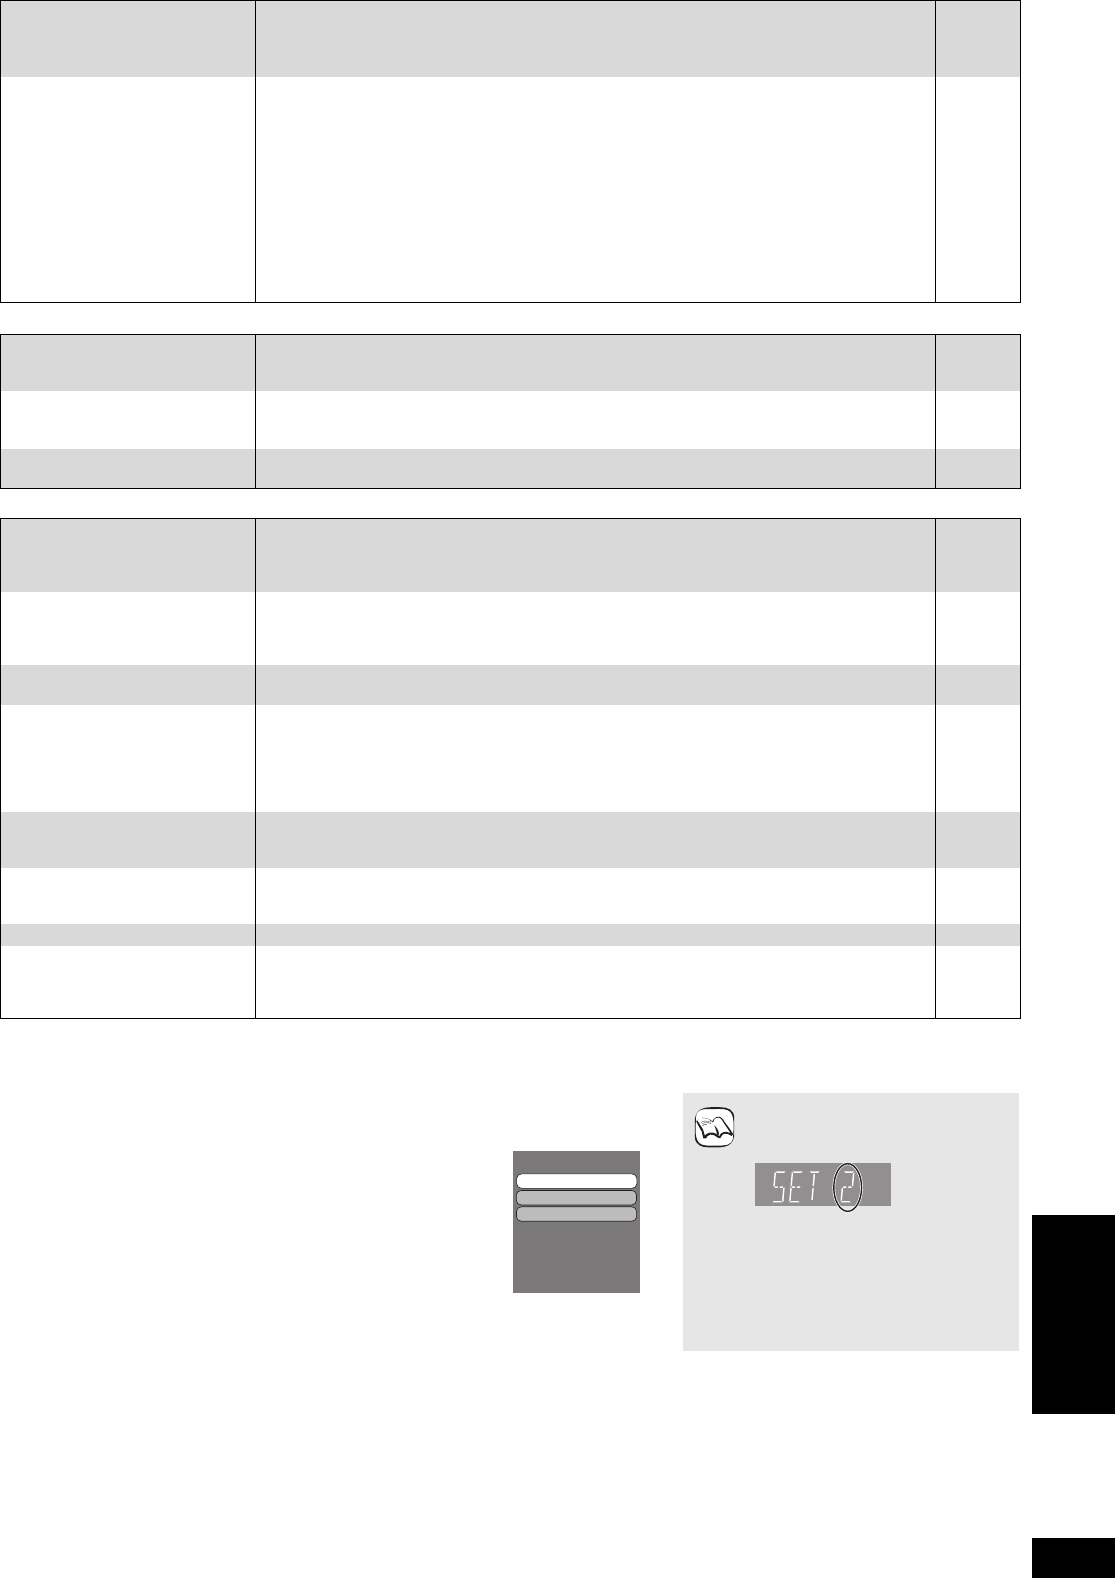
When other Panasonic products respond to this remote control
Change the remote control code on the main unit and the remote control (the two must match) if you place other Panasonic products close
together.
When playing DVD-Video using
progressive output, one part of
the picture momentarily
appears to be doubled up.
≥When you use the HDMI AV OUT terminal for video output, follow the steps below for setting.
1 Connect this unit to the TV with any cable except the HDMI cable.
2 When you connect with the Component Video cable, set “HDMI Video Mode” to “Off” and
“Component Resolution” to “576i/480i” in the Setup menu.
24
No sound.
Low volume.
Distorted sound.
Cannot hear the desired audio
type.
≥Audio may not be heard when more than 4 devices are connected with HDMI cables.
Reduce the number of connected devices.
≥The sound effects will not work when the bitstream signal is output from the HDMI AV OUT
terminal or the DIGITAL AUDIO OUT terminal.
≥To output audio from a device connected with an HDMI cable, set “HDMI Audio Output” to
“On” in the Setup menu.
≥If the sound is distorted when the unit is connected to an amplifier/receiver with an HDMI
cable, adjust the settings in “Speaker” in the Setup menu to match the connection.
≥Depending on the connected equipment, the sound may be distorted if this unit is connected
with an HDMI cable.
≥When “BD-Video Secondary Audio” is set to “On”, Dolby Digital Plus, Dolby TrueHD, and
DTS-HD are converted to 48 kHz Dolby Digital and output. LPCM 7.1 channel audio is
converted to 5.1 channel audio. In this case, set the “BD-Video Secondary Audio” to “Off”.
—
—
24
25
—
23
The capacity of the SD card
decreased.
≥When a BD-Video that supports the virtual package is used, and an SD card is in the slot,
data may be written to the SD card. Erase the data by using “BD-Video Data Erase”, format
the card or use a new card.
13
MPEG-2 motion pictures and
music on an SD card cannot be
played.
≥Data that can be played from an SD card are AVCHD and JPEG data.
5
The contents of the card
cannot be read.
≥The card is not compatible or the contents on the card may be damaged.
≥Turn off and then turn on the unit again.
5
—
Audio and video momentarily
pause.
≥This occurs between playlist chapters or scenes ([AVCHD]).
≥When playing a title recorded on both layers, the unit automatically switches between layers
and plays the title in the same way as a normal programme. However, video and audio may
momentarily cut out when the unit is switching layers.
—
—
BD-Video or DVD-Video is not
played.
≥Ensure the disc is for the correct BD-Video region code or DVD-Video region number, and is
not defective.
≥You have set a ratings level to limit BD-Video or DVD-Video play. Change this setting.
≥Some BD-Video can only be output with HDMI.
Cover
22
—
Picture-in-picture is not played
with BD-Video.
≥Confirm whether the disc supports picture-in-picture.
—
The virtual package
is not played with BD-Video.
≥Confirm whether the disc supports the virtual package.
≥The inserted SD card does not have sufficient available capacity.
≥The SD card is write-protected.
≥Sub contents copied to an SD card are provided by the disc producer as a part of the
BD-Video content. Even if you record images and audio onto an SD card, it cannot be played
as a virtual package.
13
—
5
13
Alternative soundtrack and
subtitles cannot be selected.
≥The languages are not recorded on the disc.
≥You may not be able to use the on-screen menu to change the soundtrack and subtitles on
some discs. Use the disc’s menus to make changes.
—
11, 13
No subtitles. ≥Subtitles are not recorded on the disc.
≥Turn the subtitles on. Set “Subtitle” on the on-screen menu to “On”.
—
20
Angle cannot be changed. ≥Angles can only be changed during scenes where different angles are recorded. —
The resume play function does
not work.
≥Memorized positions are cancelled when
–pressing [∫] several times.
–opening the disc tray.
≥The resume play function may not work depending on the disc.
—
—
1 Press [SETUP].
2 Press [3, 4] to select “General” and press [OK].
3 Press [3, 4] to select “Remote Control” and
press [OK].
4 Press [3, 4] to select the code (1, 2, or 3) and
press [OK].
5
To change the code on the remote control
While pressing [OK], press and hold the
numbered button ([1], [2] or [3]) for more than
5 seconds.
6 Press [OK].
NOTE
When the following indicator
appears on the unit’s display and
you are unable to operate the unit
The unit’s remote control code
Press and hold [OK] and the
indicated number button at the same
time for more than 5 seconds.
Set Code 1
Set Code 2
Set Code 3
Remote Control
Press
[
n
]
and
[
OK
]
together
for more than 5 seconds on
the remote.
Reference
DMP-BD30EG-RQT9038_eng.book 29 ページ 2008年1月26日 土曜日 午後7時49分
