Installing Or Replacing Parts And Accessories
Installing A Device In A Front Access Bay
Chapter 6
136
Installing A Device In A Front Access Bay
1. Switch off the display and workstation. Disconnect all power cables and any LAN or
telecommunications cables.
2. Remove the workstation’s cover and front upper bezel (refer to page 138 for
instructions).
3. Depending on the device to be installed, either:
a. Remove the snap-in 5.25-inch metal filler plate.
Through the round filler plate opening located on the left-hand side of the filler
plate, use your index finger to pull the plate from the workstation chassis.
b. For 3.5-inch installations, use a flat blade screwdriver to break off the 3.5-inch
metal filler plate from the workstation chassis; first from one side then the other.
CAUTION Be very careful not to hurt your fingers when you remove the filler plates.
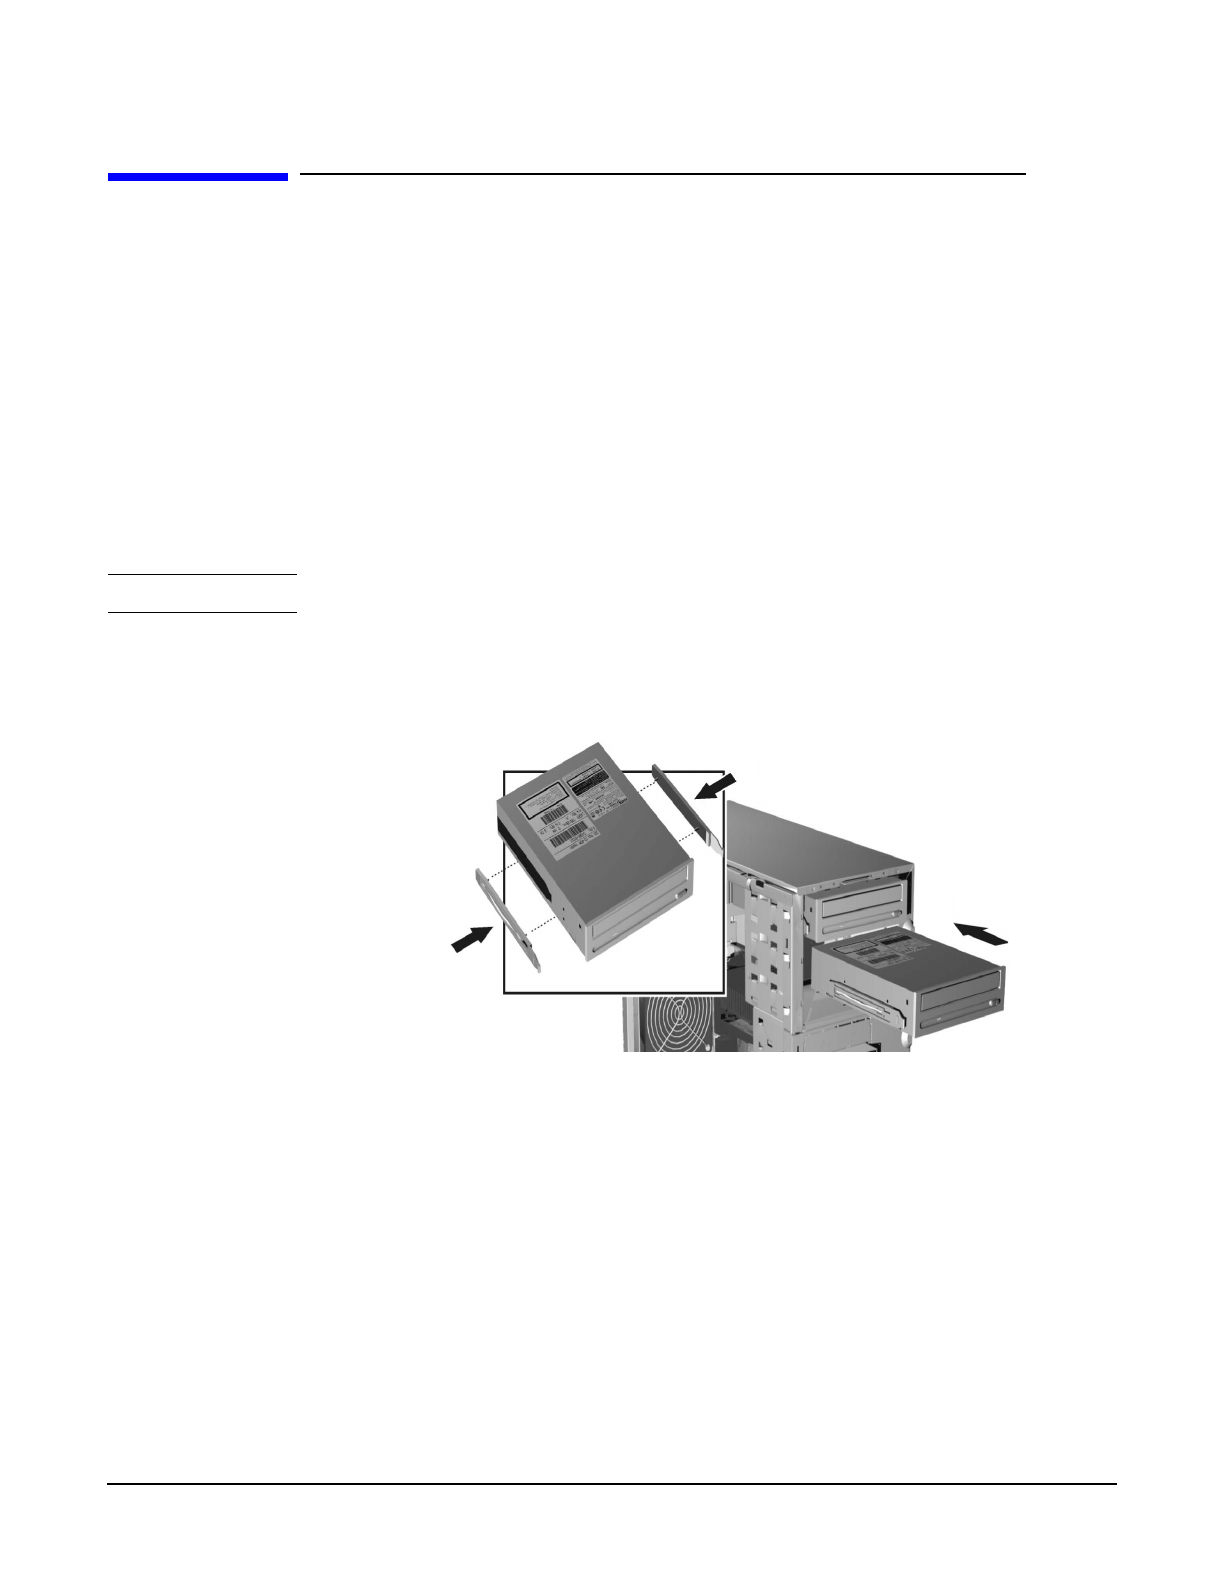
4. Align the guide rails on both sides of the drive with the internal shelf guides and
then slide the drive in until it clicks into position. See Figure 6-11.
Figure 6-14 Attaching the Rails and Installing the Drive
5. Connect the power and data cables to the installed device. The connectors are shaped
to go in one way only. If you are not sure which connector to use, refer to “Mass
Storage And Optical Device Overview” on page 125.
4
5
