22
E
Mastering
the Basics
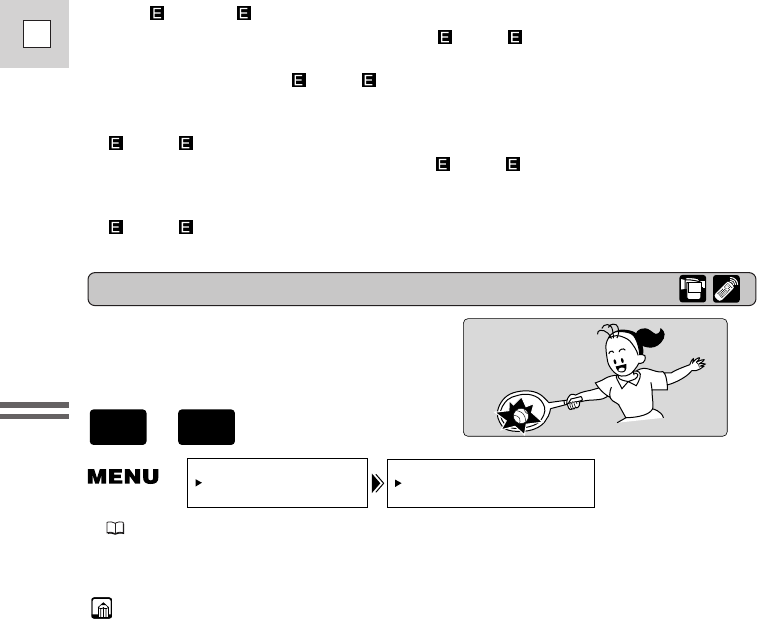
16:9 (Wide screen TV recording)
Produces images in the 16:9 format for
playback on wide screen TVs.
To switch 16:9 to ON, open the menu and select CAM.SET UP. Then
select 16:9, set it to ON and close the menu.
Notes:
• “16:9” is shown in the display when you switch the 16:9 mode on.
• You cannot use the 16:9 mode with the Easy Recording program.
• You cannot use the multi-image screen when setting the 16:9 mode on.
• If you play back a recording made for 16:9 on a normal TV screen, the image
will appear to be vertically “squashed” (compressed).
• If you connect the camcorder to a TV with an S1 terminal or the Video ID-1
system, recordings made in the 16:9 mode for wide screen TVs will
automatically play back in wide screen mode on the TV screen.
16:9••••••••OFF
CAM.SET UP
( 37)
+
About SP and LP modes
• The image quality of recordings done in SP or LP modes will be lower
than that of those done in SP or LP modes.
• A cassette recorded in SP or LP mode cannot be played back on a
camcorder not equipped with that mode.
• The recording mode might not appear in the display correctly if you switch to
SP or LP while the camcorder is connected to another digital video device.
• When the recording mode is changed to SP or LP, the camcorder modifies
the image for appropriate recording in that mode.
• You might not be able to do DV dubbing correctly with the camcorder set to
SP or LP mode.
2_OPTURA100 MC_E(09-35) 7/24/01 13:31 Page 22


