4
Painting and Staining
It may seem strange to begin an instruction
manual with directions for applying the fin-
ishes to the model. Not so! Much time and
effor
t can be saved and a more professional
result can be obtained if the finishing process
is carried out during construction. Proper
timing in application of finishes and the use
of masking tape to define painted edges
should eliminate unsightly glue marks and
splotchy stained surfaces. In the end, follow-
ing these general suggestions will be to your
advantage.
Paint Colors:
At the time of Dapper Tom, 1815, colors
were largely determined by economics. Reds,
yellows, and grays were cheap mineral colors,
hence more common. White lead was com-
ing into use but was still expensive.
A suggested color scheme for
Dapper Tom
is as follows:
Hull Above the Waterline - Black with a
cream stripe at gunport level. Painting the
Wale strip cream will do the trick.
Hull Bottom Below Waterline - Pale
Green to represent weathered copper. A thin
wash of black over the green will enhance
the weathered look but do not overpower
the green.
Deck Planking - Natural or a light tan stain
such as pine.
Inside Bulwarks (including the stan-
chions) , Waterways, Top of Skylight,
Hatch Gratings, Transom Cap Rail & Side
M
ouldings, Inside Transom & Counter
-
Light Buff
Hatch Coamings, Galley Funnel Coam-
ing, Pin Rails, Bitts, Channels, Catheads,
Skylight Sides, Gun Carriages, Anchor
Stock
- Dark Reddish Brown (preferred) or
White (second choice)
Stern Decoration - Gold stars.
Masts & Spars - Pine Stain.
Mast Doublings, Tops, Rudder Tiller,
Galley Funnel, Gaff Jaws, Bowsprit Cap,
Bulwark Cap Rails, & Gun Carriage
Wheels - Black.
Cannon Barrels & Anchors - Iron Black.
Capstan - Black top & Dark Reddish
Brown barrel.
Paint:
Use a flat-finish paint. Model Shipways line
of acrylic paints are available in the recom-
mended colors. You may also purchase an
alr
eady assembled
D
apper Tom
paint kit
fr
om Model Expo
at www.modelexpo-online.com.
Primer:
Use a grey primer (one is provided with the
Model Expo Dapper Tom paint kit.) The grey
color will highlight sanding scratches and
other defects better than white primer. Prime
all woodwork to be painted, and prime all
metal fittings. Lightly sand the primed
items. Use a spackling compound such as
Pic-n-Patch brand to fill any scratches and
defects, then re-prime.
Stains & Finishes:
For natural finished wood, use a protective
coating after staining, such as low-sheen
polyurethane varnish. You can also use an
oil-r
esin mix like the ones sold b
y Model
E
xpo or M
inwax.
F
or the deck and spars, M
odel E
xpo stain or
Minwax can be used. These are a combina-
tion stain-finish that will pr
o
vide a light tone
to the wood. The deck plank scores can be
darkened with any dark color to simulate
caulking. It would be best to first varnish the
sur
face, wiping the dark color into the
scores, the wipe the surface of the planks
clean. You can also run a sharp No. 2 pencil
down each groove, then varnish.
The staining of all wood parts should be
done before gluing, especially if any CA glue
is used. Glue will leave ugly white areas in
the finish, and the stain will not penetrate
these areas.
Brushes & Procedures:
Use good quality soft sable or synthetic hair
artist’s brushes. A small pointed brush is
good for details. For the main hull areas, use
a 1/4" to 1/2" flat brush.
Before painting, clean the model with a tack
rag. Apply your paint in smooth and even
strokes, overlapping them as you go. Thin
the paint enough to eliminate brush strokes,
but not run. You will need three or four
coats of the light colors to cover the grey
primer and maybe only two coats of the
dark. Check your finish between coats and
sand and add spackle as necessary to get rid
of any blemishes.
You will be told how to mark the waterline
location in Stage A. At this line, and any-
where else two colors meet, use masking
tape. Electrician’s black plastic tape or any of
the hobby tapes made of plastic film are
ideal. They leave a nice edge and are not
overly sticky. Do not use drafting tape unless
it is Chart-pak brand. The edges are some-
what wrinkled and paint may run under
them. A good trick; seal the edge of masking
tape with a clear flat finish and let dry thor-
oughly. This will really prevent paint from
r
unning under the tape.
STAGE A: SHAPING THE PRE-CARVED HULL
Sanding alone will not shape the hull
enough to pr
ecisely match the hull lines.
Some carving is required, especially at the
rail, keel, bow, & stern areas.
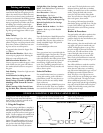
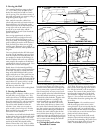
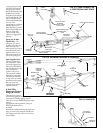
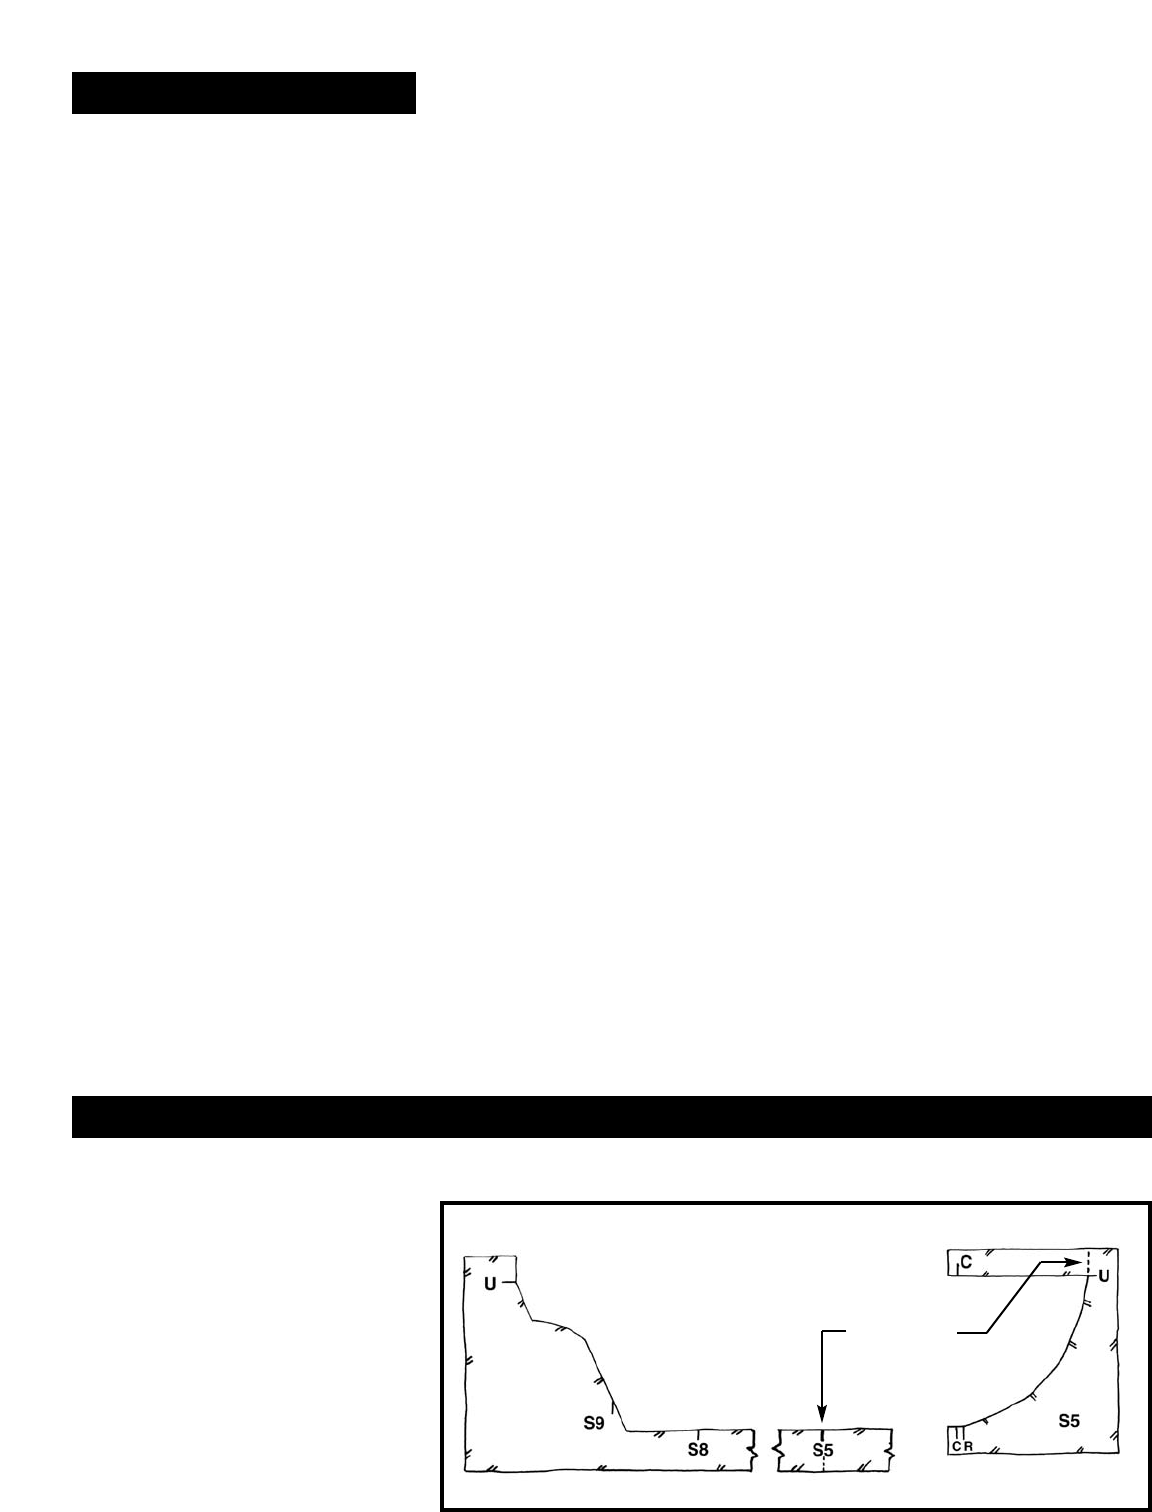
1. Using the Templates
For exact carving to hull lines, a template is
r
equir
ed for the hull profile and each of the
nine stations (Figure A-1). You will find a
template set printed on heavy stock paper in
the kit. C
ut the templates out carefully with
a No. 11 hobby knife. Do not use scissors!
You will want a nice smooth edge.
O
ption-The pr
ofile template can be cut at
Station 5 to make fitting easier. Just make
sure you have the keel straight and don’t
build in a knuckle. Like
wise, the station
templates can be cut at the bulwark. If you
do this, mark the width of the hull at each
station on top of the bulwark beforehand
and carve to these marks.
FIG. A-1 KIT TEMPLATES
OPTIONAL CUT
(SEE
TEXT)
STATION
PROFILE


