


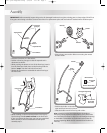
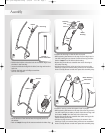
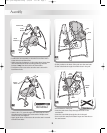

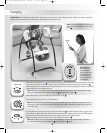
• Place the front base on a flat surface.
• Position a front leg (longer) so that the tapered end is
downward, as shown.
• While pressing the button on one of the front legs, insert it
into the front base. Push down on the front leg until the
button “snaps” into the hole in the front base.
• Repeat this procedure to assemble the other front leg to
the front base.
Front Base
Tapered End
Tapered End
Front Legs
(Longer)
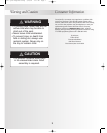
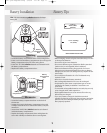
IMPORTANT!
Before assembly,inspect this product for damaged hardware, loose joints, missing parts or sharp edges. DO NOT use
if any parts are missing or broken. Contact Fisher-Price® for replacement parts and instructions if needed. Never substitute parts.
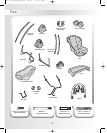
Assembly
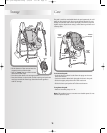
• Using scissors, remove the ribbon connecting the remote
and the holder.
4
Press
Button
Press
Button
Remote
Holder
Ribbon
1
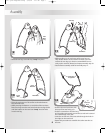
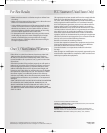
• While standing on the front base, pull the front legs up.
The front legs should remain secured to the front base.
If you can remove the front legs, you have not assembled
them correctly to the front base. Reread and repeat
assembly step 1.
Front Legs
Pull Up
Pull Up
Front Base
2
3
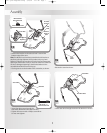
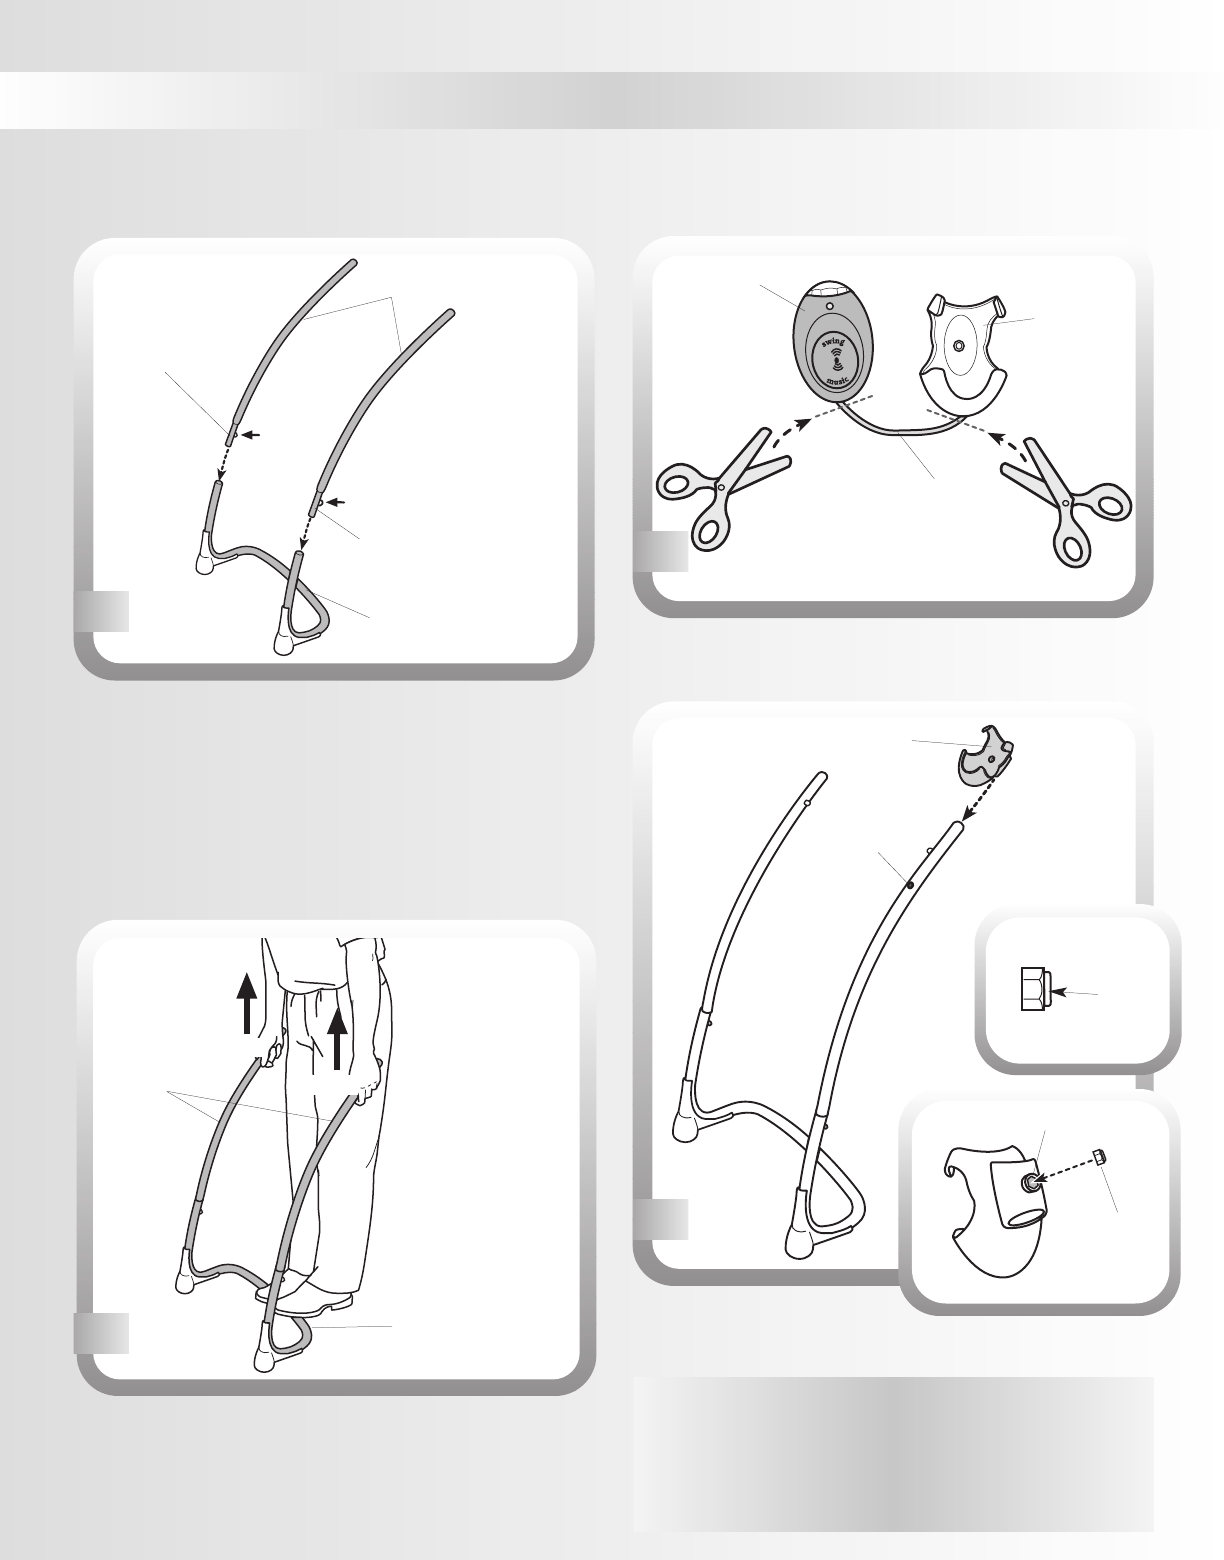
• Position the holder so that the
open end faces forward, as shown.
• Slide the holder onto the front leg with a hole.
Holder
Front
Leg Hole
4
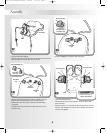
Shown Actual Size
M4 Lock Nut
Rounded
Side
M4 Lock Nut
(Rounded
Side Out)
Hexagonal Opening
Hint: An M4 lock nut has been assembled to the holder at
the factory.During shipment of this product, it may have fallen
out. Check to be sure there is a lock nut in the hexagonal opening
on the holder. If it has fallen out, fit the lock nut back into the
hexagonal opening.Make sure the rounded side of the lock nut
faces out.
B0323 Quick Response Swing 9/24/02 1:03 PM Page 4