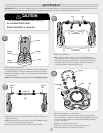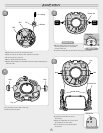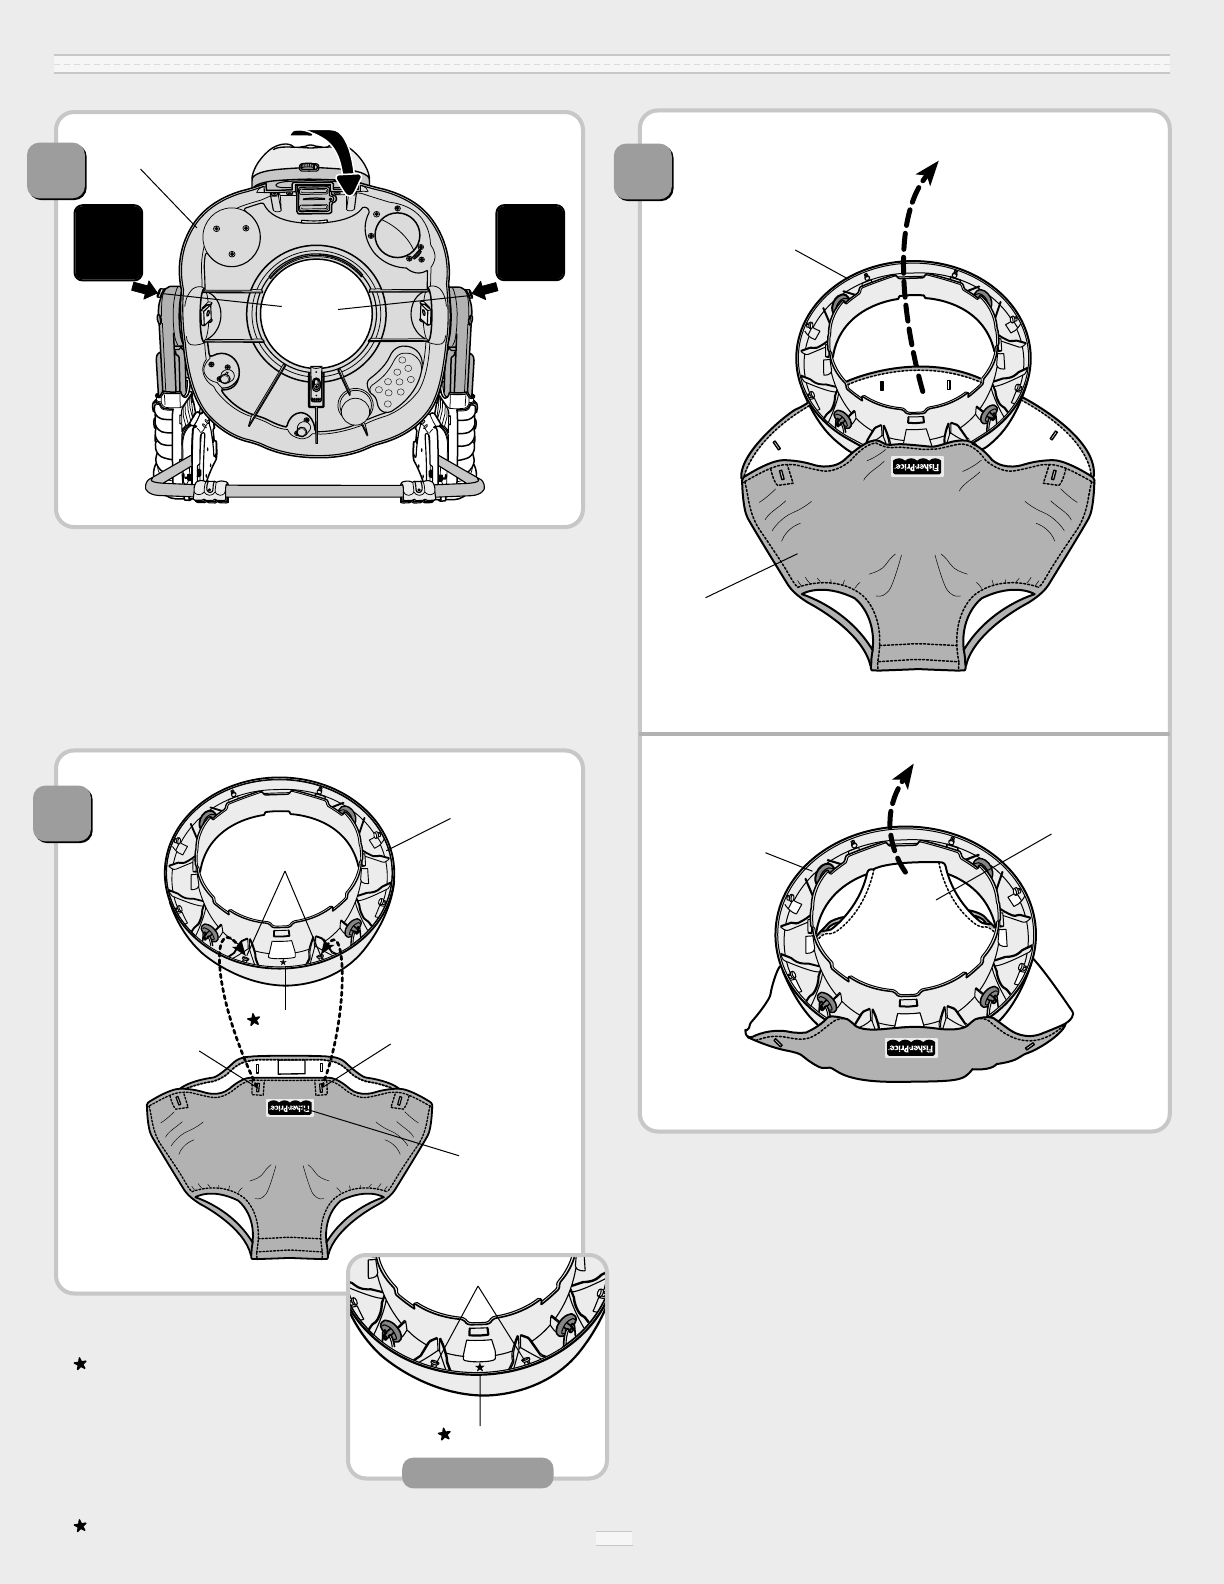
• While pressing the upper buttons on both sides of the base, rotate
the tray down until it "snaps" into position. Make sure you hear
a "snap".
IMPORTANT! If the tray does not “snap” into position, you
have assembled the tray to the frame backwards. Remove the
M5 bolt, retainer and M5 lock nut from the frame and tray.
Carefully lift the tray from the round wells in the frame.
Re-read and repeat Assembly steps 7-9.
OFF
SP
LP
12
Upper
Buttons
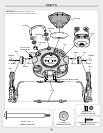
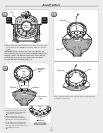
• Position the seat ring so that the
inside (ribbed side) is up and the
marking is toward you.
• Position the pad so that the
Fisher-Price® logo is facing you
(although it will be upside down!)
• Fit the red slots on the pad (next
to the Fisher-Price® logo) to the
seat ring pegs on either side of the
marking, as shown.
13
Seat Ring
Ribbed
Side
Marking
Fisher-Price
®
Logo
Pegs
Red Slot
Red Slot
Pegs
Tray
7
Press
Upper
Button
Press
Upper
Button
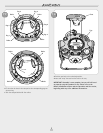
• Pull the pad through the seat ring and wrap the pad around the
outside of the seat ring.
14
Pad
Pad
Seat Ring
Seat Ring
Marking
Top View
ASSEMBLY


