


Page 22
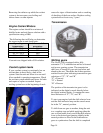
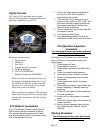
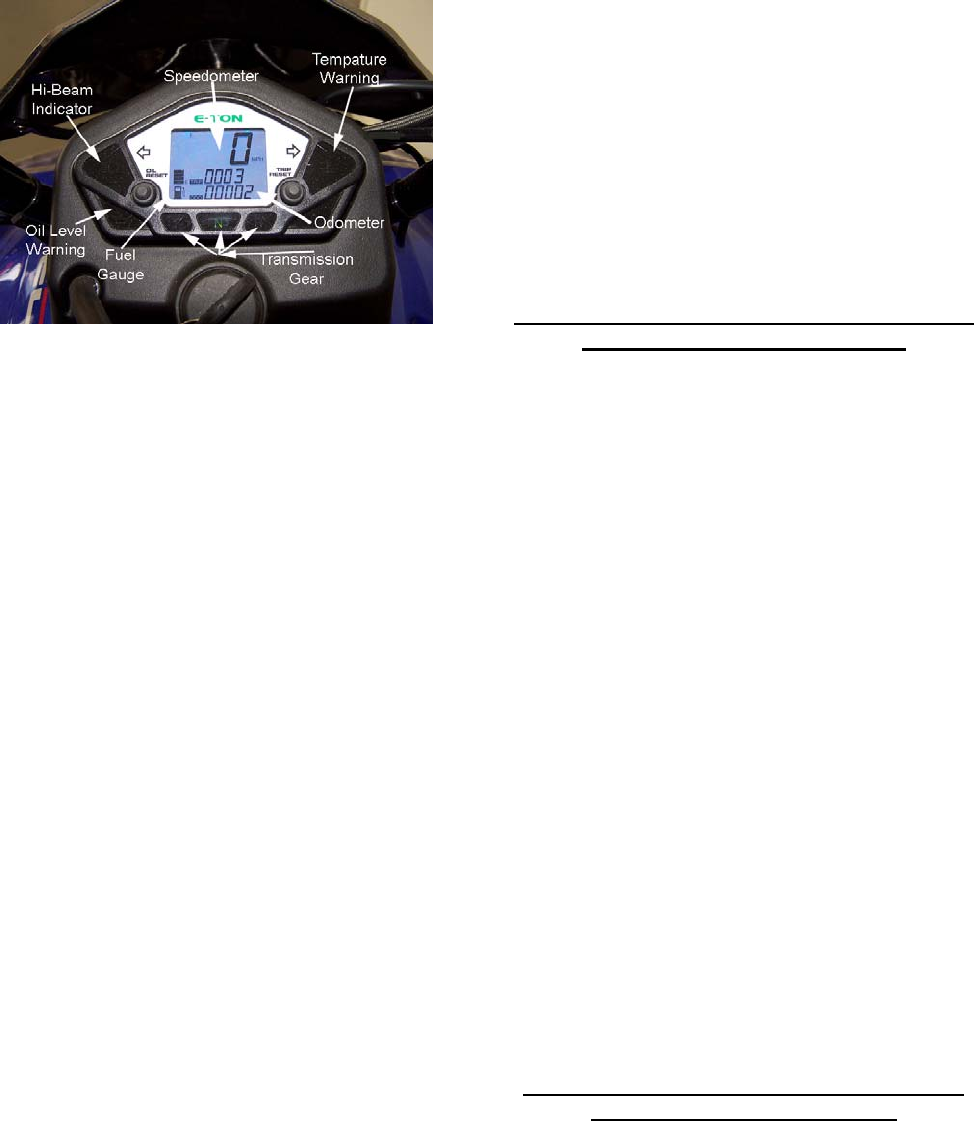
Digital Console
The Vector 250 is equipped with a digital
console which displays information about the
operating conditions of your ATV.
Information displayed are;
1. Speedometer
2. Odometer
3. Fuel level
4. Transmission gear position
5. Hi-Beam Indicator
6. Oil Level WARNING!
7. Engine Temperature WARNING!
When you first turn the ignition key on all
the indicator should illuminate as a test of
the LED If an LED fails to light when the
ignition key is first turned on you should
replace the console assembly.
The console has two buttons. The left hand
button will reset the oil level warning lamp
and the right hand button will zero the trip
odometer.
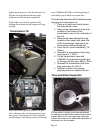
ATV Break In procedures
Your ATV requires a break in period just as
with all other internal combustion engines.
This period allows the engine parts to seat
and wear properly without undue strain which
can cause premature failure.
1. For the first two weeks of operation do
not run your ATV at full throttle for
extended periods of time.
2. Your first tank of fuel should be a pre-
mixture of fuel and oil at a 50:1 ratio. This
will insure that the oil pump system has
been primed and bled of air that may
have occurred in shipping.
3. Do not operate the unit at more than 85%
of maximum speed.
4. Do not over rev the engine.
5. Use light braking pressure to allow the
brake pads to seat to the rotor and drums.
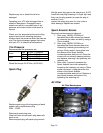
Pre-Operation Inspection
procedure
The following procedure must be performed
before each operating session.
Checking your ATV takes only a few minutes
and may save you from serious injuries and
costly repairs.
1. Check engine oil level.
2. Check engine fuel level.
3. Check brake operations and brake fluid
Level.
4. Check tire condition and pressure.
5. Check drive chain condition and slack.
6. Check throttle operation and free play
adjustment.
7. Check engine stop switch for proper
operation.
8. Check steering system. Look for free and
smooth operation. Check all fastening
hardware.
9. Check all nuts, bolts and other fasteners
for loose conditions.
10. Inspect unit for any broken or damaged
parts.
11. Check all indicator lights and switches for
proper operation.
12. Insure you are wearing proper clothing
and protective gear. Helmet, Gloves
Pads etc.
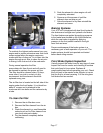
Starting Procedure
The following procedure must be followed
each time you start your unit.