


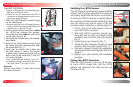

Installation: Forward-Facing
Installation: Forward-Facing
1918
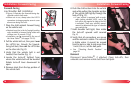
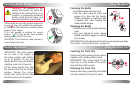
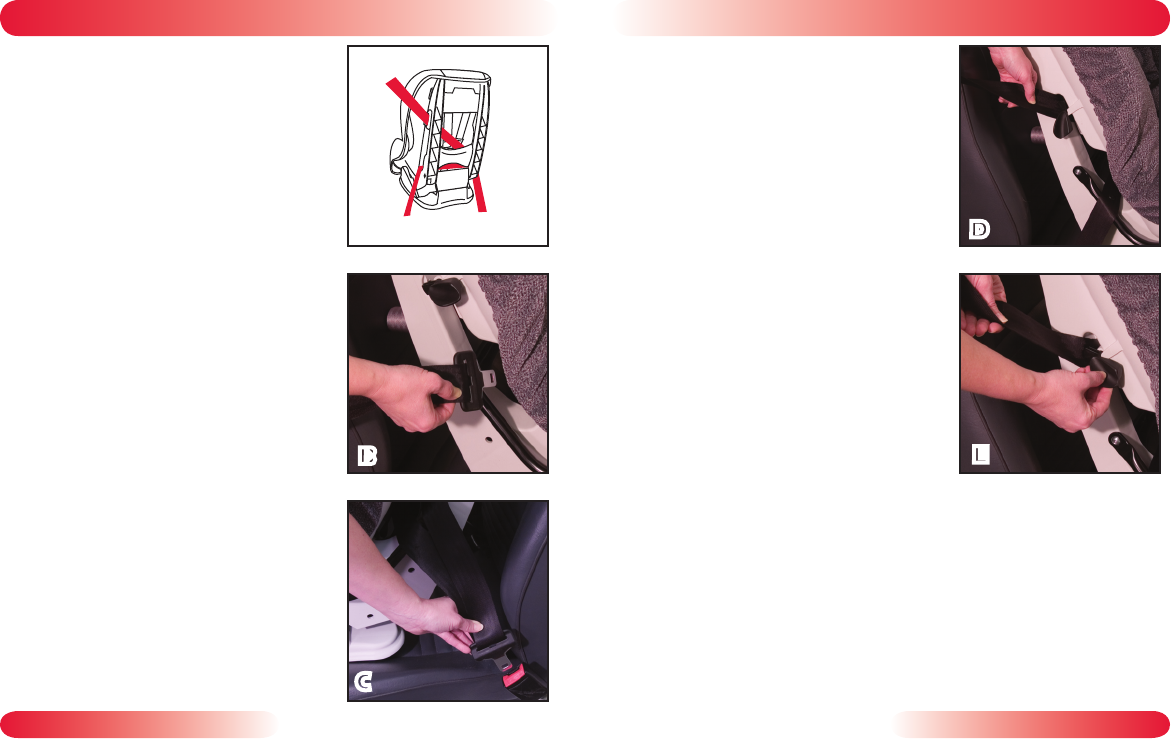
Push the child restraint into the vehicle
seat while pulling the shoulder portion
of the vehicle belt tightly through the
lock-off (Fig. D).
If your vehicle is equipped with an auto-
matic locking retractor (ALR), use of the
lock-offs is not required as long as the ALR
is activated. Check your vehicle’s owner’s
manual to determine the type of retractor
your vehicle has.
Hold shoulder belt tight, then rotate
the lock-off upward until secured
(Fig. E).
Verify that all connections are secure
and the restraint is stable. The restraint
is stable when it cannot be moved
front to back or side to side more than
1 inch (2.5 cm.) at the belt path.
•
See "Checking Buckle Position" on
page 26.
Removal
Disconnect Versa-Tether
®
, if attached. Open lock-offs, then
unbuckle and remove vehicle belt from belt path.
6�
•
7�
8�
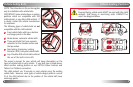
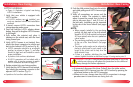
Forward-Facing
Lap-Shoulder Belt Installation
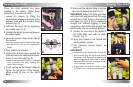
• Figure A illustrates the forward-facing lap-
shoulder vehicle belt route.
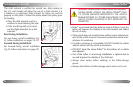
•
When not in use, always store the LATCH
connectors in storage pouches sewn in cover
above rear-facing lock-offs.
Place the child restraint forward facing
on the vehicle seat.
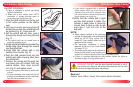
•
Restraint must be in the full upright position
when installed in forward-facing mode with
children over 33 pounds (15 kg).
•
Installation can be improved by the use of
the Versa-Tether
®
(see pages 23–25).
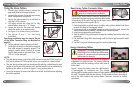
Pull the vehicle belt out, then pass it over
the LATCH bar, through the forward-
facing belt slots, then over the LATCH bar
on the other side
(Fig. B)
.
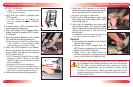
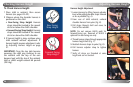
Verify that the vehicle belt is not
twisted, then buckle (
Fig. C)
.
Locate the lock-off farthest from
where the vehicle belt will be buckled
Rotate lock-off lever downward to
open.
Remove slack from the lap portion of
the vehicle belt.
1�
2�
3�
4�
5�
A
B
C
D
E