


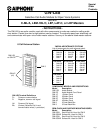
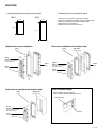
MOUNTING:
1. Cut appropriate sized mounting hole into wall.
GW-2
8-1/8"
4-1/2"
Flush mount installation with weather hood:
GW-DP +
GW-LE8
(GW-LE8 mounts to GW-DP
with supplied screws)
GW-3
(Frame)
GW-4P
(Call switch panel)
GW-3
(Box)
GW-003H
(Weather hood)
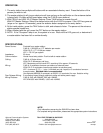
Standard flush mount installation:
GW-3
(Box)
GW-DP +
GW-LE8
(GW-LE8 mounts to GW-DP
with supplied screws)
GW-3
(Frame)
GW-4P
(Call switch panel)
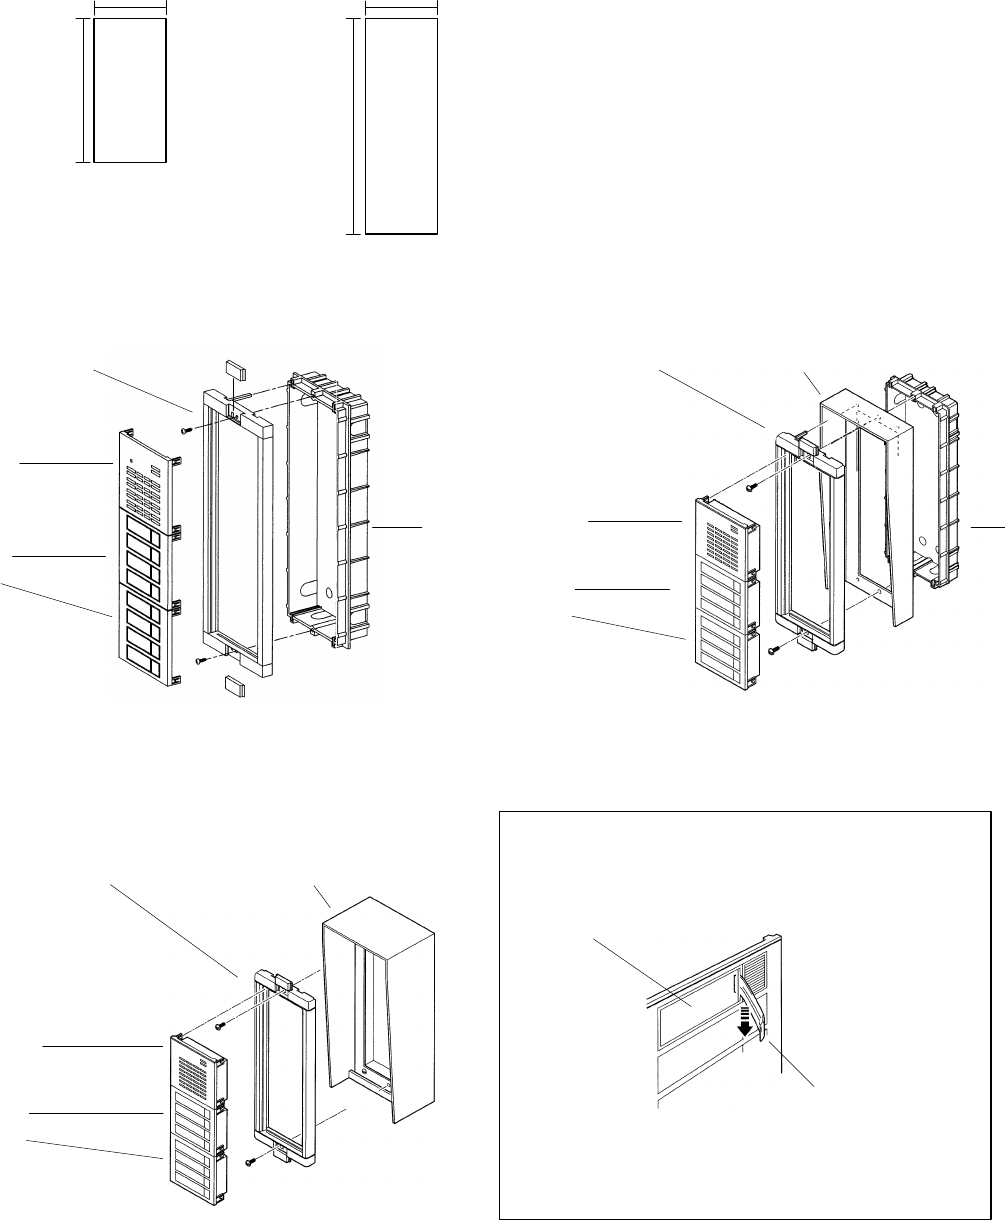
Surface mount installation with weather hood:
GW-DP +
GW-LE8
(GW-LE8 mounts to GW-DP
with supplied screws)
GW-3
(Frame)
GW-4P
(Call switch panel)
GW-003HB
(Weather hood)
GW-3
4-1/2"
11-3/4"
2. Assemble and mount entrance panel
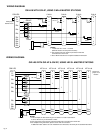
1. Open a hole in the back box to pass cable through.
2. Mount the GW-LE8 to the GW-DP using the supplied screws.
3. Mount the components to the GW-2 or GW-3 frame.
4. Mount the frame to the back box.
5. Replace the two mounting screw covers.
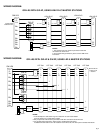
Filling in resident names:
1. Remove protective cover using opener.
(Opener included with GW-2 and GW-3 frames)
Protective Cover
Opener
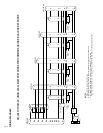
Pg. 5