45
Configuring EOS Utility Communication Settings
3
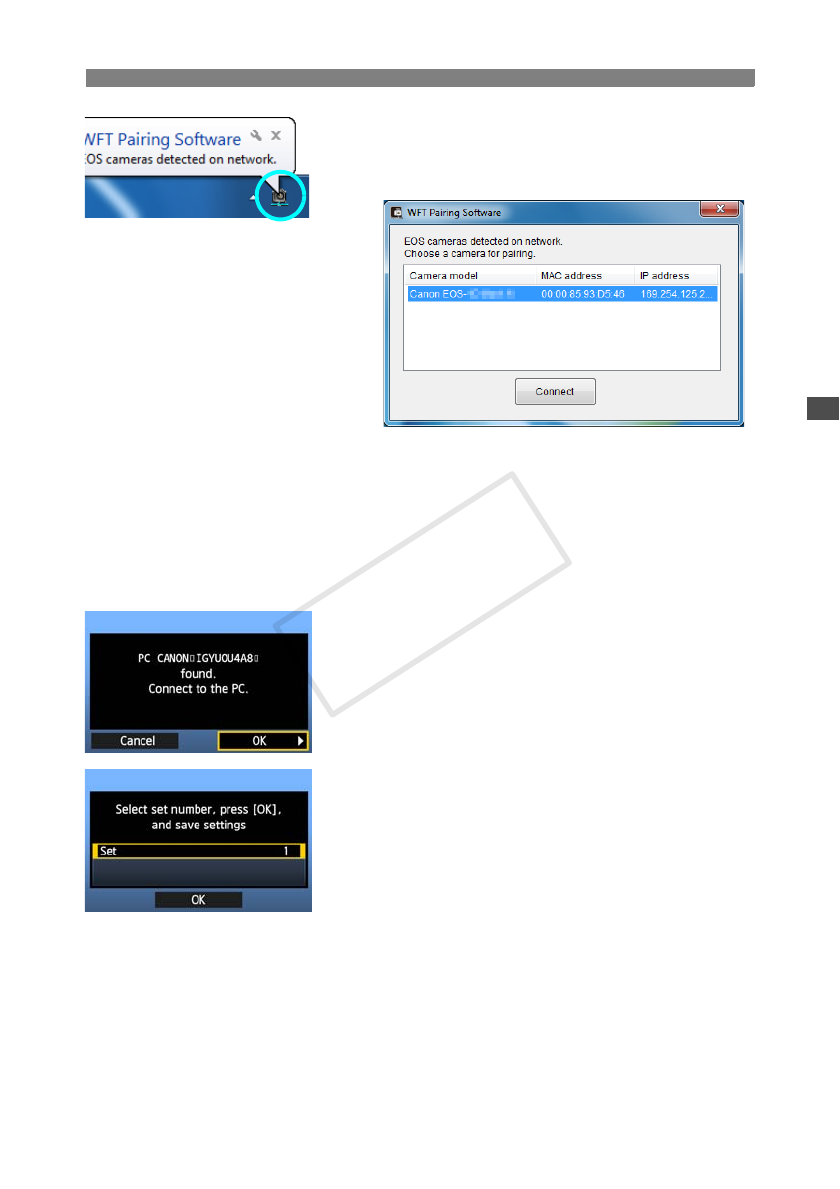
Double-click the pairing software icon.
X Detected cameras are listed. Cameras that have
already been connected are not included in the
list.
Click [Connect].
If multiple cameras are displayed, identify the
camera to connect to by its [MAC address] or [IP
address].
You can check the [MAC address] and [IP
address] by accessing [Confirm settings] in the
menu (p.80).
4
When the camera detects the computer on which
you clicked [Connect] in step 3, the message on
the left is displayed.
Turn the <5> dial to select [OK], and then press
<0>.
5
Press <0>. Turn the <5> dial to select the set
number, and then press <0>.
After you turn the <5> dial to select [OK] and
press <0>, the connection wizard is closed and
EOS Utility starts up.
X The <Y> lamp on the camera is lit in green.
Settings information is stored on the camera. It is
not stored on the transmitter.
The EOS Utility network settings are now complete.


