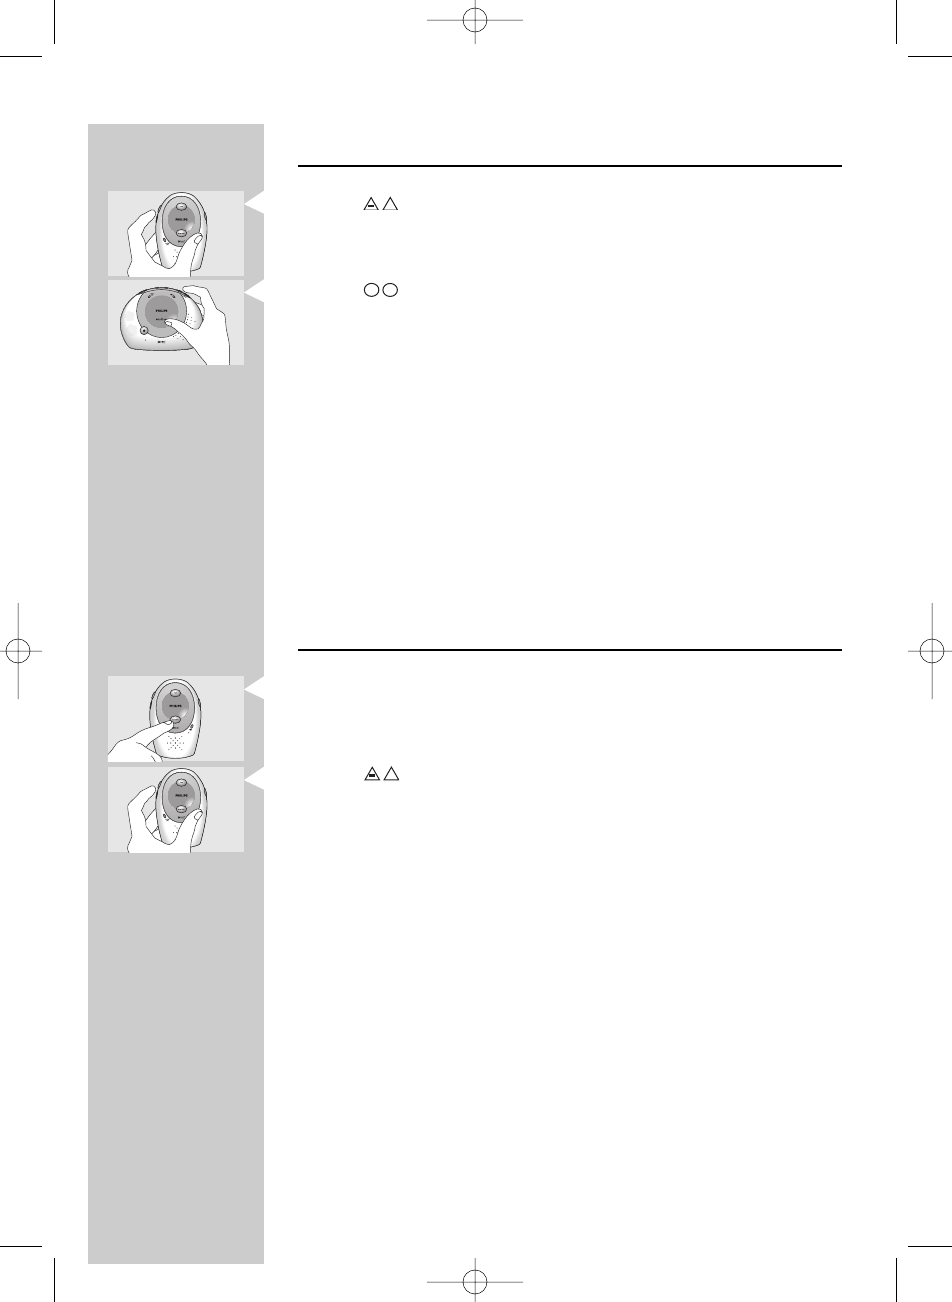
Adjusting loudspeaker volume
• Use the buttons (13) on the Parent Unit to increase/decrease the
loudspeaker volume of the Parent Unit.
• Use the buttons (11) on the Baby Unit to increase/decrease the
loudspeaker volume of the Baby Unit.
> The sound-level lights (25) on the Parent Unit give visual feedback on
the volume settings on both units for approximately 2 seconds:
0 lights = Parent Unit volume switched off;
1 light = monitoring baby silently;
5 lights = maximum.
Notes:
– The volume of the Parent Unit can be switched off (0 lights).
The volume of the Baby Unit cannot be switched off.
–A high pitched noise may occur in case the units are too close to each other.
To avoid this you should switch the Parent Unit volume off before placing the
units close to each other.
–You can only change the Baby Unit volume if the connection between the
Baby Unit and Parent Unit is established.
Adjusting microphone sensitivity
1 Press the SENSITIVITY button (14) on the Parent Unit.
> The sound-level lights (25) give visual feedback about the current
sensitivity level for approximately 2 seconds.
2 Use the buttons (13) on the Parent Unit to increase/decrease the
microphone sensitivity of the Baby Unit.
> The sound-level lights (25) on the Parent Unit give visual feedback
about the setting for approximately 2 seconds.
1 light = minimum level / lowest sensitivity
All 8 lights (5 green and 3 red) = maximum level (continuous
transmission) / highest sensitivity
Notes:
– When set to maximum level (continuous transmission), the Baby Unit
monitors continuously and all sounds, regardless of level, can be heard on the
Parent Unit. Battery operating time may decrease to approximately
12 hours during continuous transmission.
–You can only change the Baby Unit microphone sensitivity if the connection
between the Baby Unit and Parent Unit is established.
+
–
+
+
–
+
–
+
ENGLISH10
SC484_book.qxd 23-09-2004 17:51 Pagina 10


