4 GETTING STARTED
5. Press [ ] to turn the Parent Unit on.
• Before fi rst use, or if it has been out of use for a long
time, the Parent Unit will need to be charged for 15-16
hours. During this time, the Parent Unit will operate
from the Charger pod when switched on. Note that the
Parent Unit cannot be used without batteries, even if it
is placed in the charger pod.
For the Baby Unit
1. In event of a power failure, your Baby Monitor can
switch to battery power. It is therefore recommended
that you insert non-rechargeable batteries in the
Baby Unit.
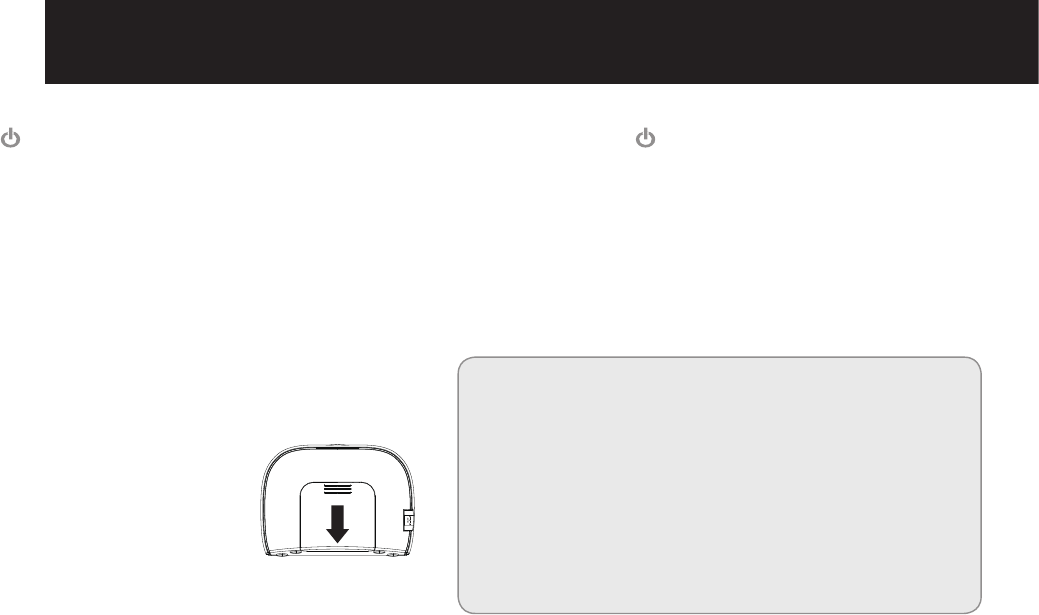
2. Remove the battery cover on
the back of the Baby Unit by
pressing and sliding it down.
Insert 3 alkaline batteries of the
type AA (not provided) as marked
on the unit and close the cover
again. Do not use rechargeable
batteries in the Baby Unit.
3. Plug the power cord into the power input at the side of
the Baby Unit and plug the adaptor plug into a mains
power socket.
Push
4. Press and hold [ ] key to turn on the baby unit.
• The Baby Unit should be placed about 1 metre
to 1.5 metres away from the baby's cot on a flat
surface. Never place the Baby Unit inside the cot,
bed or playpen. Make sure the unit, cords and mains
adaptor are out of reach of the baby and other
young children. Never place either Unit on antique
or polished surfaces (as slippage or scuffing may
occur). The unit may cause harm if it falls onto baby
or other young children.
Note:
If you place the Parent and Baby units too close together
you will hear a high pitched noise called "feedback", this is
normal. The units are designed to be located in separate
rooms.
To prevent feedback, do not take the Parent unit into the
nursery/baby's room.
Do not Press Talk button when the Baby unit and Parent
unit are positioned in the same room. Feedback will be
generated if the talk button is pressed when the Baby unit
and Parent unit are within 3 metres of each other.


