


Avoid
serious injury or death.
DO NOT use product
without the five friction
strips under the base.
!!
Make sure strips are
!
kept clean.
!!
Clean strips with
!
WATER ONLY.
5
284-12-98
6 87
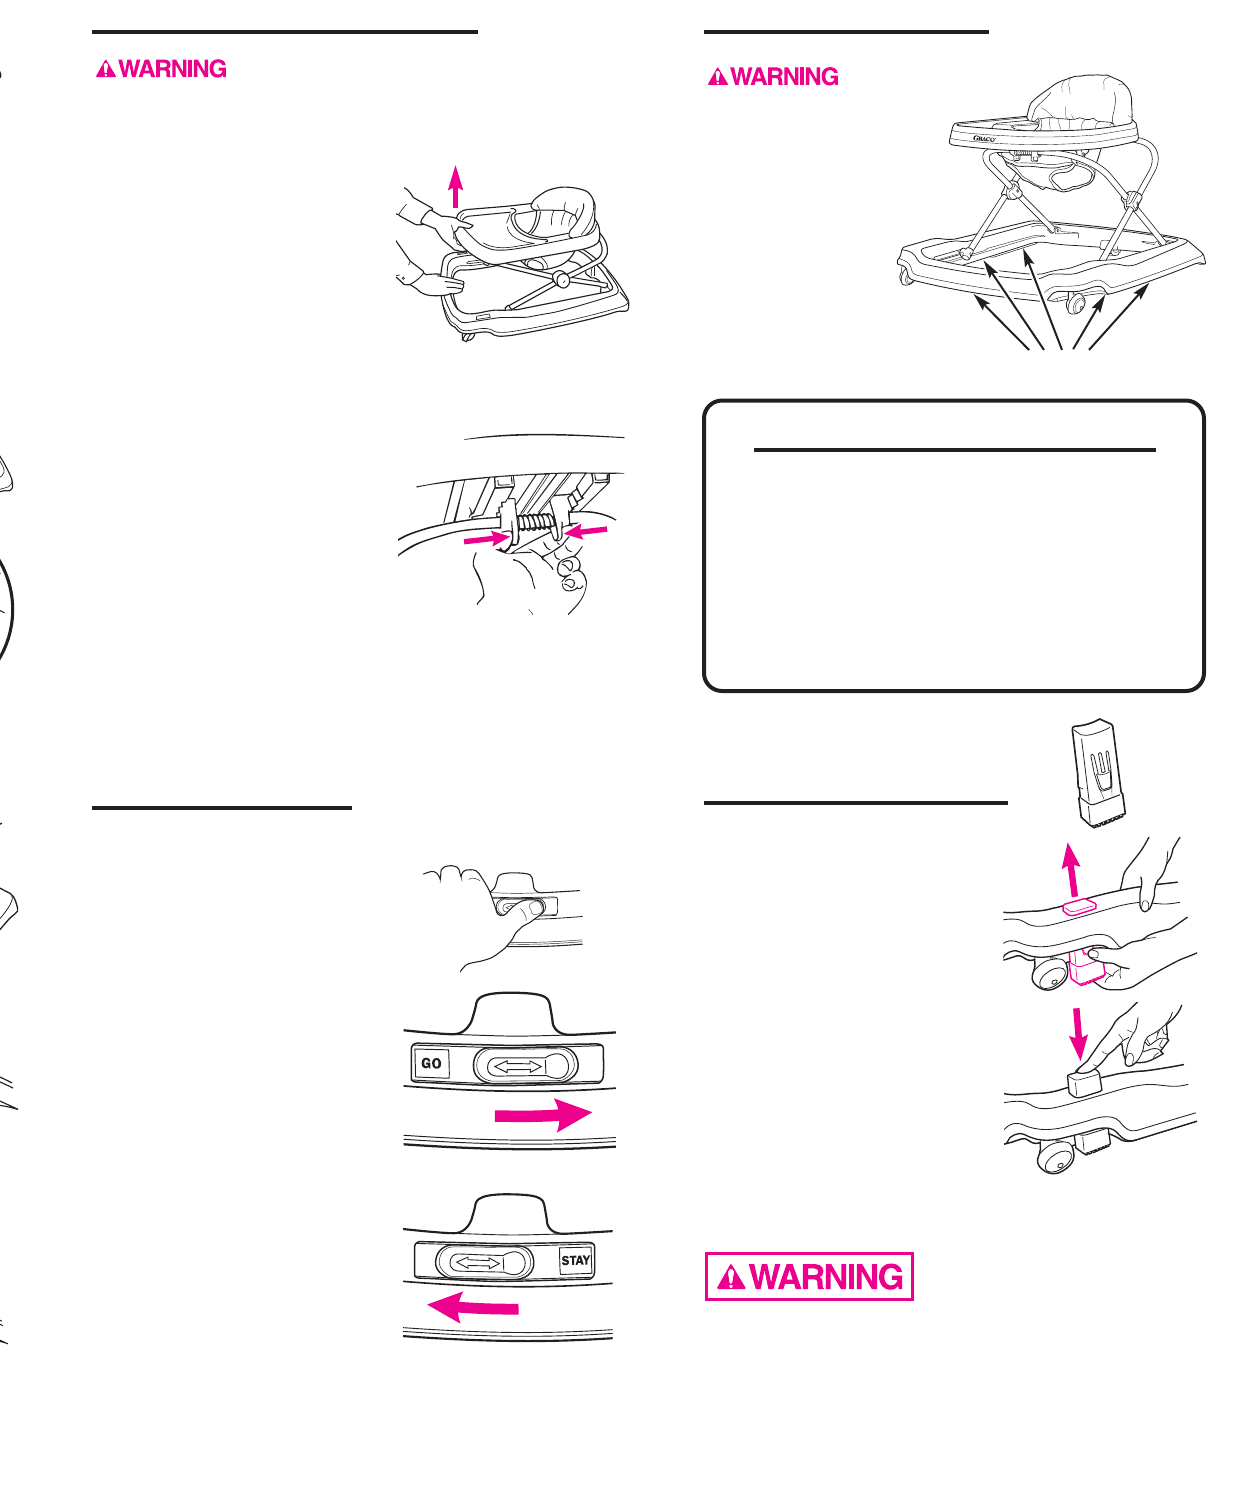
Step 1.
To raise your activity center,
hold the base with one hand
while lifting the tray with the
other hand.
Adjust the tray so that it is no
lower than waist level when
your child is standing in the
activity center.
Step 2.
To lower (or fold) your activity
center, reach underneath the
tray and squeeze the finger
latches, holding them in while
you lower the tray. Tray should
lower easily. DO NOT force
tray down or unit could be
damaged.
To Lock or Unlock
Rear Wheel
(on certain models)
The rear wheel can be locked
in position to limit baby’s
movement.
To unlock, slide the bar to the
right. The word “GO” will
appear.
To lock, slide the bar to the left.
The word “STAY” will appear.
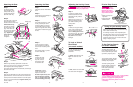
Attaching the Seat
Step 1.
On playtray models,
remove playtray from
activity center tray by
unsnapping both side
tabs from under tray.
Step 2.
Insert the pegs on the seat
back into the four holes
located at the rear of the tray.
Underneath the tray,
insert the four screws
into the centers of the
pegs. Press down on
the seat back to help the
screws connect with
pegs. Tighten the
screws securely,
but do not
overtighten.
Bottom of
seat back
Plastic pegs
To Use Parking Stands
(on certain models)
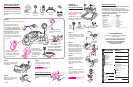
Attaching the Base
Step 1.
Place base on floor with wheels
down.
Step 2.
Open tubes of tray assembly as
shown until they latch.
Step 3.
Front tube has plastic “T” ends.
Tilt tray assembly as shown.
Insert one plastic “T” into slot
on the inside front of the base.
Repeat on opposite side, flexing
tube inward if needed to engage
the slot.
Step 4.
Lower rear tube so holes in
ends of tube line up with two
holes in back of activity center
base.
Be sure that plastic “T” pieces
remain in their slots.
Step 5.
Insert pin into hole
as shown, through
tray tube, and out
through base hole
on the other side.
Press firmly until tab
snaps over head of pin.
Repeat on other side.
Be sure all parts of tray and
base are securely fastened,
with “T” pieces in their slots
and tabs holding pins firmly.
Head
of pin
Tab holds
pin
Push
Left
bracket
Right
bracket
Bent end seated
in channel
Nut
Step 3.
With the tray assembly upside down and its front
facing you, pull up on one of the tube ends until the
tubes snap into the first height position.
Insert seat rod through hole in left bracket, then through
the tunnel of the seat.
Step 4.
Now push the threaded end of the seat rod through the
right bracket hole. Turn the bent end of the rod so it fits
securely into the left bracket channel. Push it into place.
Place nut on seat rod threads and tighten securely with
wrench or pliers.
Adjusting the Activity Center
Remove your child from the activity
center before making any adjustments.
To install parking stands, lift
base slightly, depress button on
front of stands and push stands
up until they snap into place.
To use parking stands, lift base
slightly and push stands down
until they snap into place.
To release parking stands,
lift base slightly and depress
button on front of stands.
Push stands upward into
storage position.
Caring for your activity center
Make sure five friction strips under base are kept
clean. Clean with water only.
For cleaning vinyl seat, metal and plastic parts
other than friction strips, use only household soap
or detergent and warm water. NO BLEACH.
Excessive exposure to sun or heat could cause
fading or warping of parts.
!!
When parking stands are in use, it is still possible
!!
for your child to move the activity center.
!!
Be sure to engage both parking stands.
!!
Never place the activity center on a table or
!!
countertop.
Friction strips under base
Friction Strip Feature
Seat rod
inside seat
tunnel