


25
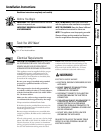
Read these instructions completely and carefully.
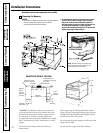
Install the Range
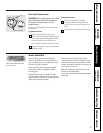
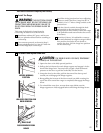
LOCKED (NORMAL)
POSITION
UNLOCKED POSITION FOR
DOOR REMOVAL
DOOR REMOVED FROM
RANGE
HINGE SLOT
WARNING:
THE ELECTRICAL POWER
TO THE RANGE MUST BE SHUT OFF WHILE LINE
CONNECTIONS ARE BEING MADE. FAILURE TO
DO SO COULD RESULT IN SERIOUS INJURY OR
DEATH.
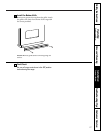
This range is designed to hang from the
countertop. It does not rest on the floor.
Install base cabinets 29″ apart, and be sure
they are plumb and level before attaching to
countertop.
Cut countertop exactly as shown in Step 1.
Shave raised edge level to clear 30″-wide rim
on rolled edge-style countertops.
Install the wiring junction box in an adjoining
cabinet or under the floor (range has 48″ of
conduit). Cut 1
1
⁄4″ hole to bring conduit to the
junction box.
Push the electric conduit through the hole
and attach it to the junction box. Leave
enough slack in the conduit to allow the range
to be pulled forward several inches for service
if necessary.
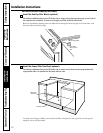
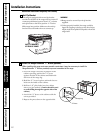
Oven door is heavy. It is advisable to remove
door and eliminate its weight as range is lifted
into position. See below if you decide to
remove the door. Lift the range into position
on the countertop.
CAUTION:
THE DOOR IS HEAVY. FOR SAFE, TEMPORARY
STORAGE, LAY THE DOOR FLAT.
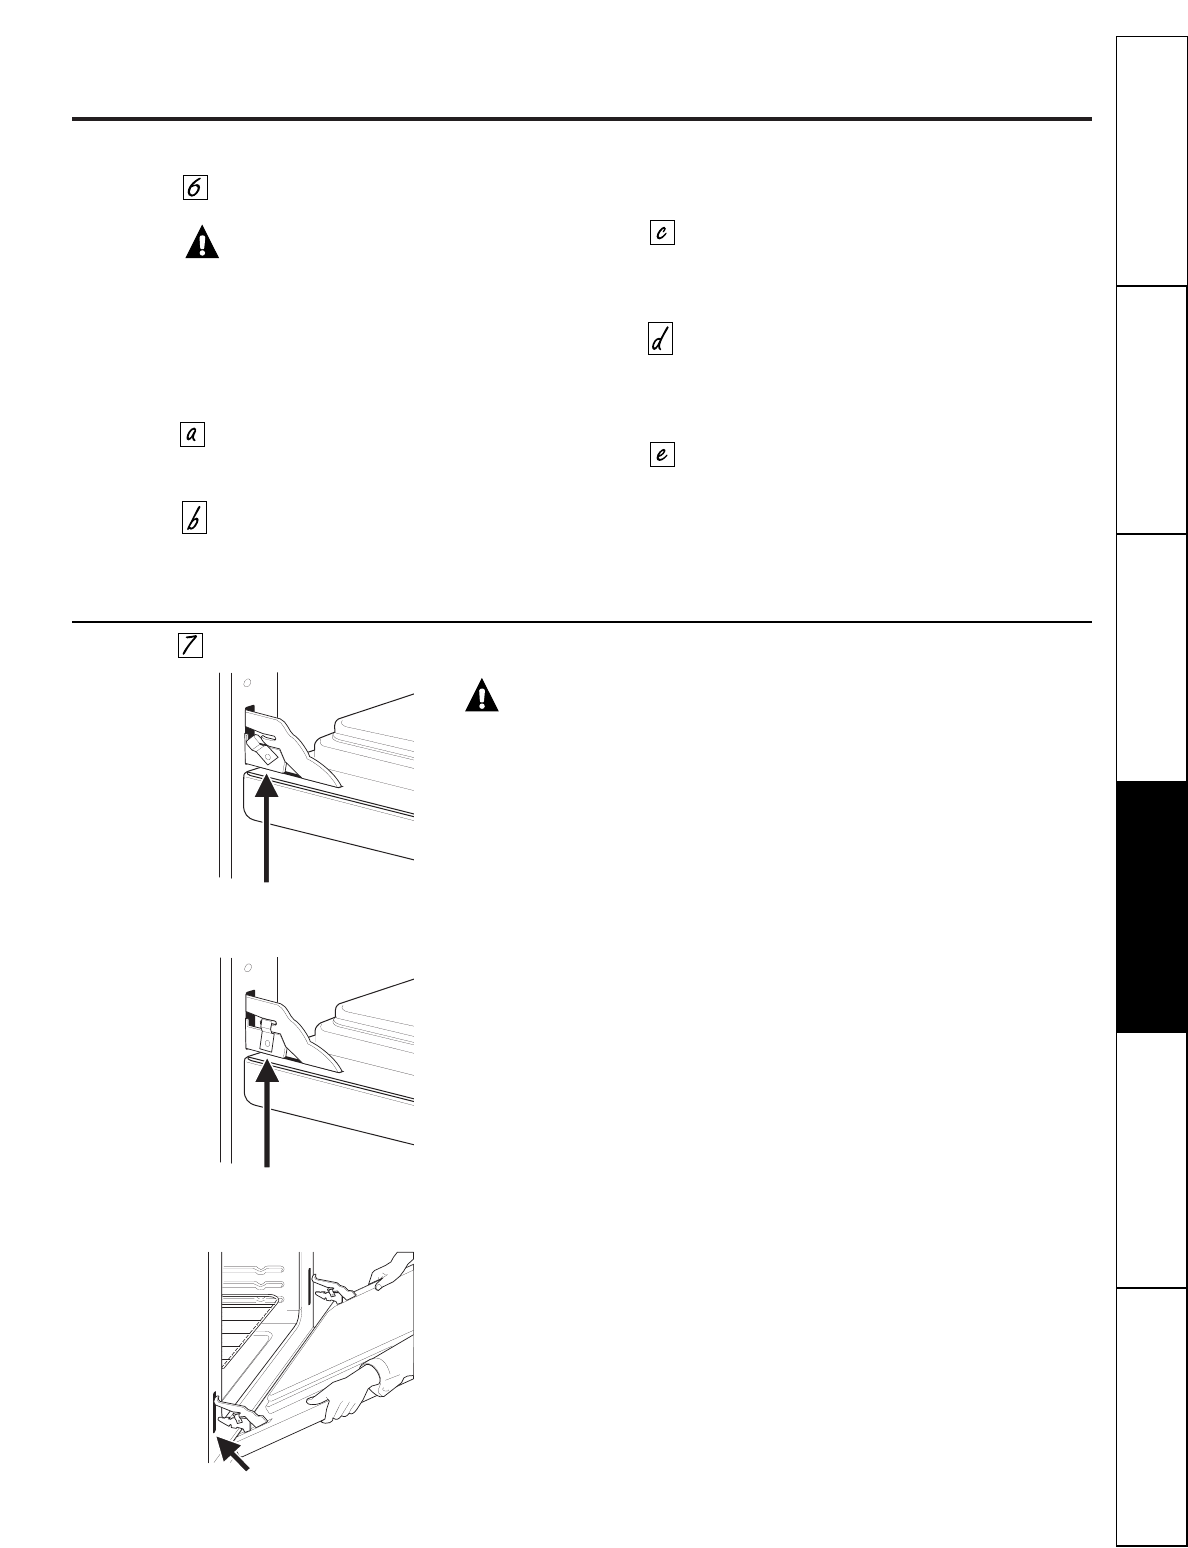
1. Open the door to the fully opened position.
2. Pull up the lock located on each hinge support and engage it in the
hook of the hinge lever. You may have to apply a little downward
pressure on the door to pull the locks fully over the hooks.
3. Grasp the door by the sides, pull the bottom of the door up and
toward you to disengage the hinge supports.
4. Keep pulling the bottom of the door toward you while rotating the
top of the door toward the range to completely disengage the hinge
levers.
5. To reinstall the oven door, reverse these steps. Make sure the
hinge supports are fully engaged before unlocking the hinge levers.
To Remove and Replace Oven Door
Operating
Instructions
Care and Cleaning
Installation
Instructions
Troubleshooting Tips
Safety Instructions
Customer Service