6
6
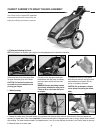
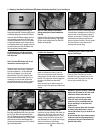
1.5 Weather Cover Features
WARNING: Failure to use the weather
cover could expose your child to flying
rocks, insects, and other debris.
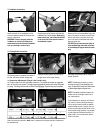
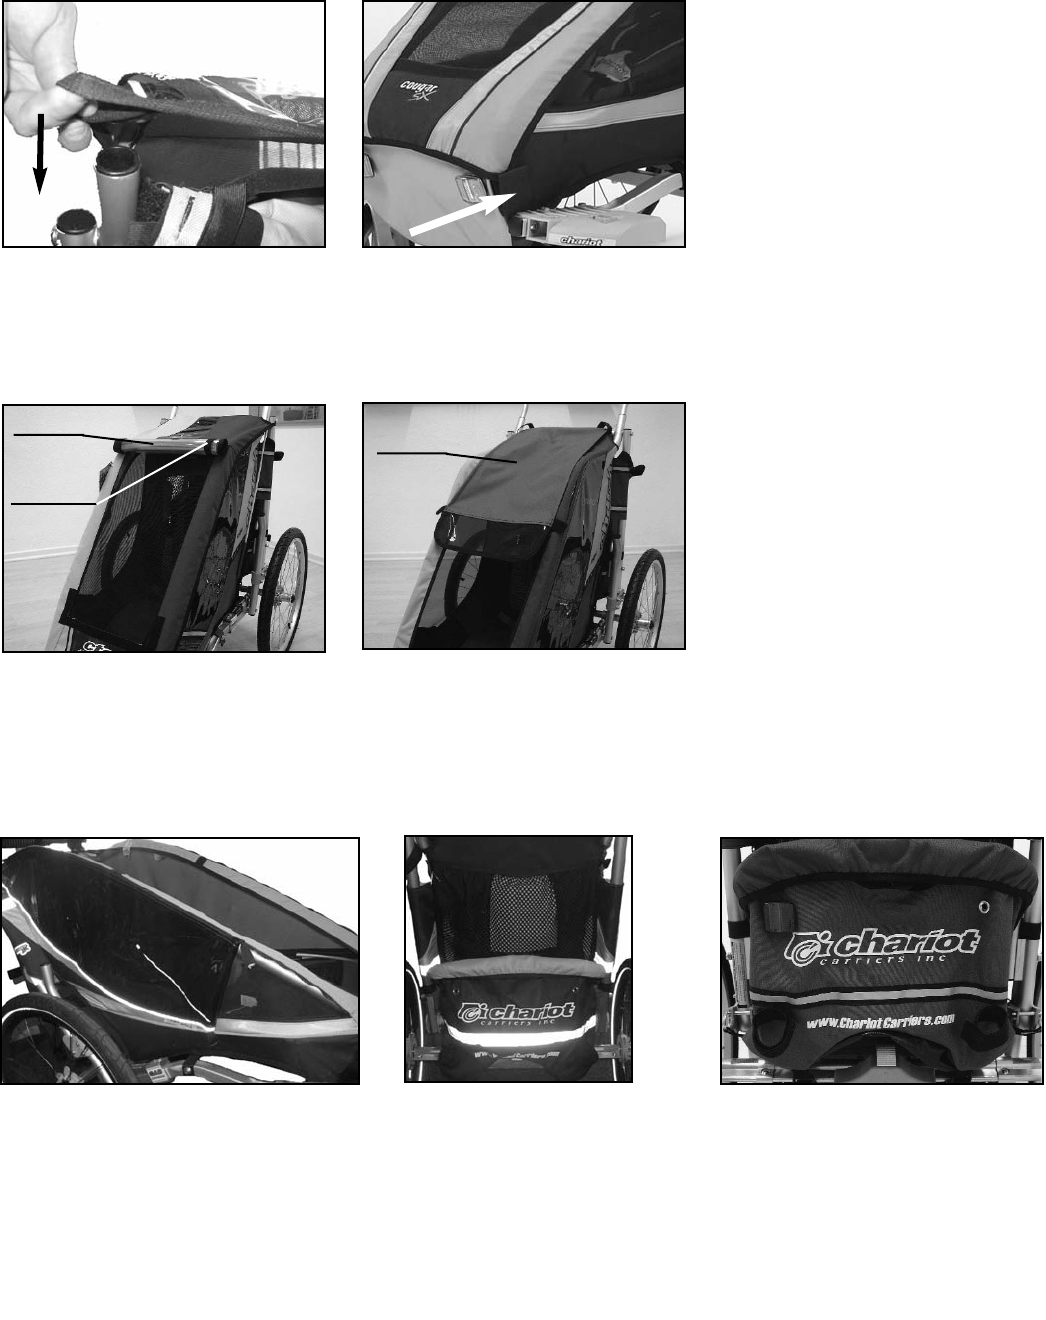
Fasten the front corners of the weather cover
to the Velcro tabs located on the front lower
corners of the frame.
Attach the loops from the back corner of the
weather cover over the aluminum sleeves
located at the upper rear section of the carrier.
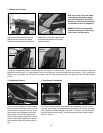
RAIN COVER
ELASTIC LOOP
BACK PANEL
Note: Your Chariot Carrier has climate
control features designed to regulate
your child’s temperature. Periodically
monitor your child to ensure that he/she
is comfortable in terms of temperature.
During cooler temperatures use the rain cover to keep your child warmer. For more ventilation, roll up the rain cover and secure it by looping the
elastic loops around its ends. If it is bright outside or the sun is bothering your child, use the back panel as a sunscreen. To do so, remove the
weather cover, flip the back panel over the front of the carrier, secure it to the Velcro tabs located on the upper frame, and re-install the weath-
er cover. .
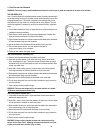
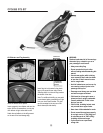
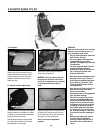
1.7 Rear Storage Compartments
Your Chariot carrier comes with three separate rear storage bags. The first (1) is the
rear cargo mesh storage area located directly behind the seat. The second (2) storage
area is located on the lower backside of the carrier. The third (3) is a small wallet pock-
et located inside the mesh storage. The maximum capacity for both storage compart-
ments is 1 kg/2.2 lb.
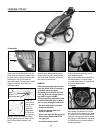
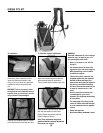
1.6 Side Window Removal
Your CX carrier is equipped with mesh windows
that provide maximum ventilation when the clear
plastic windows are removed. There are two zip-
pers that need to be unfastened to remove the
plastic window. Once removed, place the win-
dows in the rear storage compartment. The side
window can be partially zipped open to allow for
some ventillation without fully removing the win-
dow.
1
2
3


