


Installation: Forward Facing
19
Installation: Forward Facing
18
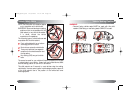
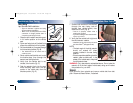
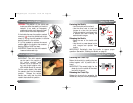
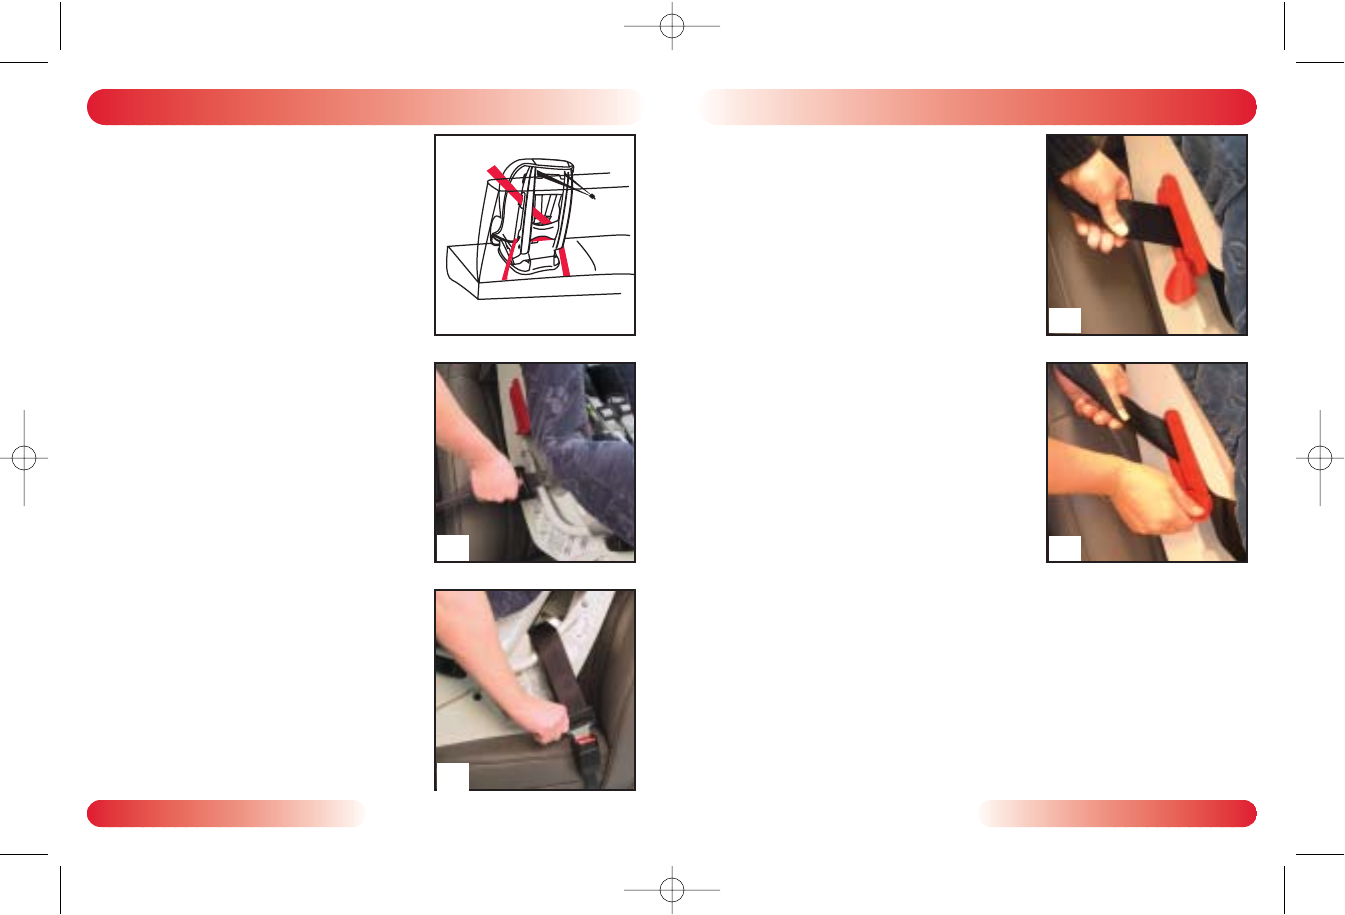
4 Rotate the forward facing lock-off
down to open.
•
Only use lock-off farthest from where the
vehicle belt is buckled.
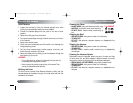
5 Remove slack from the lap portion of
the vehicle belt.
6 Push the child restraint firmly into the
vehicle seat
while pulling the shoulder
portion of the vehicle belt tightly
through the lock-off to remove slack
(Fig. D).
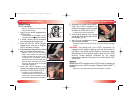
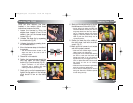
7 Hold the shoulder belt tight, then rotate
the lock-off upward until it clicks in
place
(
Fig. E)
.
•
Lock-off is not engaged and vehicle belt is
not secured until a click is heard.
8 Verify that the vehicle belt is tight and
the child restraint is secure.
•
See Checking Buckle Position on page 26.
•
Installation can be improved by the use of the Versa-Tether
®
(see pages
23–25).
RReemmoovvaall::
Open lock-offs, then unbuckle and remove vehicle belt from belt
path. Disconnect Versa-Tether
®
, if attached.
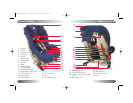
Forward Facing
Lap-Shoulder Belt Installation
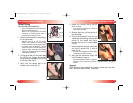
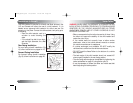
• Figure A illustrates the forward facing lap-
shoulder vehicle belt route.
•
When not in use, always store the LATCH
connectors in storage pouches sewn in
cover above rear facing lock-offs.
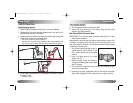
1 Place the child restraint forward facing
on the vehicle seat.
•
Restraint must be in the full upright
position when installed in forward facing
mode with children over 33 pounds (15kg).
•
If installing with Versa-Tether
®
, remove
tether from pouch and loosely attach to an
approved tether anchorage point before
continuing. See pages 23–25 for complete
Versa-Tether instructions.
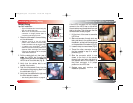
2
Pull the vehicle belt out, then pass it over
the LATCH bar, through the forward
facing belt slots, then over the LATCH bar
on the other side
(Fig. B)
.
3
Verify that the vehicle belt is not
twisted, then buckle (
Fig. C)
.
B
A
E
D
C
P2285_R02c.qxd 12/8/2003 12:19 PM Page 20