


Copyright © 2007 - 2009, Baby Trend Inc., All Rights Reserved.
Copyright © 2007 - 2009, Baby Trend Inc., All Rights Reserved.
ASSEMBLY
9
10
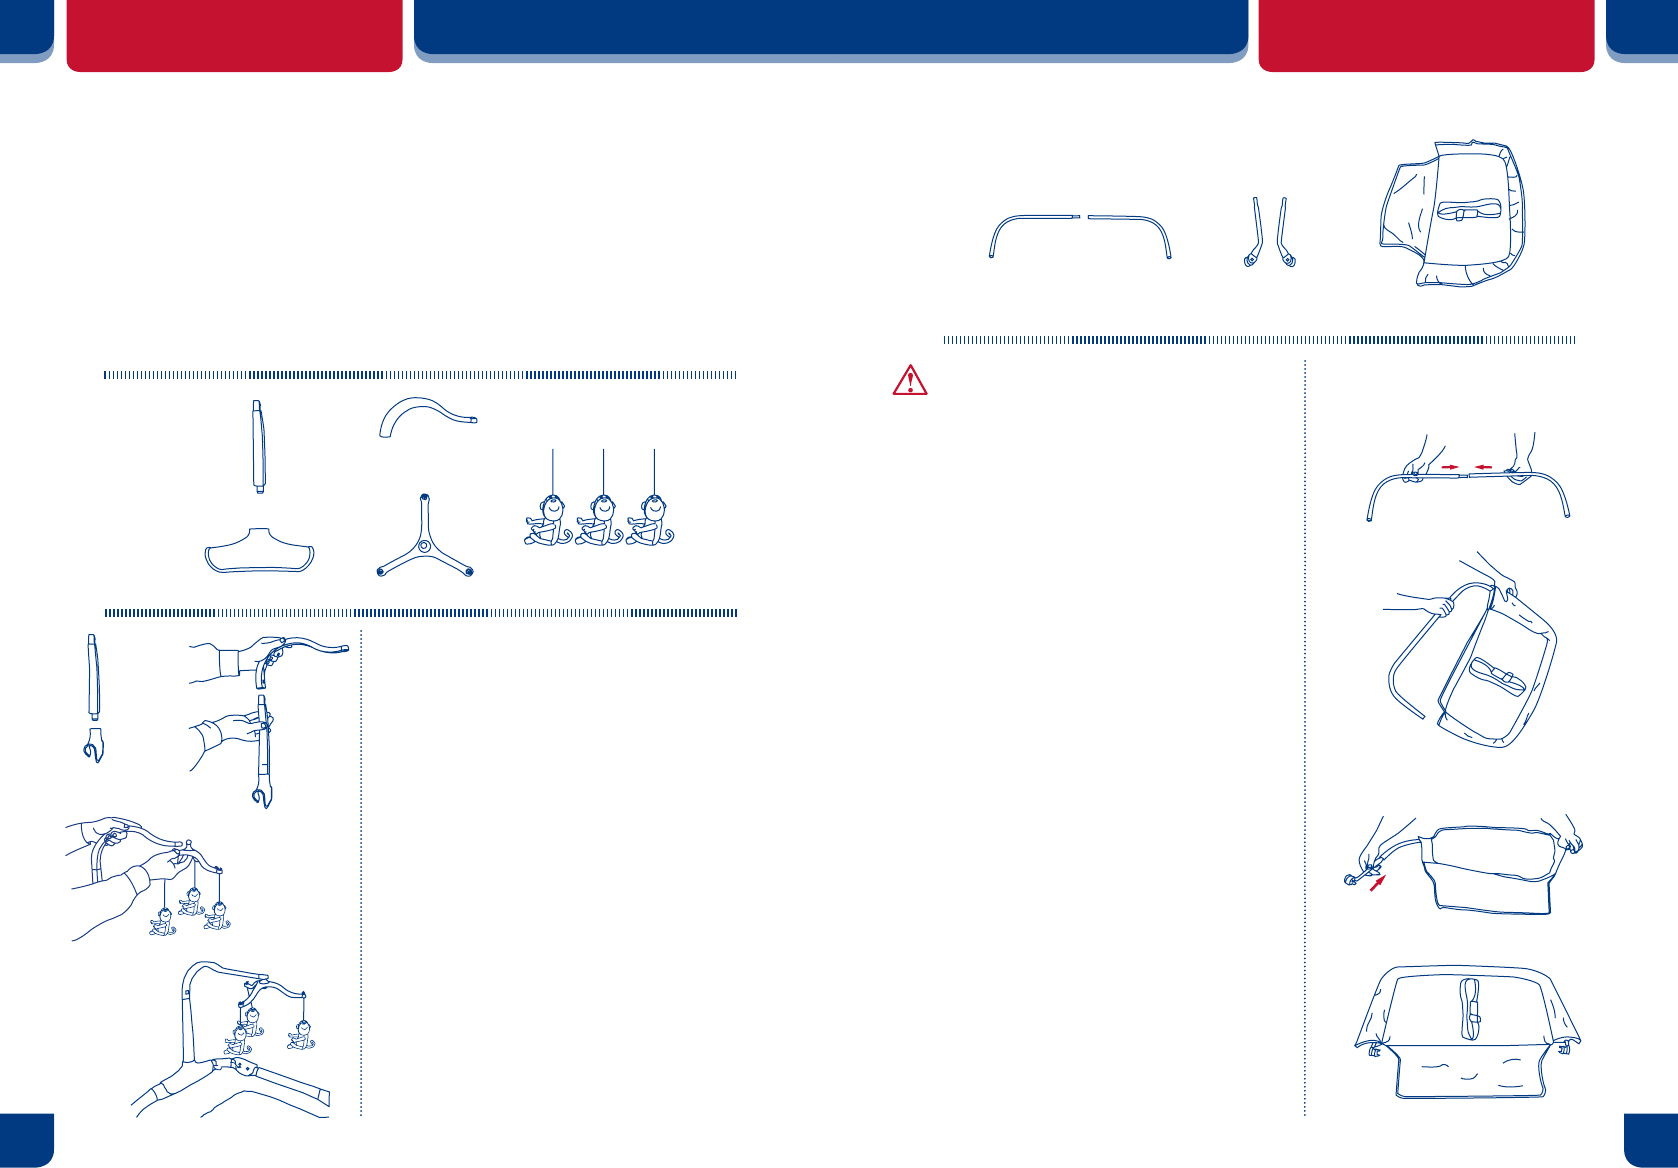
ASSEMBLY
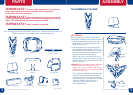
MOBILE ASSEMBLY (Fixed)
ATTENTION: DO NOT attach Mobile to Canopy until Canopy is correctly installed
as noted in the Canopy instructions.
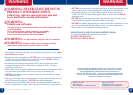
A crib mobile is intened for visual stimulation and is not intended to be grasped by the child.
If attached to the crib or playpen, remove when baby begins to push up on hands and
knees. If so designed, mount on wall or ceiling clearly out of a standing baby's reach.
Always attach all provided fasteners (strings, straps, clamps, etc.) tightly to a crib or
playpen according to the instructions. Check frequently.
DO NOT add additional strings and straps to attach to a crib or playpen.
DO NOT attach the Mobile with child in Playard or Bassinet.
DO NOT remove the Mobile before retracting the Canopy or removing the Canopy.
(a)
(b)
(c)
(d)
(e)
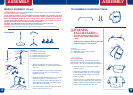
Fixed Mobile
Contents:
(a) 1 Mobile Lower Arm
(b) 1 Mobile Arm Holder
(c) 1 Mobile Upper Curved Arm
(d) 1 Mobile Tri-shaped Arm
(e) 3 Toys (toys may vary)
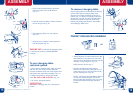
1. Insert the Mobile Lower Arm (a) into the
Mobile Arm Holder (b) untill locked together
(Fig. 19).
2. Insert the Mobile Upper Curved Arm (c) into
the Mobile Lower Arm (a, b) until locked
together (Fig. 20).
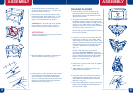
3. Snap the Mobile Tri-shaped Arm (d) onto the
end of the Upper Curved Arm (a, b, c)
(Fig. 21). Connect each of the three Toys (e)
to the Mobile by threading the string into the
slot at the end of each arm.
4. Insert the bottom of the Mobile Arm into the
frame of the Playard (Fig. 22).
(a)
(b)
Fig. 19
(c)
(a)
(b)
Fig. 20
Fig. 21
Fig. 22
(d)
(e)
(a)
(b)
(c)
Fig. 23
Fig. 24
Fig. 25
WARNING
FALL HAZARD:
To
prevent death or serious injury,
always keep child within arm's
reach.
Always use restraint belt to prevent
falls, see page 15 for details.
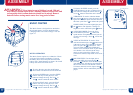
Contents:
(a) 2 Long Curved Bars
(b) 2 Short Bar with Connector Knobs
(c) 1 Changing Table
ATTENTION:
Playard must be fully assembled and securely
locked before installing or using the changing
table feature. (See To Assemble Playard section)
1. Connect the two (2) Long Curved Bars
together (Fig. 23).
2. Insert the assembled curved bars into the
Changing Table fabric (Fig. 24) Slide the
Curved Bars around inside sleeve of the
Changing Table.
3. Connect the two (2) Short Bars to each end
of the Long Curved Bar (Fig. 25) Make sure
that the knobs are both facing down and the
same direction on each end. (Fig. 26)
Fig. 26
TO ASSEMBLE CHANGING TABLE