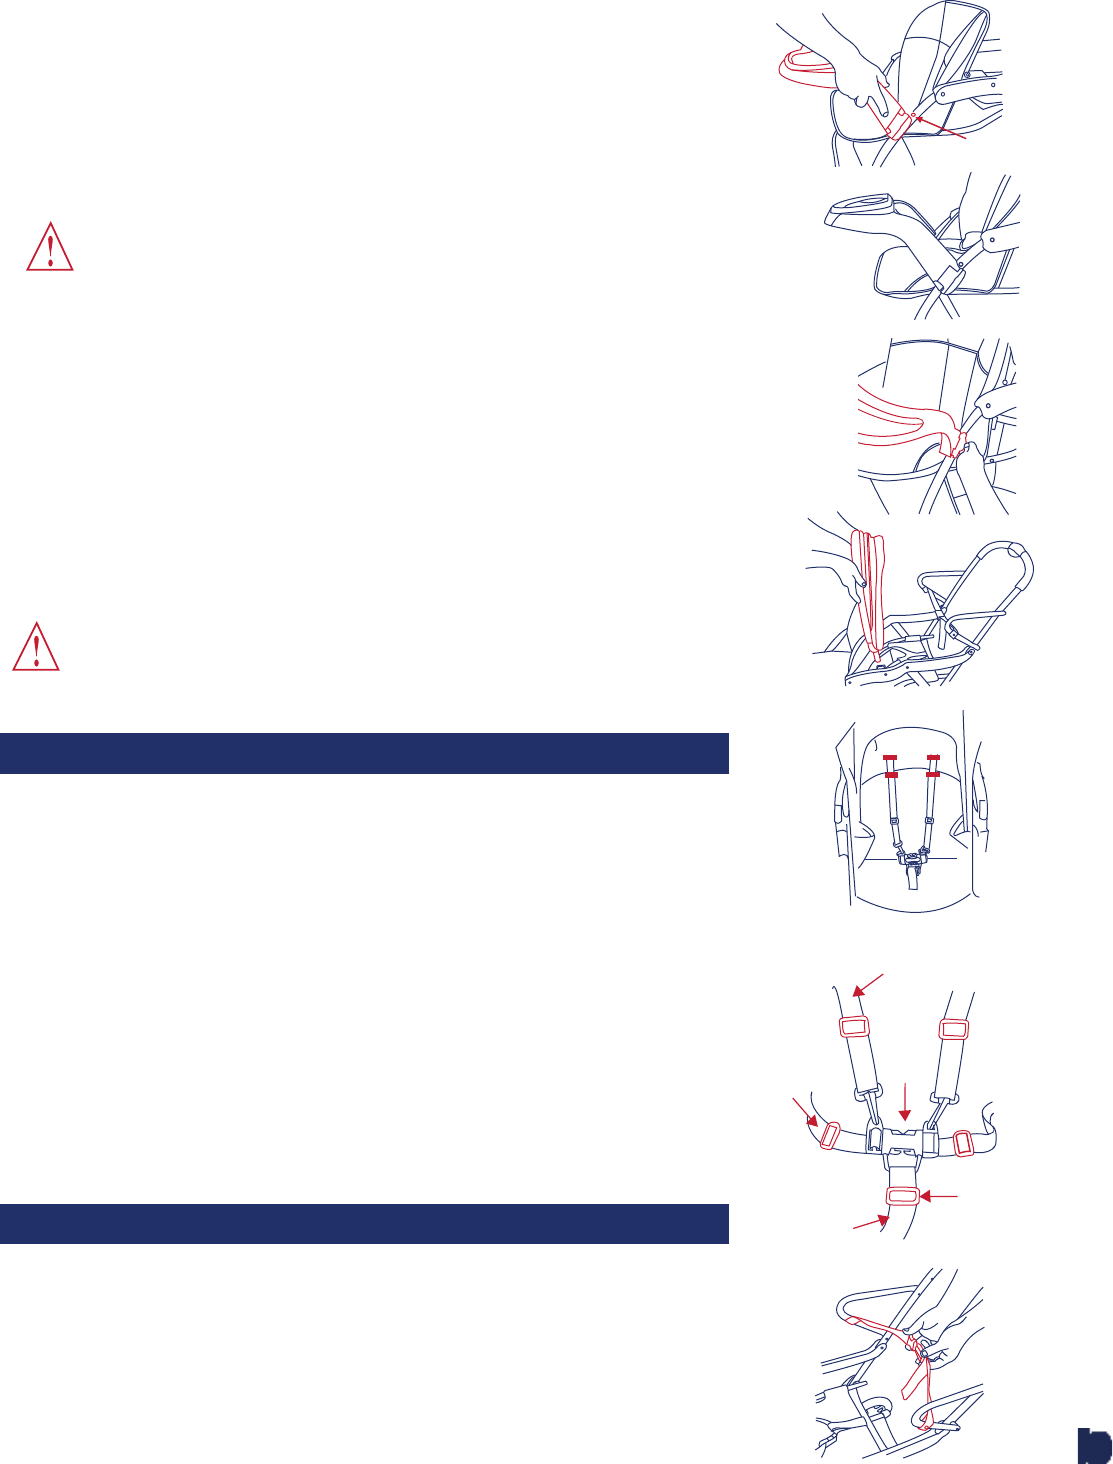
6. To attach the front child tray, push the tray onto the front frame tube, lining
up the tray between the protruding rivet and the seat. Push backward on
the latch until snapped into place. The protruding rivet on the outside
of the frame tube should be above the tray latch. Check that the tray is
securely latched in place. Please see fi gure 5 and 6.
7. To remove front child tray, pull outward on the latches and pull outward
on the tray. Please see fi gure 7. Please note that you may attach or
remove one end at a time.
WARNING: The childʼs tray is not a
restraint device: always secure your child with
the seat belt. DO NOT lift the stroller by the
childʼs tray. Use care when attaching the childʼs
tray on the stroller with a child in the stroller.
8. To attach the front canopy, line up the male fi ttings on the canopy with
the female fi ttings on the armrest and push both fi ttings downward until
snapped into place. Please see fi gure 8. Push forward on the front edge
of the canopy to open.
Your stroller is now ready to use
WARNING: Avoid serious injury from
falling or sliding out. Always use the seat belt.
TO SECURE FRONT CHILD
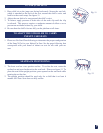
1 The shoulder straps of the 5-point harness has 2 attachment positions.
Select the loop position that places the shoulder strap level with, or below
the top of the childʼs shoulder and feed the shoulder harness under the
correct loop. Please see fi gure 8a.
2. Carefully place the child in the stroller seat and bring the safety harness
around the childʼs waist and over the shoulders. Place the crotch strap
and between the childʼs legs. Insert the male end of each shoulder / waist
belt into the buckle on the crotch strap. Tighten the harness to be snug
around the childʼs waist and over the childʼs shoulders. Please see fi gure
9.
3. To release, apply pressure to both sides of each male clip until the clip
is released. This process requires a moderate amount of effort so as to
prevent an accidental release by your child. NOTE: Buckles may be hard
to release when 1st used.
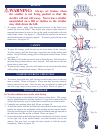
1. The rear platform and jump seat are designed to accommodate a child
who is at least 2 1/2 years old, has good balance and coordination, and
is not over 40 inches tall. Push the jump seat bench to its most forward
position. Position the child on the platform on the back of the stroller.
Be sure child is facing forward and hands are holding frame. Secure the
safety belt behind child and engage buckle. See fi gure 10.
2. Be sure that the childʼs feet are fully on the platform at all times.
4
Fig. 5.
Fig. 6.
Fig. 7.
Fig. 8.
Fig. 9.
Fig. 10.
Rivet
Shoulder Strap
Squeeze
Crotch Strap
Waist
Strap
Adjust for a
snug fit
TO SECURE REAR STANDING CHILD
Fig. 8a.
TO SECURE CHILD


