Step 1:
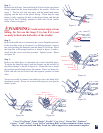
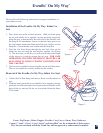
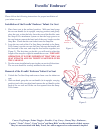
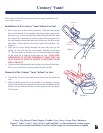
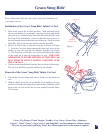
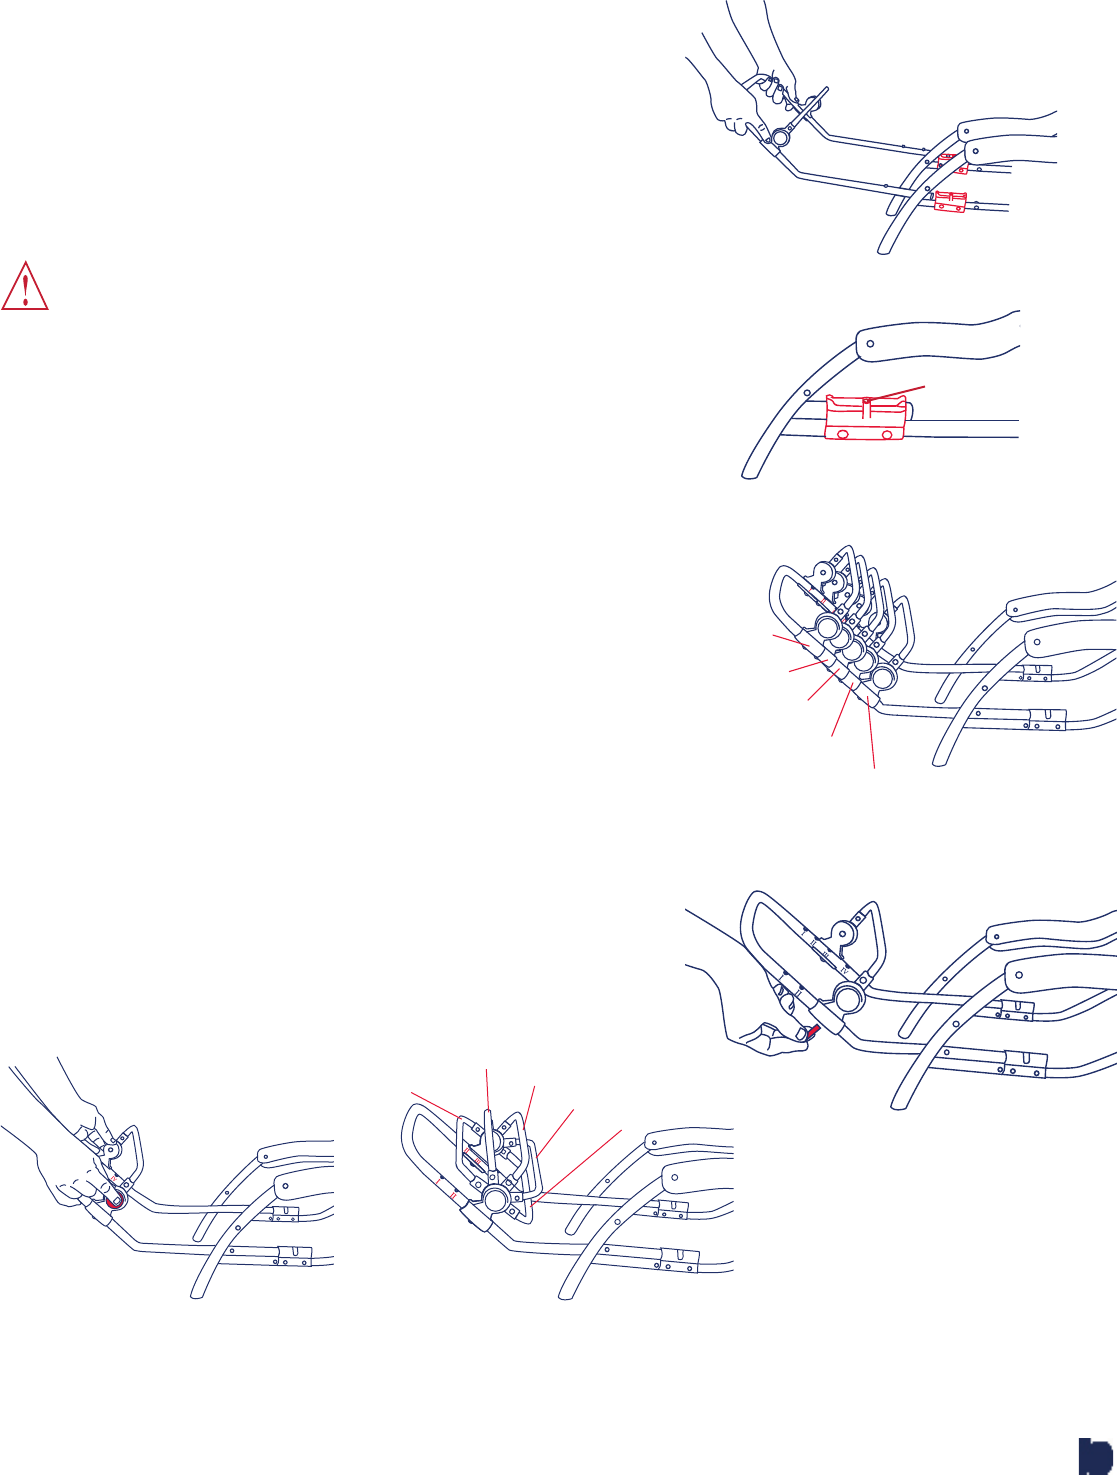
Remove the child tray. Insert the Snap N Go bar into the two plastic
fi ttings located on the lower frame tube of the stroller. Please see
fi gure 1. The bar will lock into place with the metal snap button
popping into the hole in the plastic fi tting. Check that the snap
button is fully engaging the hole in the plastic fi tting and that the
Snap N Go bar is securely attached to both sides of the stroller
frame. Please see fi gure 2.
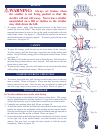
WARNING: Avoid serious injury from
falling, Do Not use the Snap N Go bar if it is not
securely locked onto both sides of the stroller.
Step 2:
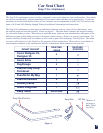
Refer to the table above to determine the correct Snap Bar position.
If the Snap Bar needs to be moved to a different location, remove
the screws holding the Snap Bar onto the Snap N Go Frame. Move
the Snap Bar to the proper position as shown in fi gure 3a and re-
attach with the screws and nuts provided. Tighten screws. Please
see fi gure 3b.
Step 3:
Refer to the table above to determine the correct Snap Bar angle.
To adjust the Snap Bar angle, push the buttons on the outsides of
the plastic fi ttings as shown in fi gure 4a. Rotate the bar to match
the position specifi ed and release the buttons. Please see fi gure 4b.
Check that the bar has locked into the required position on both
sides.
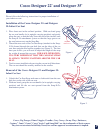
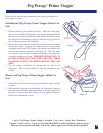
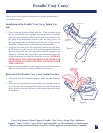
You are now ready to connect your infant car seat to the Snap N Go
attachment system. Please see sections following for your specifi c
infant car seat.
Figure 2.
Figure 1.
Figure 3b.
Figure 3a.
Figure 4b.Figure 4a.
Position "5"
Position "3"
Position "1"
Position "4"
Position "2"
Position "V"
Position "IV"
Position "III"
Position "II"
Position "I"
10
Snap button
engages here
Cosco
®
, Peg Perego
®
, Primo Viaggio
®
, Evenfl o
®
, Cozy Carry
®
, On my Way
®
,
Embrace
®
,
Century
®
, Vante
®
, Graco
®
, Cosco
®
Arriva
®
and Snug Ride
®
are the trademarks of their owners.
They are not associated with Baby Trend, Inc. and no approval or endorsement is implied.


