Getting Started
17
Step 3: Turning the
power on, and setting
the date and time
Set the date and time when using this
camcorder for the rst time. If you do not
set the date and time, the [CLOCK SET]
screen appears every time you turn on your
camcorder or change the POWER switch
position.
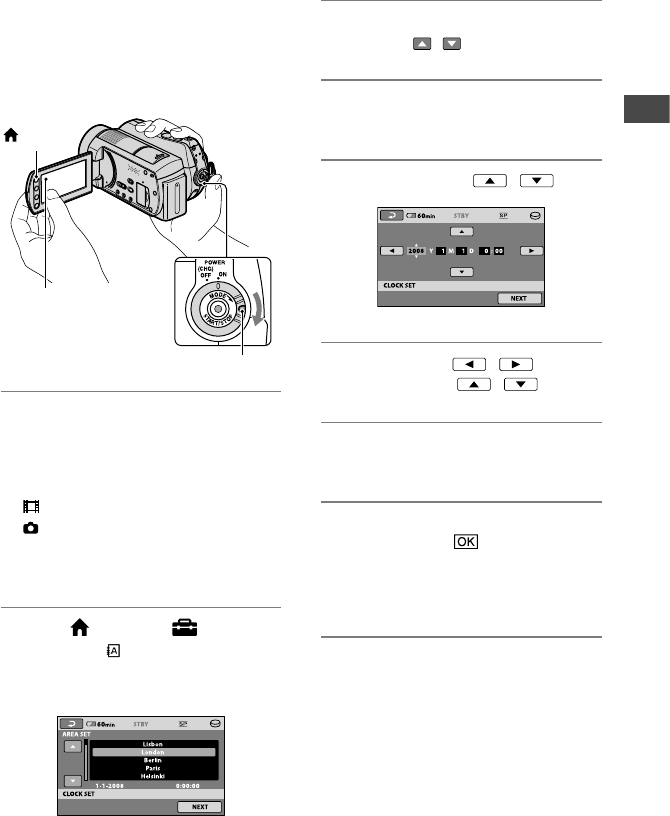
1 While pressing the green button,
turn the POWER switch repeatedly
in the direction of the arrow until
the respective lamp lights up.
(Movie): To record movies
(Still): To record still images
Go to step 3 when you turn on your
camcorder for the rst time.
2 Touch (HOME) (SETTINGS)
[CLOCK/ LANG] [CLOCK
SET].
e [CLOCK SET] screen appears.
3 Select the desired geographical
area with / , then touch [NEXT].
4 Set [SUMMERTIME], then touch
[NEXT].
5 Set [Y] (year) with / .
6 Select [M] with / , then set
the month with / .
7 Set [D] (day), hour and minute in the
same way, then touch [NEXT].
8 Make sure that the clock is correctly
set, then touch .
e clock starts.
You can set any year up to the year
2037.
To turn o the power
Turn the POWER switch to OFF (CHG).
Notes
If you do not use your camcorder for about
3 months, the built-in rechargeable battery
gets discharged and the date and time settings
may be cleared from the memory. In that case,
charge the built-in rechargeable battery and
then set the date and time again (p.
97).
Touch the button
on the LCD
screen.
POWER switch
(HOME)


