English - 103
Editing
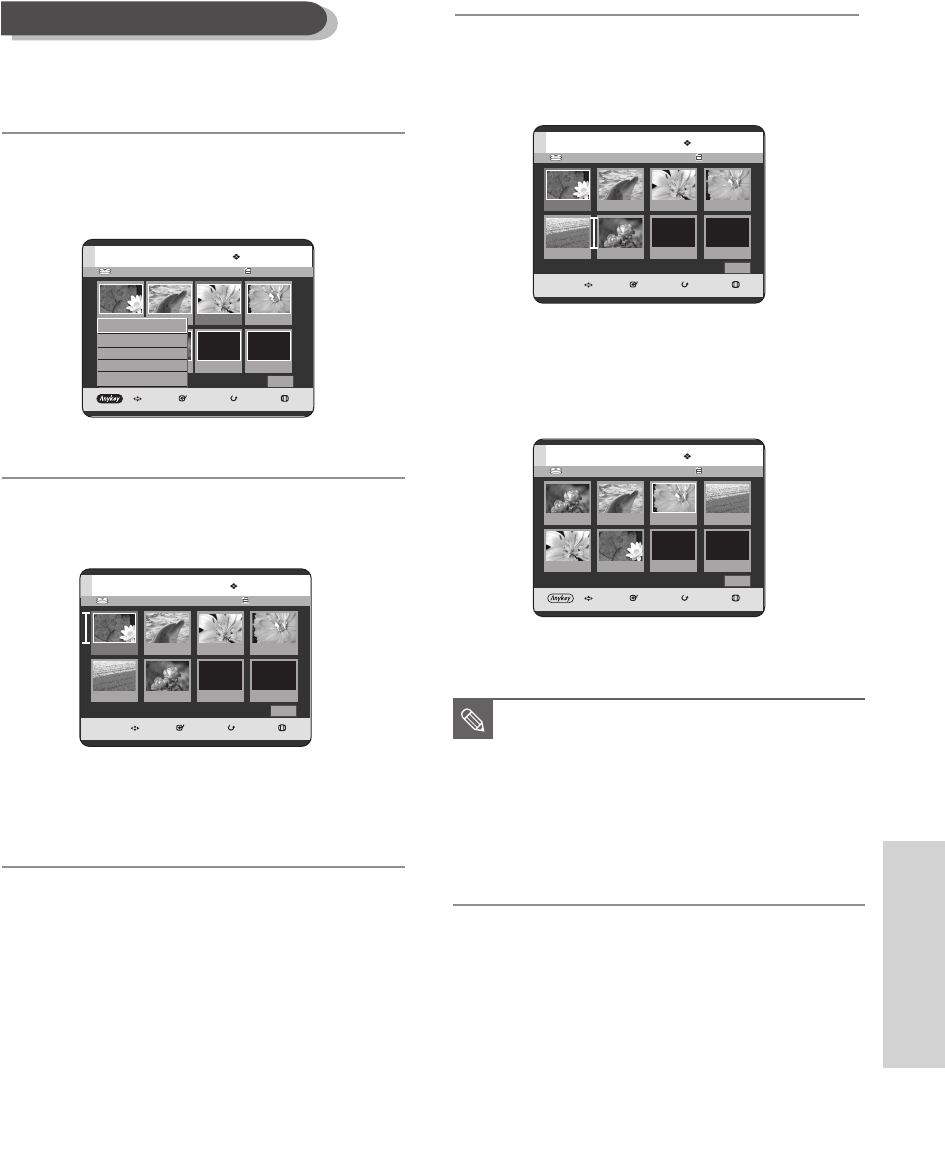
To setup, follow steps 1 to 3 in page 101.
4
Press the …† œ √ buttons to select the scene you
want to move (change the position), then press the
ANYKEY button.
5
Press the …† buttons to select Move, then press the
ENTER or √ button.
•
A yellow selection window is displayed on the
scene to be moved.
6
Press the
…† œ √
buttons to select the position
to which you want to move the selected scene,
then select the ENTER button.
•
The selected scene is moved to the selected
position.
Moving a Scene (Changing the Position of a Scene)
HDD Playlist No. 1
MOVE SELECT RETURN EXIT
Edit Playlist
Cancel
01 00:00:26 02 00:00:07 03 00:00:04 04 00:00:03
05 00:00:26 06 00:01:07
1/1 Page
HDD Playlist No. 1
MOVE SELECT RETURN EXIT
Edit Playlist
Cancel
01 00:00:26 02 00:00:07
03 00:00:04
04 00:00:03
01 00:00:26 02 00:00:07
1/1 Page
HDD Playlist No. 1
MOVE SELECT RETURN EXIT
Edit Playlist
Return
01 00:01:07 02 00:00:07 03 00:00:04 04 00:00:03
05 00:00:26 06 00:00:26
1/1 Page
HDD Playlist No. 1
MOVE SELECT RETURN EXIT
Edit Playlist
Return
01 0:00:26 02 0:00:07 03 00:06:04 04 0:00:03
05 0:00:26 06 00:01:07
1/1 Page
Play
Modify
Move
Add
Delete
■
You cannot move the selected scene to
the position of the next scene, because
the selected scene should be inserted
before that position, which requires no
action.
■
Depending on the kind of disc, the
displayed screen may have a slight
difference.
NOTE
8-HR720-XAC_98-108_EDIT 5/17/05 10:44 PM Page 103


