27
Locking Files
Locking Files
1
Press the FOLDER button to choose a folder.
2
Press the FF/+ or REW/– button to choose the
file you want to lock.
3
Press the MENU button.
The menu opens (→ P.38).
4
Press the FF/+ or REW/– button
to open the locking screen.
5
Press the PLAY button.
The file locking setup process begins.
6
Press the FF/+ or REW/– button to
choose between ON and OFF.
ON : Locks the file and prevents it from being erased.
OFF: Unlocks the file and allows it to be erased.
7
Press the PLAY button to
complete the setup process.
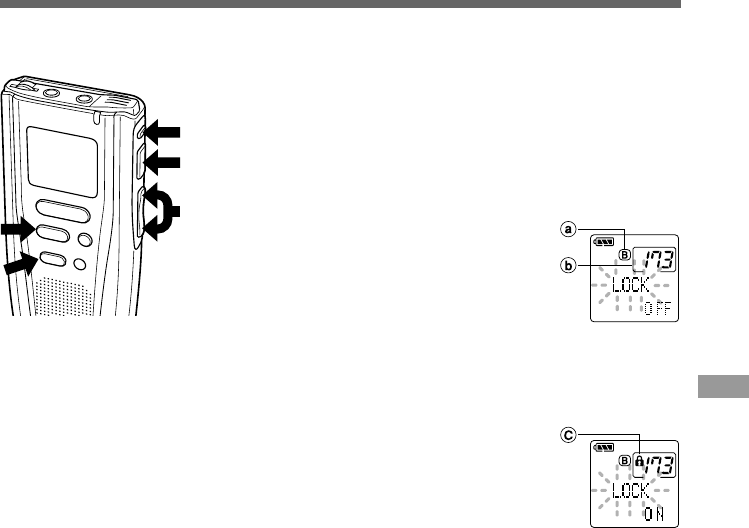
If you select ON, the lock mark appears on
the display.
8
Press the STOP button to close the
menu.
································································································
Notes
• You cannot insert additional recordings into locked files or set index
marks in locked files.
• Files stored on a SmartMedia card with a write-protect seal attached
to it cannot be locked.
• Locked files are erased when a SmartMedia card is formatted.
Locking a file keeps important data from being accidentally erased.
Locked files are not erased when you choose to erase all files from a folder (→ P.23).
M
E
N
U
INDEX
REC
STOP
E
R
A
S
E
8
2,4,6
5,7
1
3
aCurrent folder
bFile to be
locked
cLock mark


