17
1080p HD Digital Camcorder
www.insigniaproducts.com
3 Make sure that Simple Mode is off. See “Turning
Simple Mode off” on page 10.
4 Press or to highlight the Settings tab. The
Settings menu opens.
5 Press to highlight TV Format, then press SET
or . The TV Format screen opens.
6 Press or to highlight NTSC or PAL, then
press SET.
7 Press to close the menu.
Selecting the file format for movies
To select the file format for movies:
1 Press to enter Record mode. The
record/power indicator on the back of your
camcorder lights blue.
2 Press SET. The menu opens.
3 Make sure that Simple Mode is off. See “Turning
Simple Mode off” on page 10.
4 Press or to highlight the Settings tab. The
Settings menu opens.
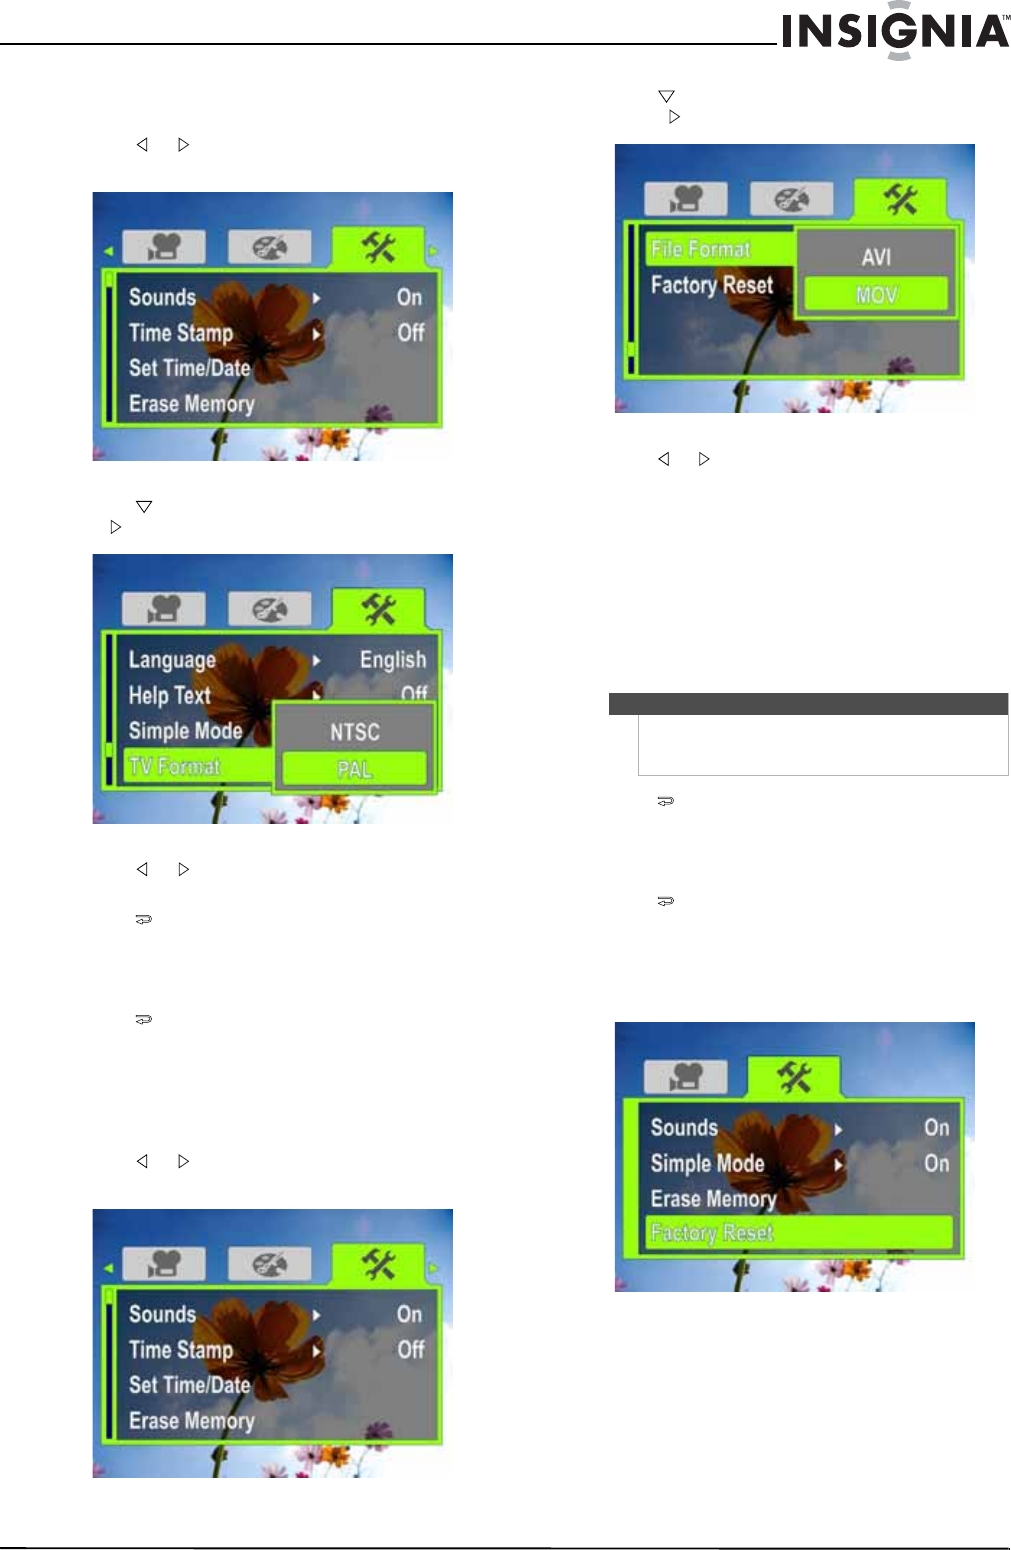
5 Press to highlight File Format, then press
SET or . The File Format screen opens.
6 Press or to highlight a file format then press
SET. You can select:
• AVI—Select this format if you are using a
Windows-based computer and/or intend to
use the included ArcSoft MediaImpression
software to view and edit movies.
• MOV—Select this format if you are using
QuickTime (not included) to view movies. This
setting is ideal for users of Mac computers.
Note: Movies cannot be edited in ArcSoft
MediaImpression if this format is selected.
7 Press to close the menu.
Resetting to factory defaults
To reset to factory defaults:
1 Press to enter Record mode. The
record/power indicator on the back of your
camcorder lights blue.
2 Press SET. The menu opens.
Simple Mode
Note
The file format cannot be changed after a recording
is created. You should select the file format before
you start recording.
