CUSTOMIZED PICTURE AND SOUND ADJUSTMENTS
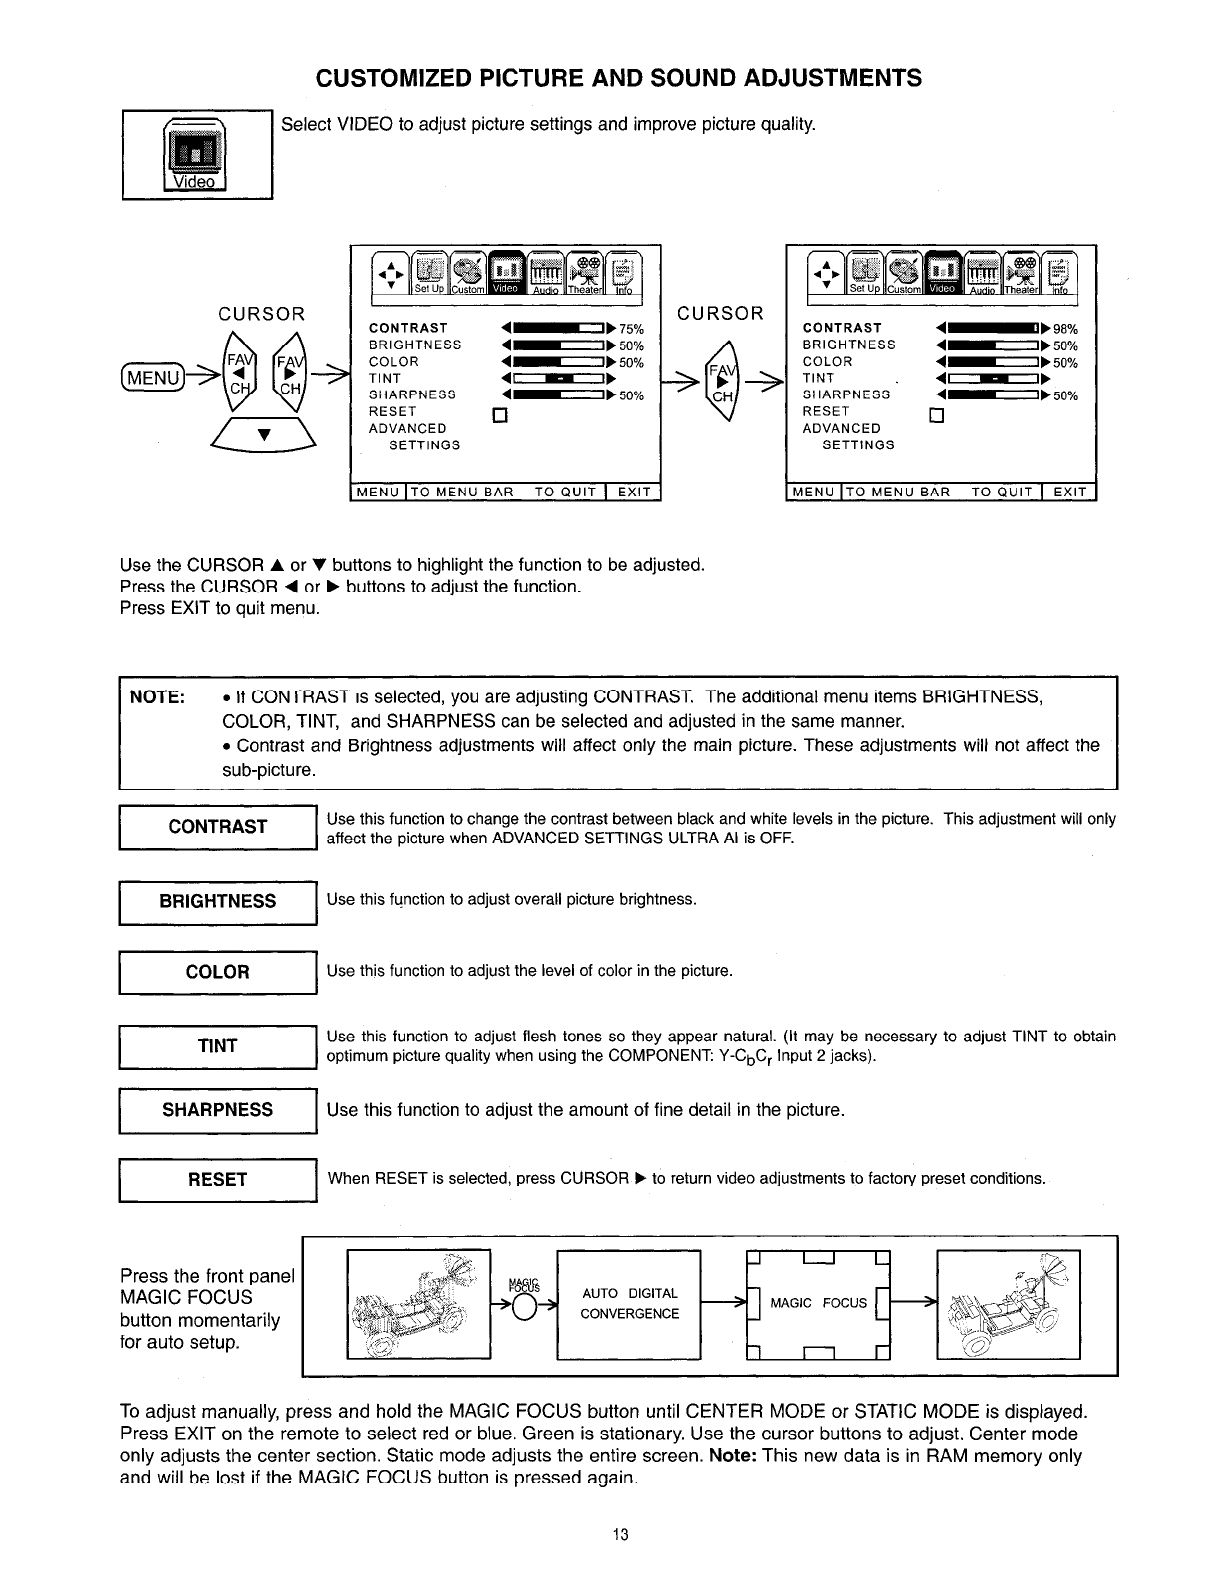
Select VIDEO to adjust picture settings and improve picture quality.
CURSOR
CONTRAST 4-I, 75%
BRIGHTNESS
4-I) 50%
COLOR 4I1,50%
TINT
4---I
SHARPNESS 4-I, 50%
RESET
Cl
ADVANCED
SETTINGS
CURSOR
MENU IT0 MENU BAR TO QUIT 1 EXIT
Use the CURSOR A or v buttons to highlight the function to be adjusted.
Press the CURSOR 4 or b buttons to adjust the function.
Press EXIT to quit menu.
CONTRAST
4-b 98%
BRIGHTNESS
4-I) 50%
COLOR 4-I) 50%
TINT
4---I
SHARPNESS
4-I,
50%
RESET
ADVANCED
0
I”““““’
NOTE: . If CONTRAST is selected, you are adjusting CONTRAST. The additional menu items BRIGHTNESS,
COLOR, TINT, and SHARPNESS can be selected and adjusted in the same manner.
l Contrast and Brightness adjustments will affect only the main picture. These adjustments will not affect the
sub-picture.
Use this function to change the contrast between black and white levels in the picture. This adjustment will only
affect the picture when ADVANCED SETTINGS ULTRA Al is OFF.
I
BRIGHTNESS
I
Use this function to adjust overall picture brightness.
I
COLOR
I
Use this function to adjust the level of color in the picture.
TINT
Use this function to adjust flesh tones so they appear natural. (It may be necessary to adjust TINT to obtain
optimum picture Quality when using the COMPONENT: Y-C&r Input 2 jacks).
1
.
Use this function to adjust the amount of fine detail in the picture.
When RESET is selected, press CURSOR b to return video adjustments to factory preset conditions.
MAGIC FOCUS
CONVERGENCE
Press the front panel
MAGIC FOCUS
button momentarily
for auto setup.
To adjust manually, press and hold the MAGIC FOCUS button until CENTER MODE or STATIC MODE is displayed.
Press EXIT on the remote to select red or blue. Green is stationary. Use the cursor buttons to adjust. Center mode
only adjusts the center section. Static mode adjusts the entire screen. Note: This new data is in RAM memory only
and will be lost if the MAGIC FOCUS button is pressed again.
13
