Chapter 8 Page 157
5. Tap the pick list below the HotSync icon and select Standard Modem.
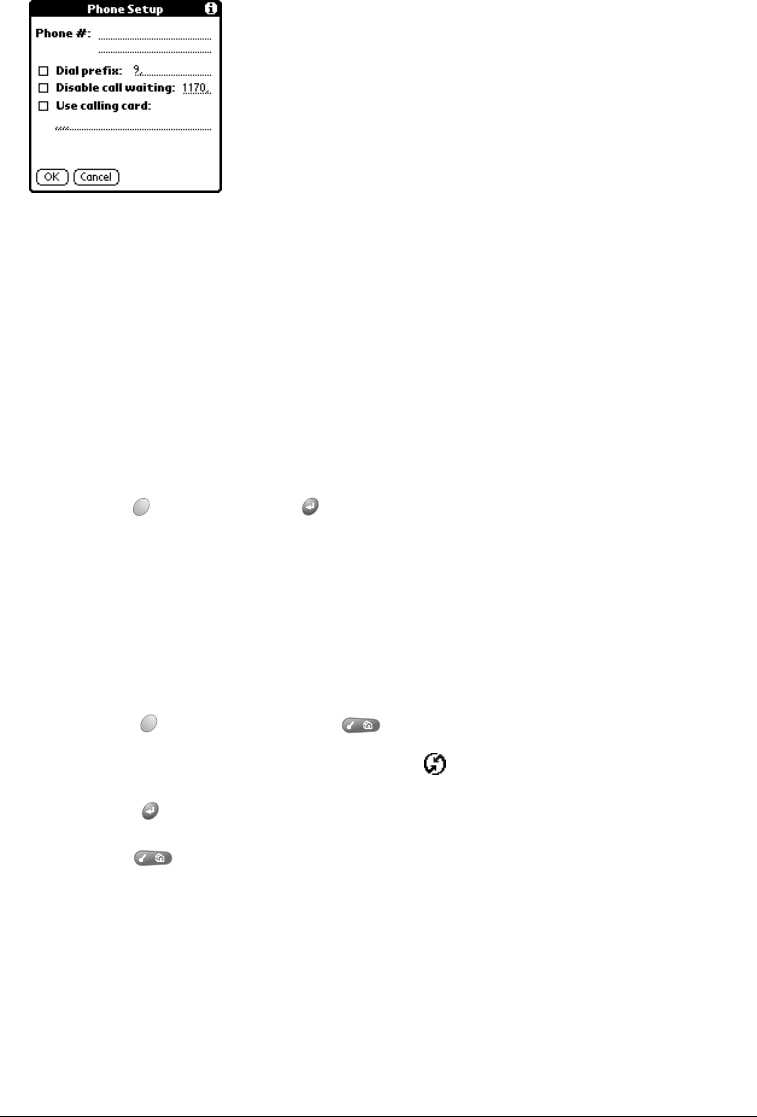
6. Tap the Enter Phone # field.
7. Enter the telephone number to access the modem connected to your computer.
8. If needed, enter a dial prefix (such as “9”) to access an outside line, and then tap the Dial
Prefix check box.
Tip: You can enter a comma in the field to introduce a “pause” in the dialing sequence.
Each comma equals a two second pause.
9. Select the Disable call waiting check box to avoid an interruption during the modem HotSync
operation.
10. If you want to use a calling card to place the call, select the check box and enter the calling
card number.
11. Hold Option and press Return to finish.
Selecting the conduits for a modem HotSync operation
The Conduit Setup dialog box on your handheld enables you to define which files and/or
applications synchronize during a modem HotSync operation. You can use these settings to
minimize the time required for modem synchronization.
To change the Conduit Setup for a modem HotSync operation:
1. Press Option and then press Menu to access the Applications Launcher.
2. Use the scroll buttons to select the HotSync icon .
3. Press Return to launch the application.
4. Press Menu .
5. Under Options, select Conduit Setup (/D).
6. Tap the check boxes to deselect the files and applications that you do not want to synchronize
during a modem HotSync operation. The default setting is to synchronize all files.


