141
Displaying the Status Screens
Displaying the Status Screens
You can use the status screens to check the camcorder’s various recording- and playback-related settings. You
can also output the status screens on an external monitor.
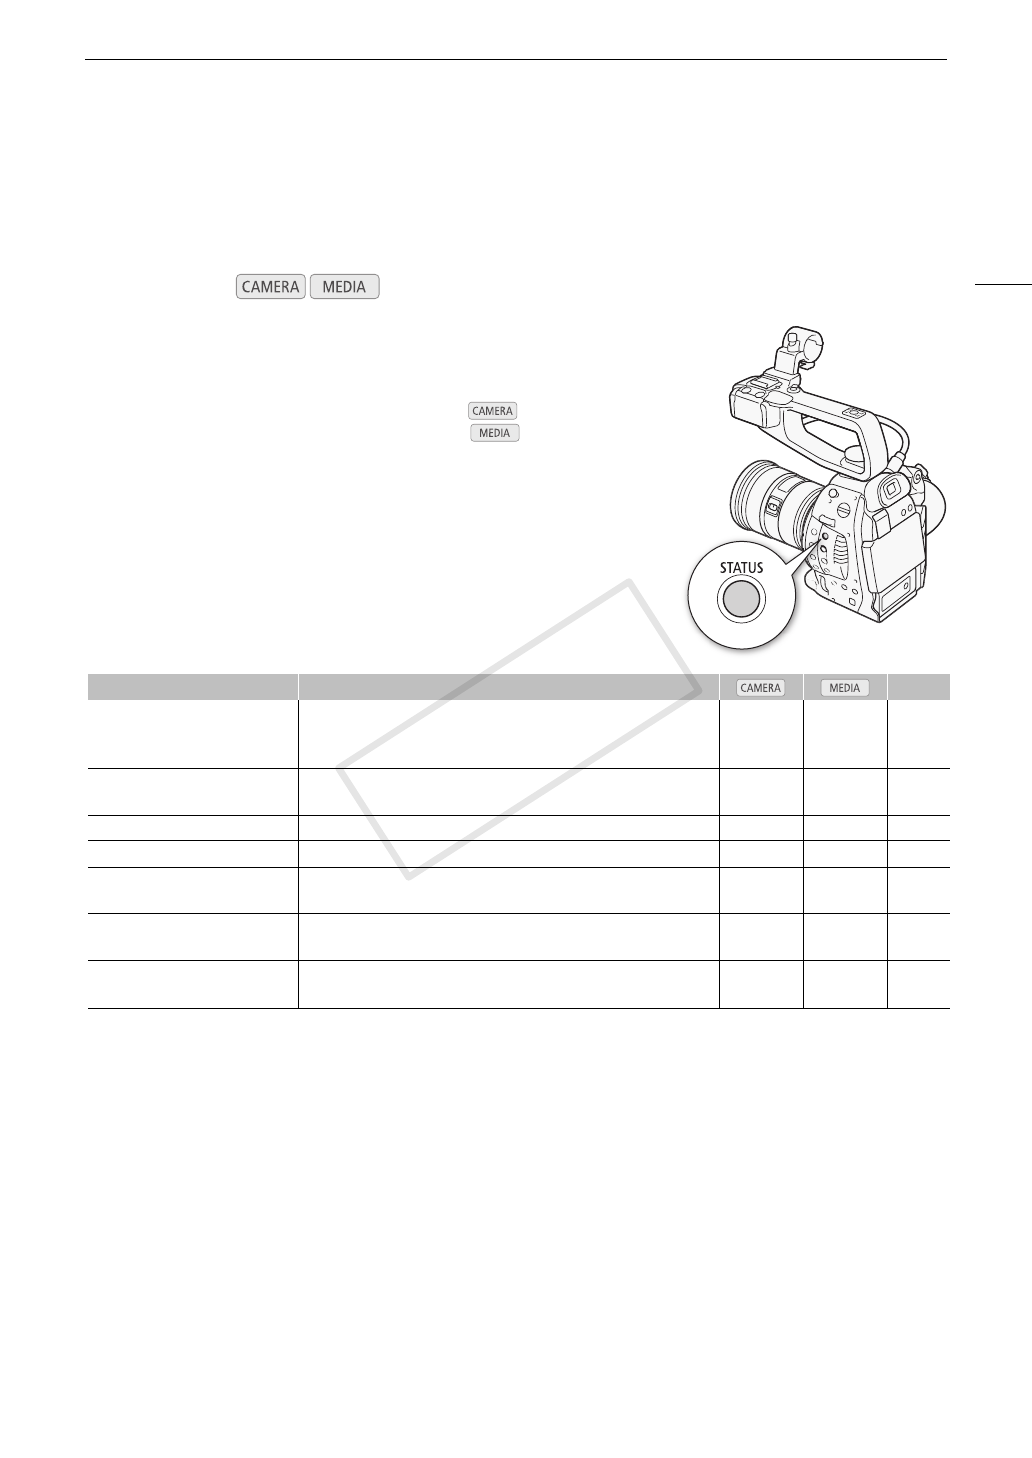
1 Press the STATUS button.
• The status screen most recently displayed will appear unless you
turned off the camcorder or changed the operating mode. In such
case, the [Camera] status screen appears in mode and the
[Assign Button 1/2] status screen appears in mode.
2 Push the joystick up/down to scroll through the status screens.
3 When you are finished, press the STATUS button again to exit the
status screens.
• Alternatively, you can press the MENU or CUSTOM PICTURE button.
Doing so will exit the status screen and open the respective menu.
,
1
Does not appear in the [Photos] index screen.
2
These screens appear only after a custom picture file has been selected.
Operating modes:
Status screen Description A
[Camera] Displays settings related to recording, such as ISO speed/gain, iris
and shutter speed increments, peripheral illumination correction and
attached lens model information.
Ü – 142
[Assign Button 1/2],
[Assign Button 2/2]
Allows you to verify the current function of each assignable button. Ü Ü 142
[Audio] Displays settings related to audio. Ü Ü
1
143
[Media] Displays information about the SD cards. Ü Ü 143
[Video] Displays the settings for the video terminals and whether the pre-
recording mode is in effect.
Ü Ü 144
[Battery/Hour Meter] Allows you to check the remaining battery time, battery life and how
long the camcorder has been in operation.
Ü Ü 144
[/ Data 1/3], [/ Data 2/3],
[/ Data 3/3]
2
Displays the settings for the custom picture file that is in effect. Ü –
145,
146


