


OSRAM SYLVANIA
131 Portsmouth Avenue
Exeter, NH 03833 USA
+ 800-258-8290
603-772-4331
+
,:
603-772-1072
www.sylvaniaheaters.com
OPERATING INSTRUCTIONS
06/01/2008
Replacement Procedures
I. Replacing the Heating Element
1. Turn heater/blower switches OFF, and disconnect from power source.
2. Use a flat screwdriver to remove (pry open) the wiring cover under the stainless nozzle
tube.
3. Remove the stainless nozzle by removing the two mounting screws, and the thru-bolt
which passes through the plastic support tower and threads into the nozzle flange.
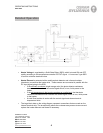
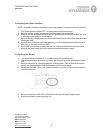
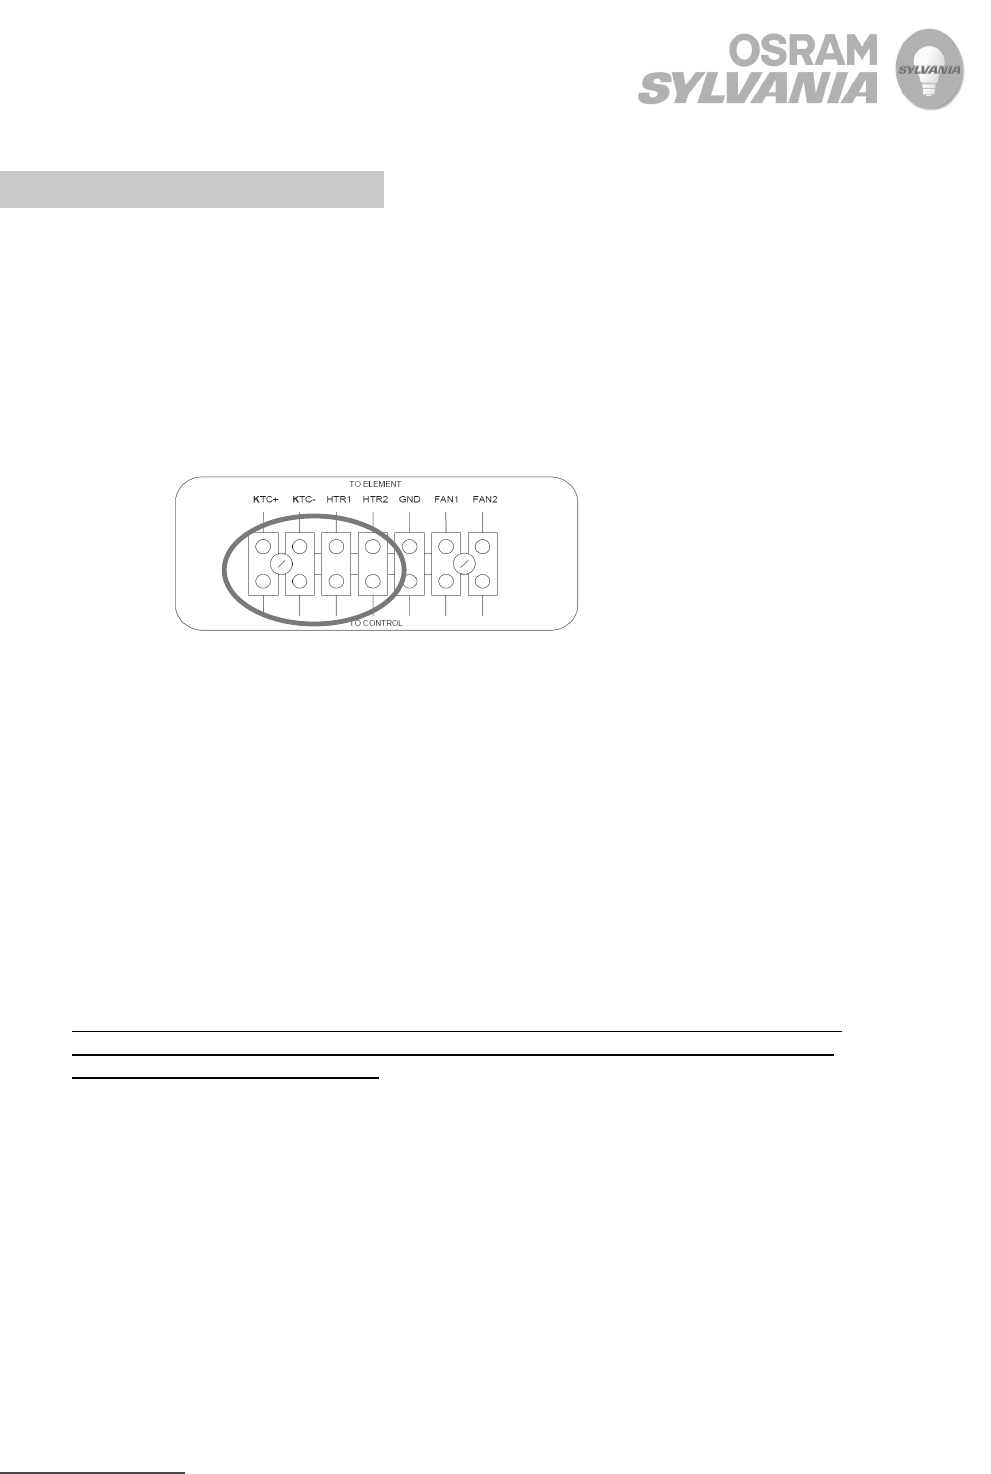
4. Disconnect the KTC+ (Yellow), KTC- (Red), HTR1, HTR2 connections from the wiring
terminal as shown. Total of four wires.
5. Remove the old element, pulling the KTC and HTR wires through the plastic support
tower.
6. Install new element by reversing steps 2-5.
II. Replacing the Temperature Controller
1. Turn heater/blower switches OFF, and disconnect from power source.
2. Remove the four screws which secure the black plastic top cover plate.
3. Remove the four screws which attach the aluminum base plate to the main heater plastic
structure.
4. With the top cover plate and the aluminum plate removed, you now have access to the
top and bottom mounting tabs on the temperature controller.
5. While lifting the top and bottom white plastic mounting tabs, gently push the temperature
controller halfway out of the faceplate.
6. Using masking tape or other method, mark each wire going to the back of the controller
with a number 1-9, corresponding to its terminal location. This is CRITICAL to ensure
proper wiring to the new controller.
7. Using a small screwdriver, loosen and remove the wires from the terminals at the rear of
the temperature controller.
8. Remove temperature controller completely from the faceplate.
9. Install new temperature controller halfway into faceplate.
10. Reconnect the wires according to the terminal number and ID marking from step #4.
11. Press controller into faceplate while engaging the white mounting tab securely.
12. Replace the black plastic top cover plate and reattach mounting screws.
6