


Parts List:
Description Qty.
Frame assembly with seat, 1
canopy, and wrist strap
Front Wheel 1
Parent Console 1
Under-seat Basket 1
Rear Wheels 2
Front Fender 1
#8 – 11.2" Phillips head screws 4
Tools Required: Phillips screw driver, adjustable wrench.
Stroller Assembly Instructions
Unfold Stroller: Remove from carton, and remove any packaging materials that
may be holding the frame in closed position. Grasp frame handle and open. Lock
both plastic latches, on sides, onto the lower frame, insert locking pin into hole in
latch and frame, lock the pin in place by slipping the wire loop over the end of
the lock pin, repeat for the other side. {see Figure 1.A}
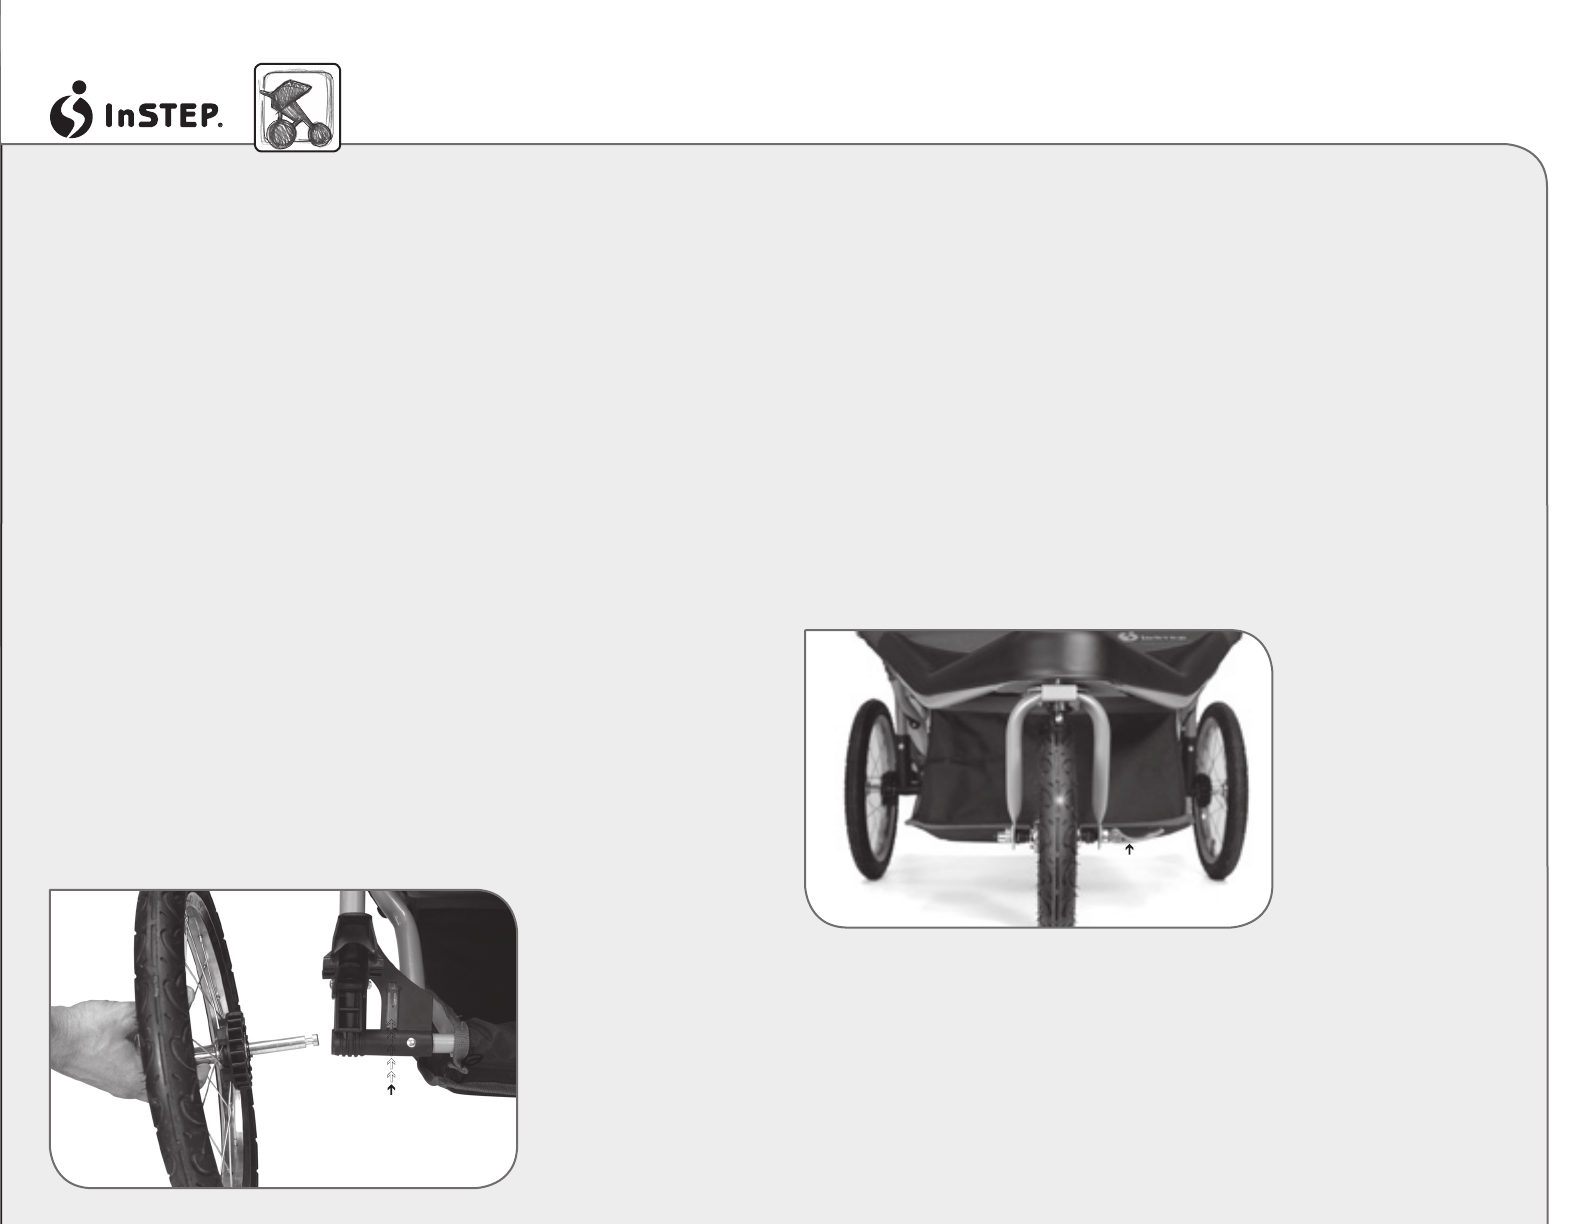
Rear Wheel Assembly
Grasp rear wheel in one hand, slide wheel’s axle into hole in rear of frame.
Push up on the axle release lever so that the wheel is fully inserted. Pull the
wheel fi rmly, the wheel should not come off if fully inserted/locked. Repeat for
other side. To release wheel push up on axle release lever and pull off wheel.
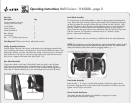
Front Wheel Assembly
Tip stroller back so that the handlebar is down on the ground and the front fork
is up. Attach the front wheel by loosening the wheel’s Quick Release (Q/R) lever
on the front wheel far enough to allow the axle to slide into the front fork. With
wheel’s Q/R lever in open position, hand tighten the cone nut until almost tight,
then fl ip wheel’s Q/R lever backward to the closed position to lock wheel in
place. Note this step may require minor adjustment until the Q/R lever fl ips back
with fi rm pressure. Pull outward on wheel to ensure it is locked in place.
(photo = open and closed lever)
Caution: The interior jam nuts are factory installed and do not need adjustment.
NOTE: This product has a swivel wheel that can rotate or be locked in place. To lock
or unlock the wheel use the switch placed on the top of the fork. The wheel should
always be locked in place when used as a jogging stroller. {Figure 1.a}
Front Fender Assembly
Insert the #8 – 1.5" screws into the holes located on the front support above
the wheel. Align the holes on the bottom side of the fender with the screws and
tighten with a Phillips screwdriver.
Parent Console Attachment
The parent console will attach to the handle by snapping it in place
on the handle and above the canopy.
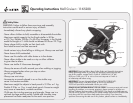
Operating Instructions Mall Cruiser
™
11-KS288...page 2
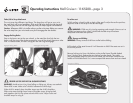
Front Wheel Assembly - {Figure 1.c}
axle release lever
Rear Wheel Assembly - {Figure 1.b}
quick-release
lever
(open position)