


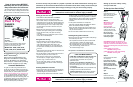


5
363-7-99
6 87
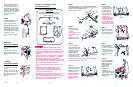
Toy Bag
(on certain models)
Toy bag snaps on end of
unit. Maximum weight 2 lbs
(0.9 kg).
DO NOT machine wash or dry
in a dryer. DO NOT dry clean.
Spot clean with a damp cloth
and a mild detergent. NO
BLEACH.
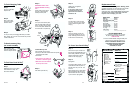
At first your Pack N Play may
be like a new pair of shoes.
You may need to break it in by
slightly stretching the netting
and fabric. If the center does not
stay down, place some weight
(several books) in the center of
the unit and let it stand
overnight.
Step 5.
Place the mattress into your
unit with padded side up.
Always use your unit with
mattress installed soft side up.
Slide the two
VELCRO
®
straps
through slots in bottom of Pack
N Play and fasten to VELCRO
®
on underside. This will prevent
mattress from moving.
Your Pack N Play is ready to
use.
Side Flap
(on certain models)
You can raise side flap if
desired.
Unfasten
VELCRO
®
straps at
bottom of flap. Roll flap up.
Fasten in place with snap loops
at top.
To Use Your Changing Table
(on certain models)
Parts List
CHECK that you have all parts listed below
BEFORE assembling your changing table.
No tools required.
Long tube (2)
Short tube (2)
Changing pad
Accessory bag
Changing
table
To protect your child from falls and other injuries:
Always stay within arms reach of your child when
using the changing table. Always use waist belt when
child is on the changing table. Never leave child
unattended.
The changing table is designed for use only with this
Graco Pack N Play. Do not attempt to use it with any
other product. Before each use, make sure the
changing table is properly secured to the Pack N Play
by pushing down firmly in the middle of the changing
table. The changing table should not fall.
Do not use the changing table as a sleeping or play
area.
Weight limit for the changing table is 25 pounds
(11 kg). Do not use the changing table as extra
storage. Always remove the changing table when
your child is in the Pack N Play.
The Pack N Play changing table can be used on the
floor without being attached to the Pack N Play.
Never place the changing table on a piece of furniture,
bed, counter or any raised surface from which the
changing table or your child could fall.
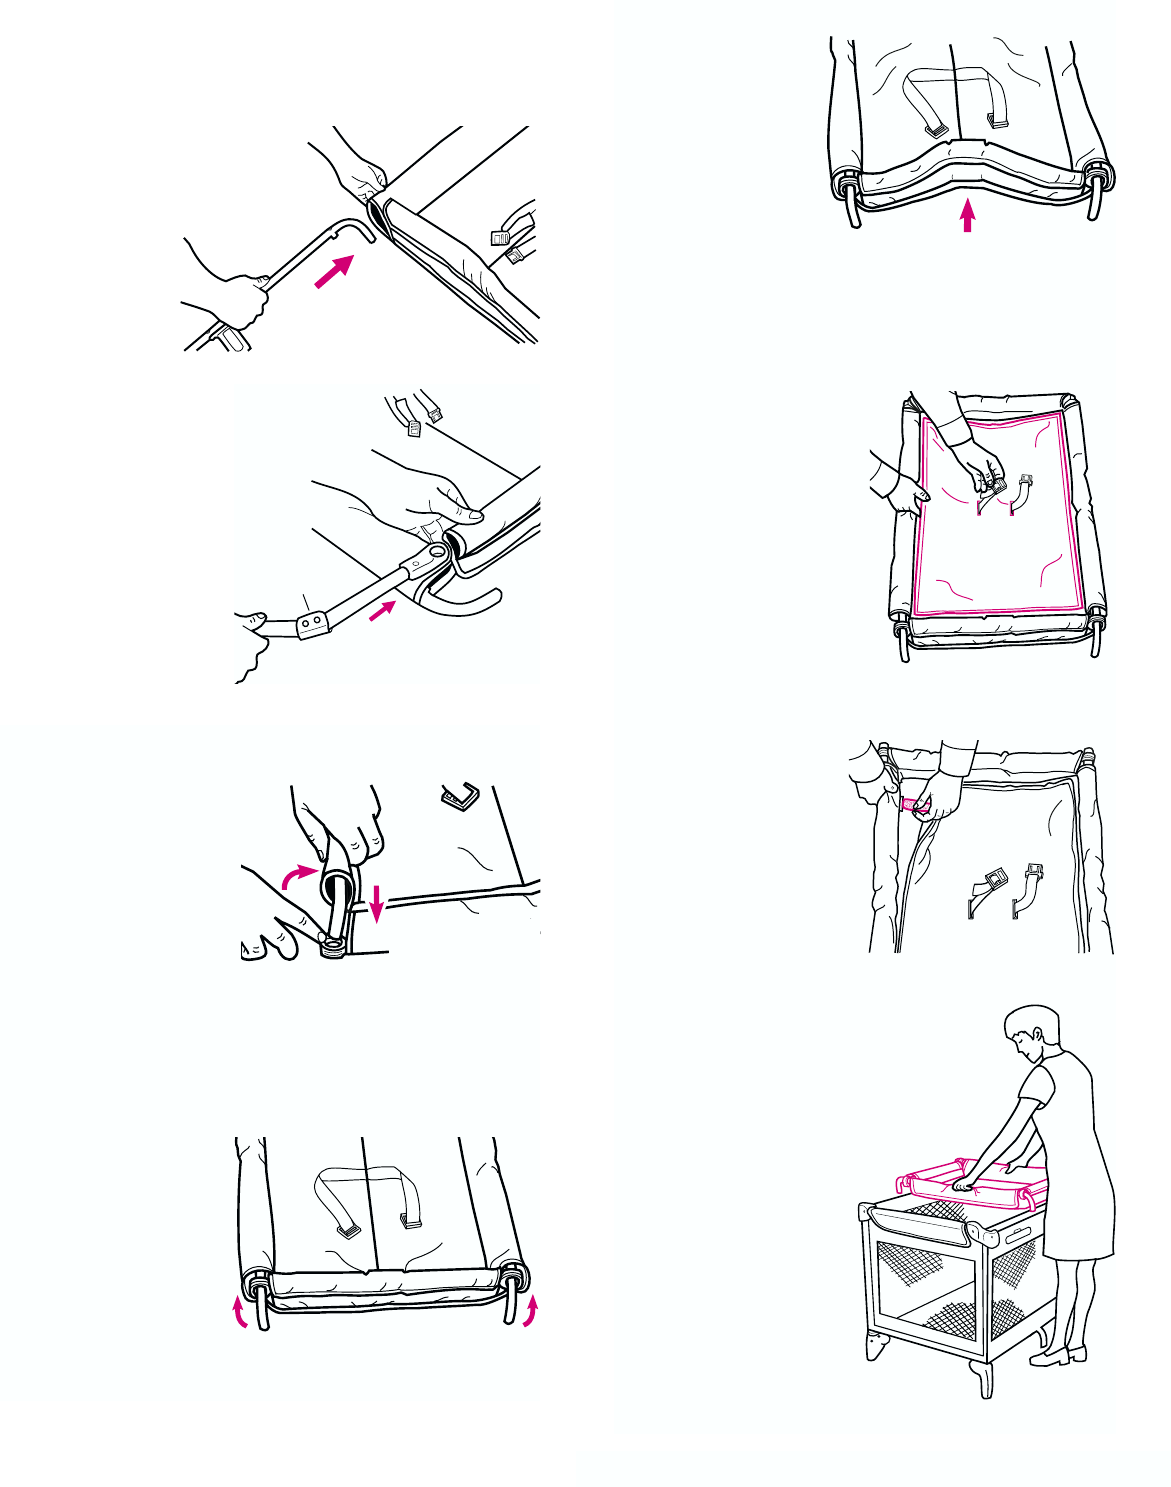
Step 1.
Lay changing table flat on floor with short side in front
of you and belt facing up. Gently slide one long tube into
opening on long side exactly as shown.
Repeat on other long side.
Step 2.
Slide one short tube
into opening on end
as shown.
Be sure folding side of
hinge faces pad as
shown.
DO NOT insert other
short tube at this time.
Fold side
of hinge
Long
side
Short side
Step 3.
Turn up long tube so
that its end points down.
Insert end of long tube
into opening on end of
short tube as shown.
DO NOT slide short
tube up around the bend
of long tube until you
have finished next step.
Make sure fabric does not get caught in opening when
inserting long tube into short tube.
Step 4.
Repeat step 3 on other
end of short tube, then
slide short tube ends
up onto long tubes.
TO AVOID TEARING
FABRIC, slide the
short end up before
proceeding with
step 5.
Step 5.
Now repeat steps
2, 3 and 4 on how to
install the short tube
on the other end of
the changing table.
If the short tubes
have been inserted
correctly, the
changing table should
be able to FOLD UP in
the center as shown.
If you cannot fold the
tubes up in the center,
review steps 2, 3, and 4.
Step 6.
Place pad in changing
table with vinyl side up.
Pull belt straps through
holes in center of pad.
Step 7.
Insert VELCRO
®
straps
into the four slots at
the corners of changing
table and attach to
VELCRO
®
on underside
of changing table. This
will prevent pad from
moving.
Step 8.
Place changing table on
Pack N Play as shown.
Make sure tubes are
placed securely over
the sides of the
Pack N Play
®
.
Check that the
changing table is
properly supported by the
Pack N Play
®
by pushing
firmly down into center of
changing table.
Short tube side
Slide ends up
Fold up