


1
ADULT INSTALLATION REQUIRED.
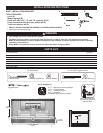
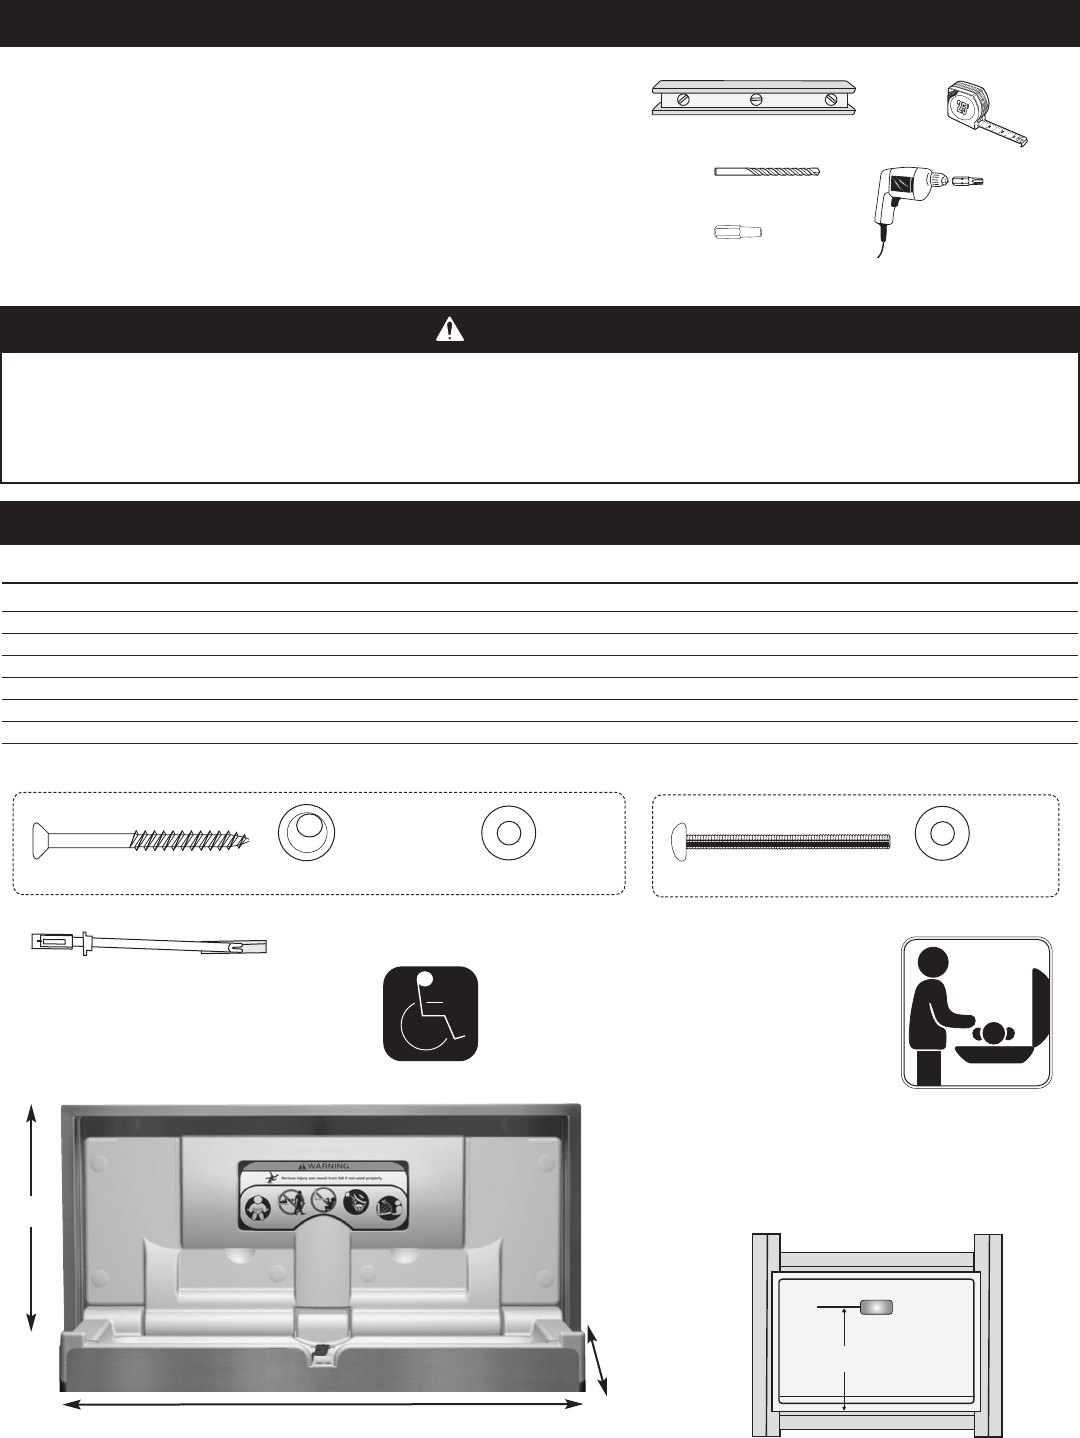
TOOLS REQUIRED:
Level (A)
Measuring tape (B)
P
ower drill with 3/16”, 1/2” and 1/8” masonry bit (C)
Power screwdriver with bull nose phillips bit (D)
Truss head spanner bit (E)
• READ ALL INSTRUCTIONS BEFORE ASSEMBLY OF DIAPER CHANGING STATION.
• Unpack carton and identify all parts.
INSTALLATION INSTRUCTIONS
A.D.A. Compliance:
4.4.1 Maximum Protruding Objects
4.2.5 Forward Reach
4.2.6 Parallel Approach
4.27.4 Operation
Compliant when properly installed.
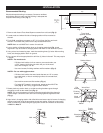
•
This changer has six (6) recess mounting holes.
•
The diaper changing station is no stronger than the anchors or walls to which they are attached and, therefore,
MUST be firmly secured in order to support the weight they are intended to support. Contact an architect or building
contractor if any questions.
•
A stud MUST be located and used for at least one side of the diaper changing station.
WARNING
21-3/8”
542 mm
17-3/16”
(436 mm)
34-3/4” (883 mm)
(Door)
Parts Description Quantity
Hardware for installation:
3” x 1/4” Wood Screws 4
3/4” Finishing Washers 4
3” x 1/4” Machine Screws 2
3/4” Flat Washers 4
Toggle Anchors 2
Door / Wall Plate 1
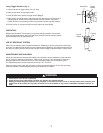
3” Wood Screws
PARTS LIST
3/4” Finishing Washers
3” Machine Screws
3/4” Flat Washers
Toggle Anchors
For Wood Studs:
3/4” Flat Washers
For Use With Toggle Anchors:
Door / wall plate to be
mounted on outside of
restroom door.
A
B
D
C
E
18"
(457 mm)