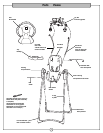
Assembly Montaje
6
2
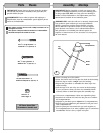
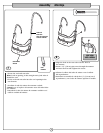
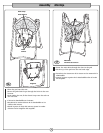
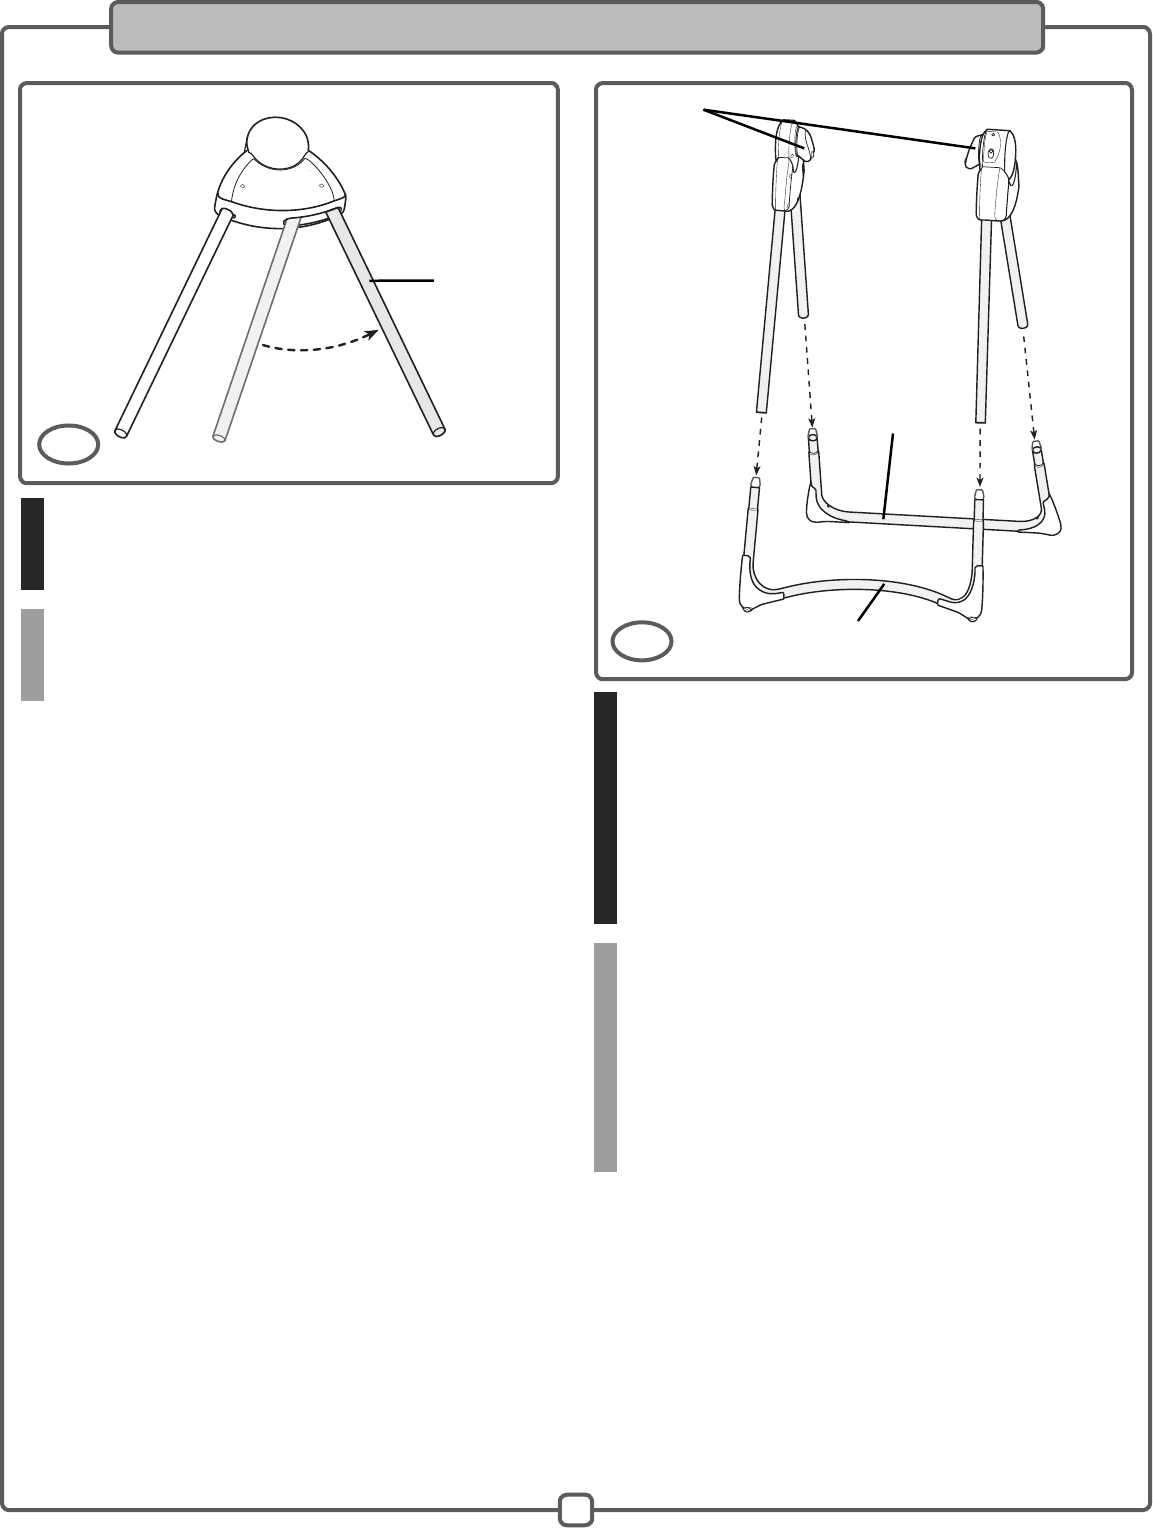
• Pull the other leg back until it “snaps” into place in
the housing.
• Repeat this procedure to “snap” the leg in the other
housing into place.
• Jalar la otra pata para atrás hasta que se ajuste en su
lugar en el compartimento.
• Repetir este procedimiento para ajustar la pata del otro
compartimento en su lugar.
Leg
Pata
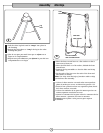
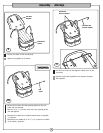
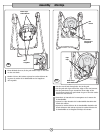
3
• Place the front curved base on a flat surface so that it
curves away from you.
• Place the back base on a flat surface, behind the front
curved base.
• Position the leg assemblies so that the hubs are facing
each other.
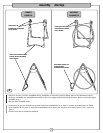
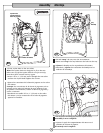
• Fit the ends of the legs over the ends of the front and
back bases, as shown.
Hint: You may need the help of another adult to help
you balance the assembly.
• Colocar la base anterior curveada sobre una superficie
plana de modo que curvee en dirección opuesta a Ud.
• Poner la base posterior sobre una superficie plana, detrás
de la base anterior curveada.
• Colocar las unidades de las patas de manera que las con-
exiones apunten unas hacia las otras.
• Ajustar los extremos de las patas sobre los extremos de las
bases anterior y posterior, tal como se muestra.
Consejo: pida ayuda a otra persona para sujetar
la unidad.
Front Curved Base
Base curveada anterior
Hubs
Conexiones
Back Base
Base posterior


