


2 Dreamer Design
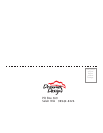
Rear Wheel Installation:
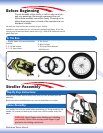
A. Remove 16” wheels from plastic bags.
B. Remove foam cover from wheel axle.
C. Place rear footbrake in upright position.
D. Push on the black cap in the center of the wheel, and insert it into the
rear stroller frame axle. Give the wheel a tug to make sure it is locked into
place.
To remove the rear wheels, make sure that the footbrake is in the upright
position. Push on the center of the black cap that says push and pull wheel
axle out of the stroller frame.
WARNING: Be sure to discard plastic bags and packaging
from the wheels, they are a suffocation hazard to
children. Check to make sure your wheels are locked
before each use.
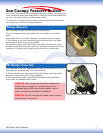
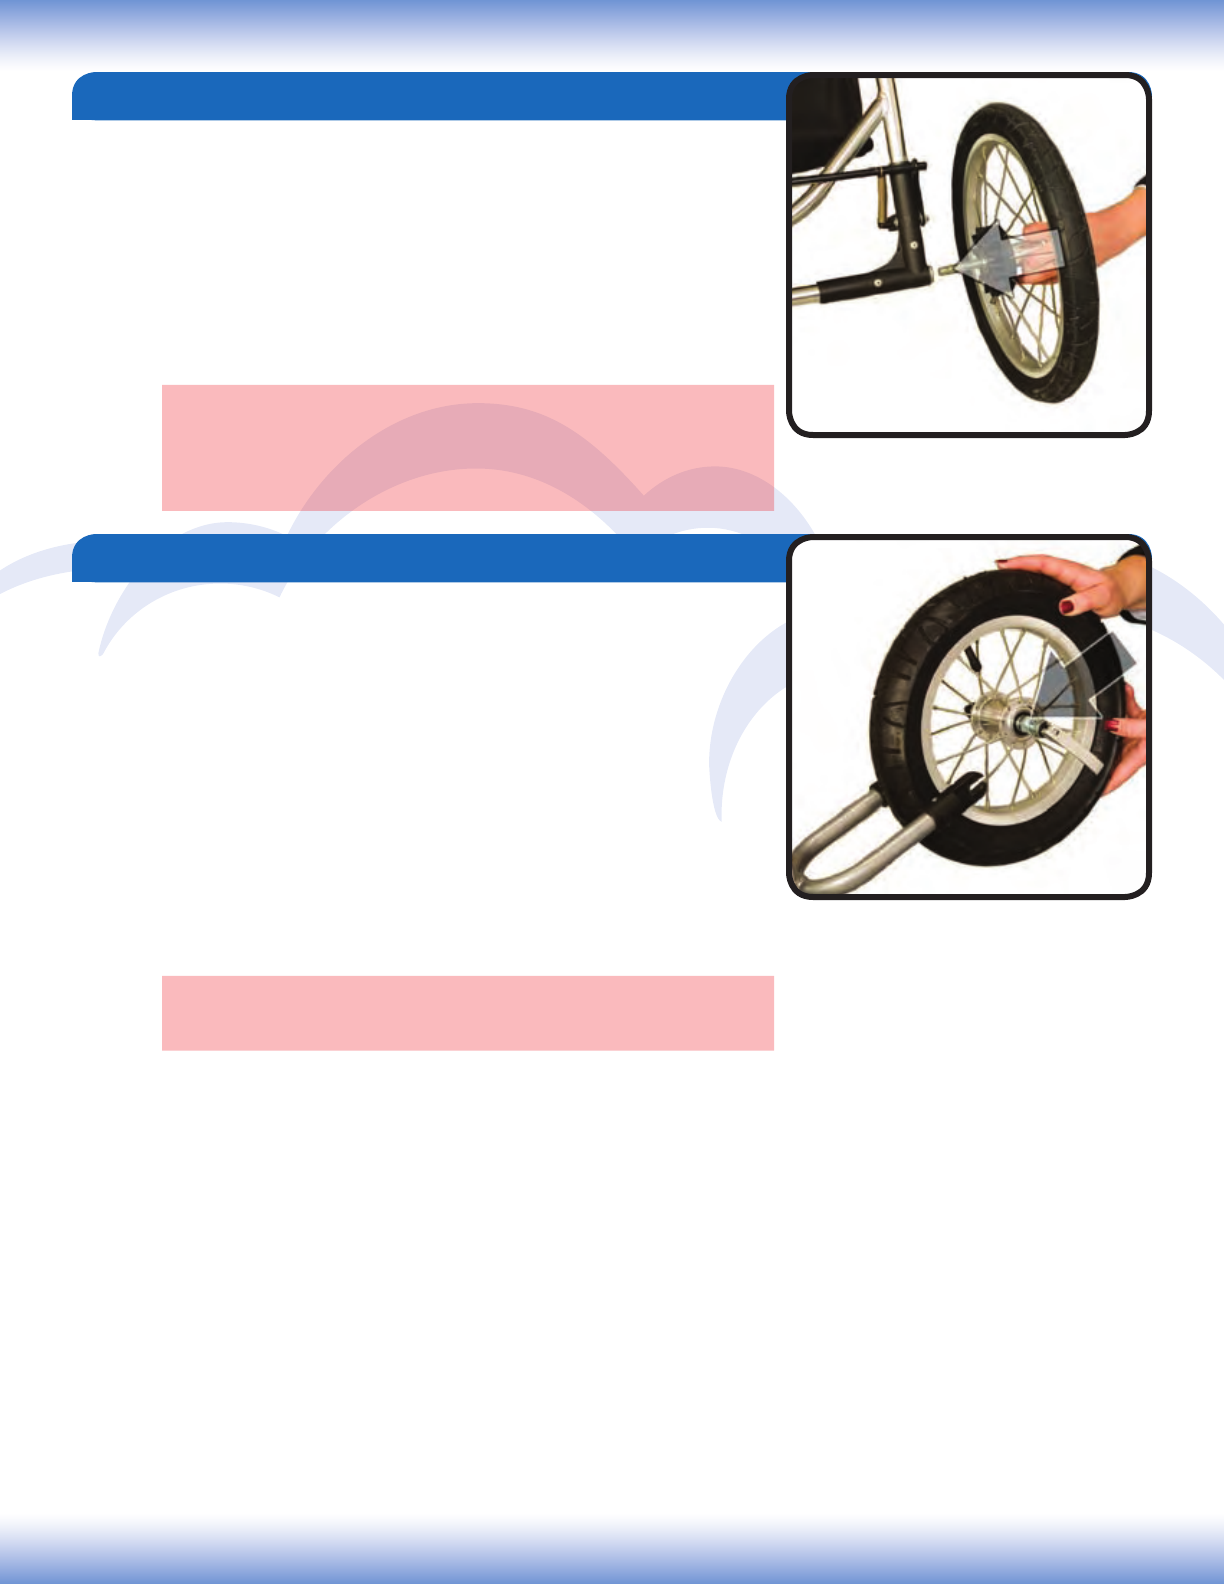
Front Wheel Installation:
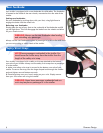
A. Tip the stroller back so it is resting on its handle and rear wheels to put
the front wheel on.
B. Remove 12” wheel from the plastic bag, remove the foam protector.
C. Find the flat sides of the round axle and slide all of the way to the back
of the fork tips on both sides.
D. The quick release lever should be straight out. While holding the lever,
tighten the thumbnut until it is snug. The axle should not move side to side.
E. Flip the quick release lever down so it is flush with the frame. Give the
wheel a tug to make sure it is secure.
To remove the front wheel, tip the stroller back so it is resting on the handle
and rear wheels.
Flip the quick release lever, loosen the thumbnut just enough to allow the
front wheel to be pulled from the fork tips. Do not loosen the the thumbnut
too much or the internal spring will pop out.
WARNING: Check to make sure the stroller wheels are
secure and locked before each use.
Now your stroller is ready to roll! Read on
to learn about the features that your new
Dreamer Design stroller has...