


1.0/0605Page 2 of 2
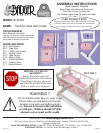
STEP 1: See PICTURE 1. Take ONE END PANEL (A) and attach the TWO SIDE RAILS (B) using FOUR BOLTS (C). The
grooves on all the panels face in, are on the bottom, and must be lined up with each other. The countersunk holes on the end panel,
and on all panels throughout, face out so the heads of the bolts will be flush with the surface of the panel after being screwed in.
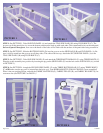
STEP 2: See PICTURE 2. Slide the BOTTOM PANEL (D) into the grooves on the SIDE RAILS (B) and END PANEL (A). Be
sure it is fully seated into the grooves on all three sides. The white side faces up. Attach the SECOND END PANEL (A) to the
TWO SIDE RAILS (B) using FOUR BOLTS (C).
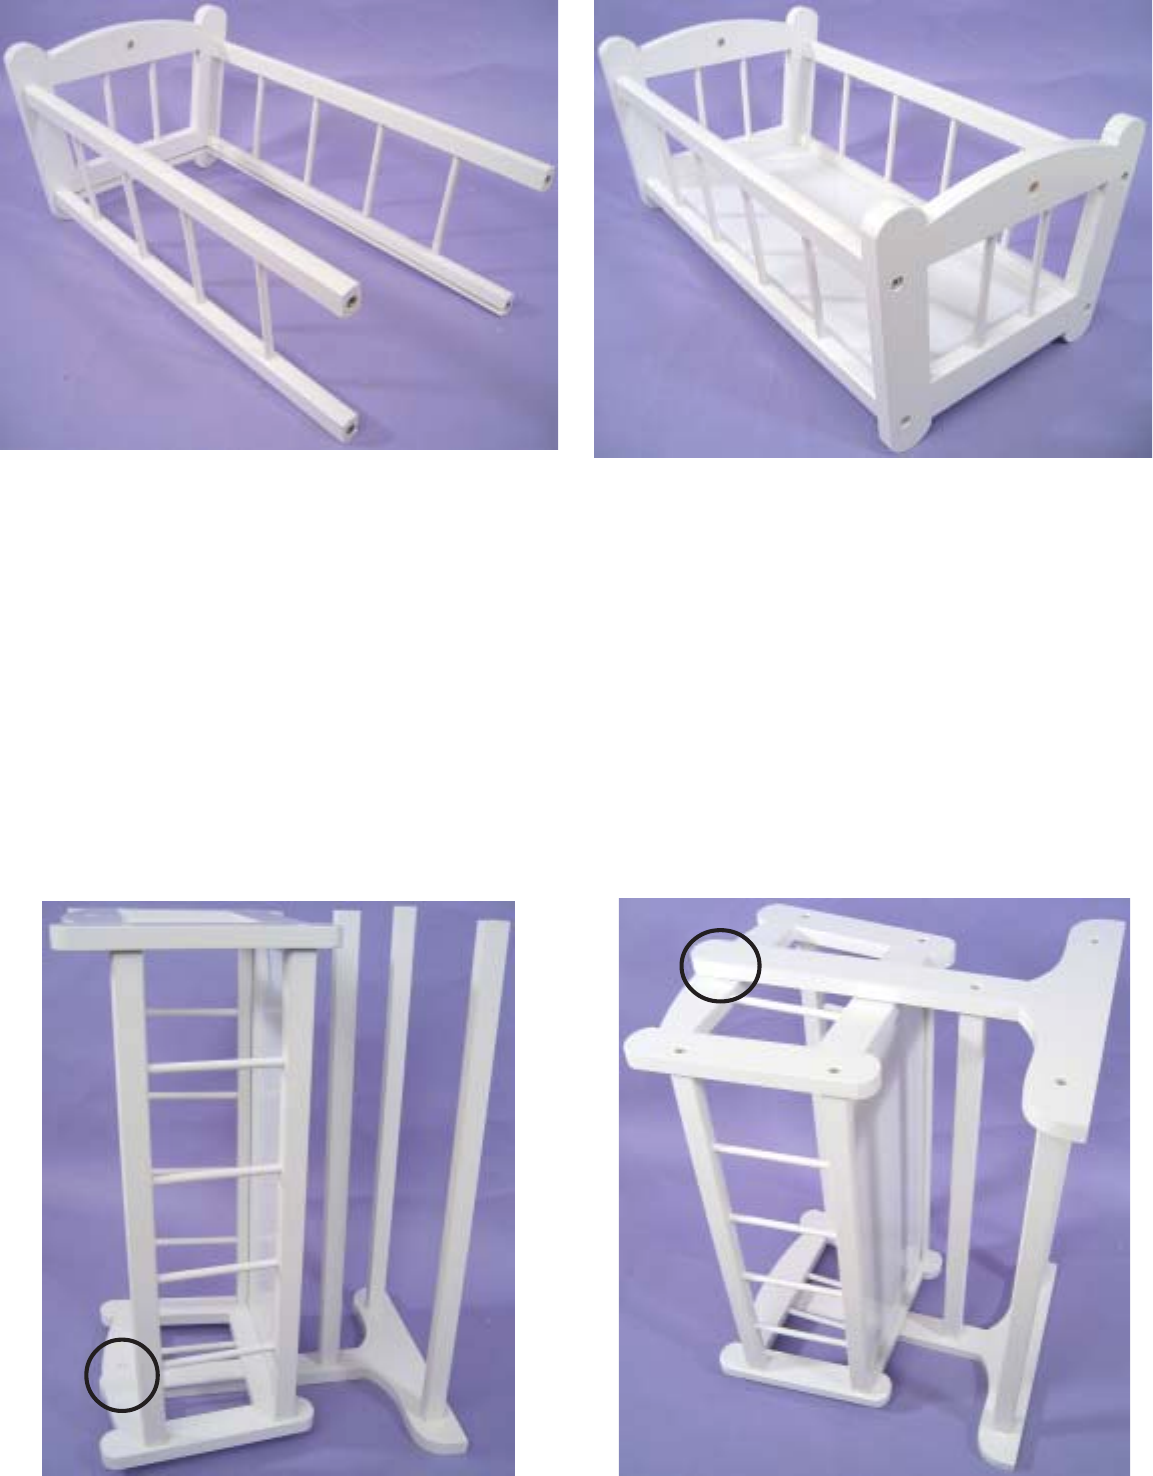
STEP 3: See PICTURE 3. Take ONE SIDE PANEL (E) and attach the THREE BOTTOM RAILS (F) using THREE BOLTS (C).
Place the cradle assembly into position by inserting the peg on the SIDE PANEL (E) into the hole on the END PANEL (A) (circled
in PICTURE 3).
STEP 4: See PICTURE 4. Attach the SECOND SIDE PANEL (E) to the THREE BOTTOM RAILS (F) using THREE BOLTS
(C) AND make sure the peg on E is inserted into the hole on A. Your HEIRLOOM STYLE DOLL CRADLE is now assembled!
Place it into an upright position, and add the FABRIC MATTRESS (G), FABRIC PILLOW (H), and FABRIC BLANKET (I) for
even more fun (see PICTURE 5 on PAGE 1)!
A
E
PICTURE 3
PICTURE 2
B
A
B
PICTURE 1
D
PICTURE 4
F
F
F
E
A
A