


1.0/0908/TG
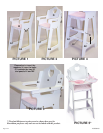
STEP 1 - PICTURE 1: Secure the SEAT PANEL (B), with the fabric side up, between the TWO SIDE
PANELS (A1, A2) using FOUR SHORT SCREWS (C).
STEP 2 - PICTURE 2: Secure the BACK PANEL (D) between the TWO SIDE PANELS (A1, A2) using
TWO SHORT SCREWS (C) in the TOP HOLES.
STEP 3 - PICTURE 3: Attach the TRAY (E) to the TWO SIDE PANELS (A1, A2) and BACK PANEL
(D) using TWO LONG BOLTS (F) and the TWO SPACER WASHERS (J). The spacer washers slip over
the bolts BETWEEN the TRAY and the SIDE PANEL so the tray can be lifted and lowered smoothly
without rubbing.
STEP 4 - PICTURES 4 & 5: Secure the FOOT REST RAIL (G) and BOTTOM RAIL (H) between the
TWO SIDE PANELS (A1, A2) using FOUR SHORT SCREWS (C). Your Doll High Chair is ready!
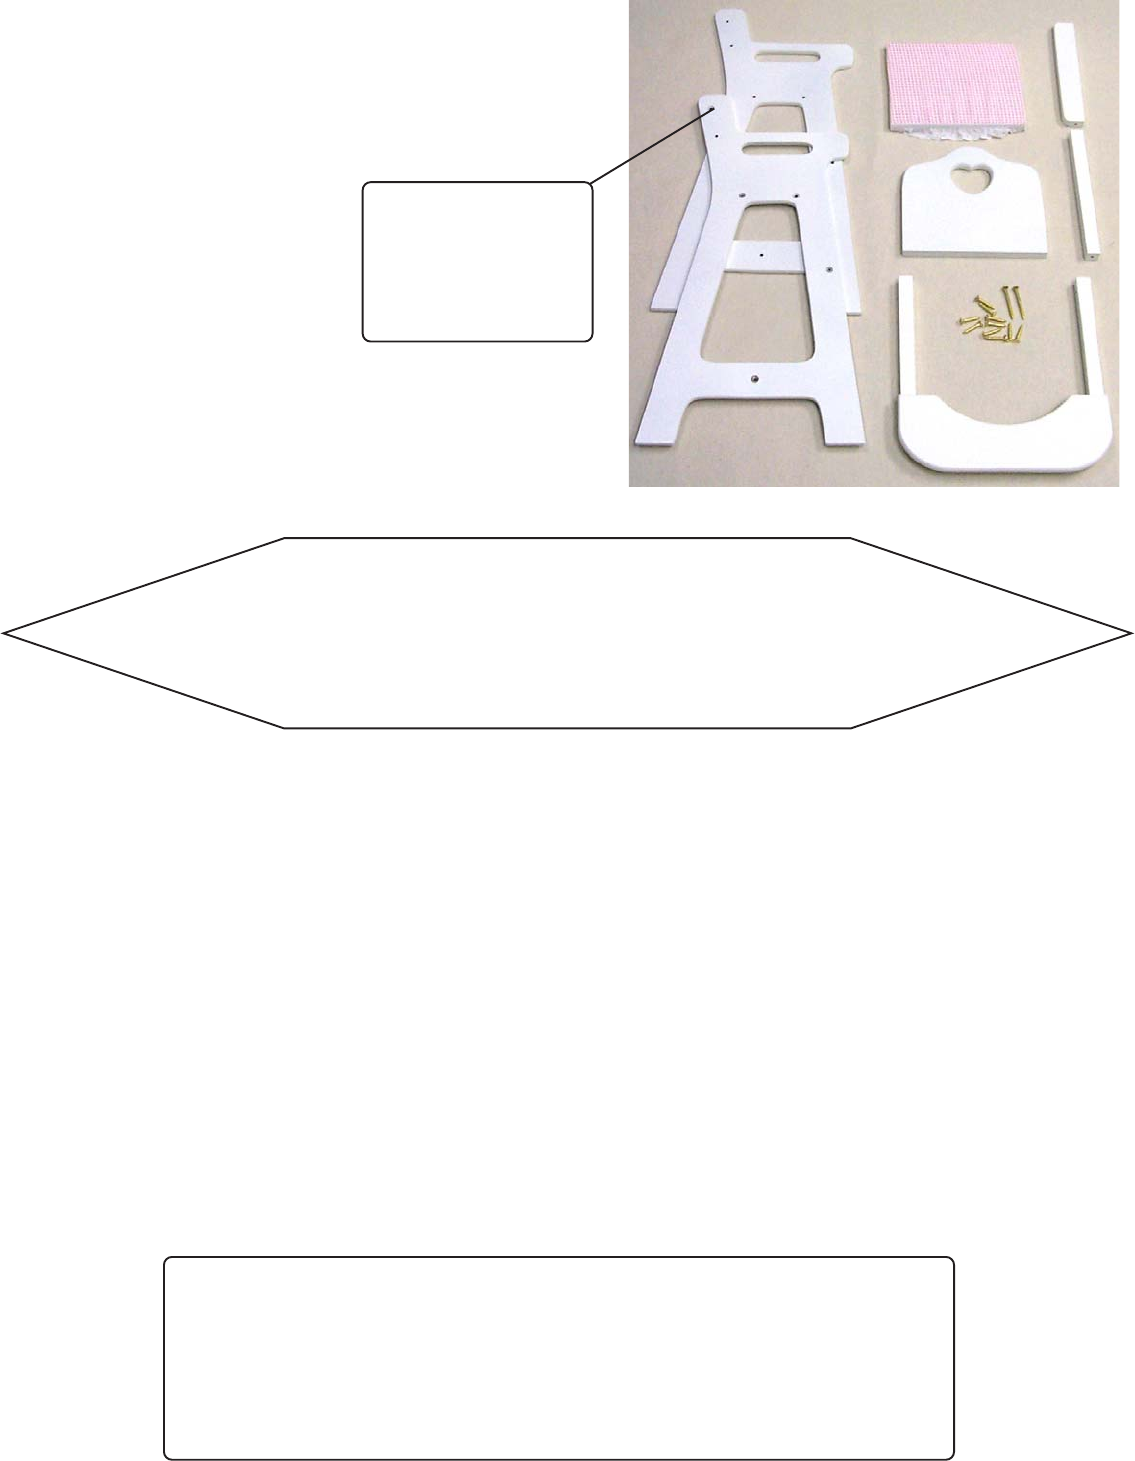
Ex1
A1x1*
Bx1
Cx10
Dx1
Fx2
Gx1
Hx1
A2x1*
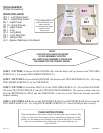
*The countersunk hole on
each End Panel faces out
when assembled.
So, this determines which
panel is left and
which is right.
TOOLS NEEDED:
Phillips Screwdriver
PARTS INCLUDED:
(A1) 1 - Left Side Panel*
(A2) 1 - Right Side Panel*
(B) 1 - Seat Panel
(C) 10 - Short Screws
(D) 1 - Back Panel
(E) 1 - Tray
(F) 2 - Long Bolts
(G) 1 - Foot Rest Rail
(H) 1 - Bottom Rail
(J) 2 - Spacer Washers (not shown)
NOTE:
A WHITE HIGH CHAIR IS SHOWN
IN THE ASSEMBLY PHOTOS.
ALL PARTS AND ASSEMBLY STEPS ARE
THE SAME FOR THE CHERRY MODEL.
Page 3 of 4
CARE INSTRUCTIONS:
Wipe the highchair clean with a damp cloth and mild soap as needed. The
fabric is poly/cotton. For longevity and to maintain the appearance of the
product, we recommend spot cleaning or hand wash and air dry as needed;
but you can machine wash cold, gentle cycle, and tumble dry on
low if desired.