


1.0/0407/TG
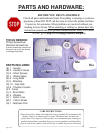
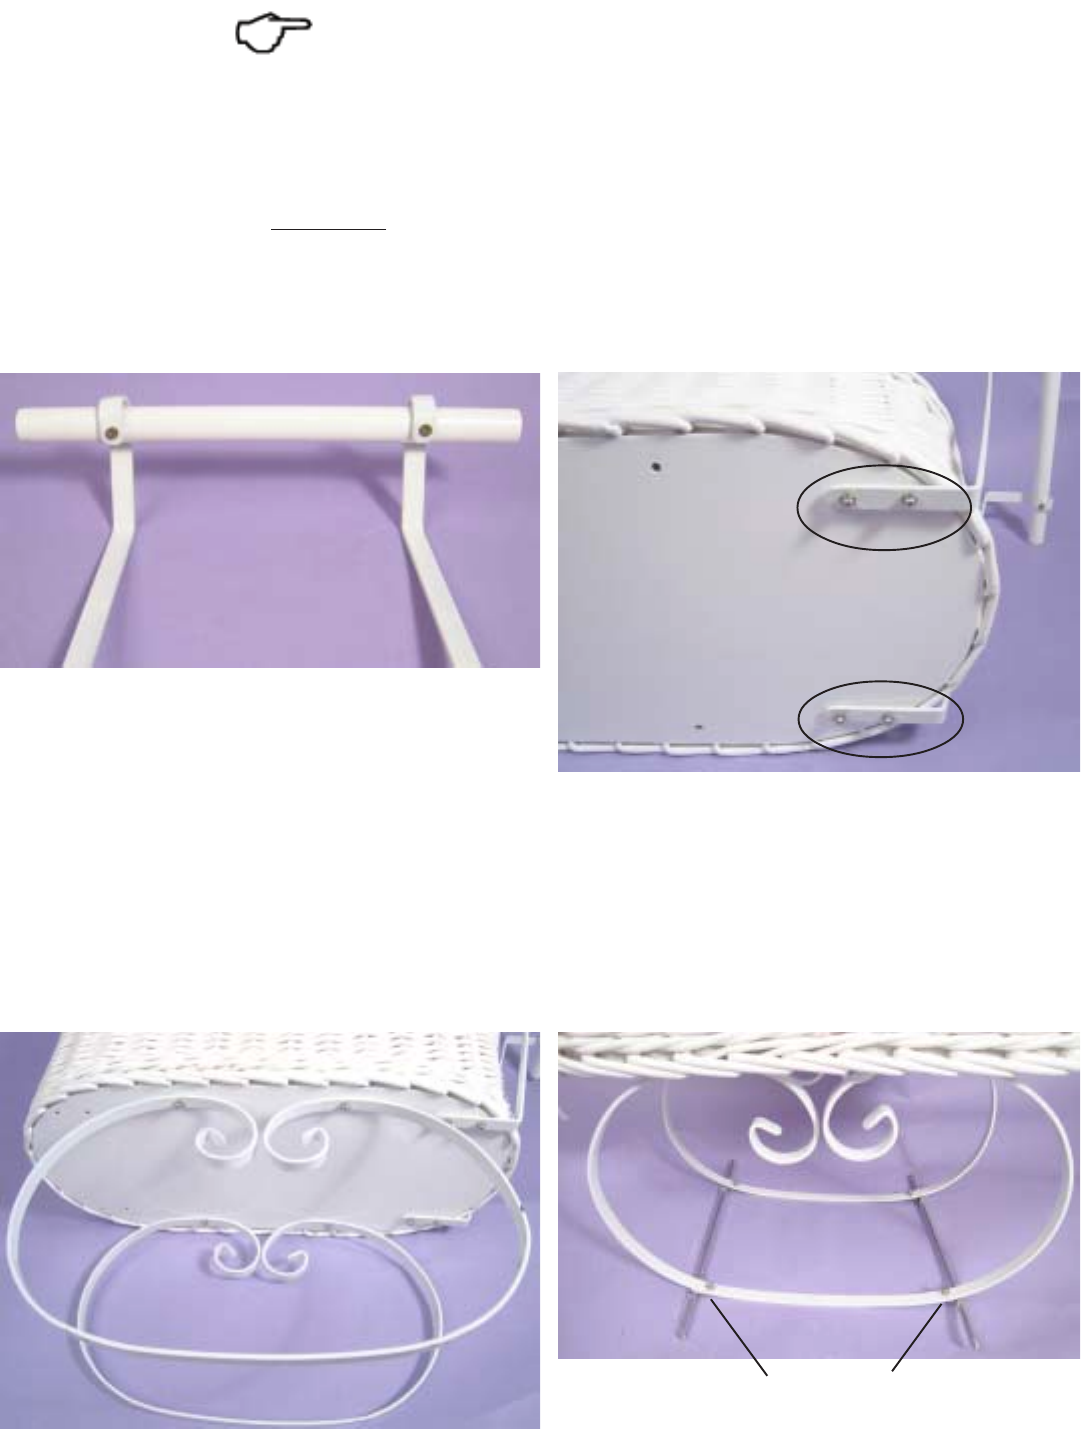
STEP 1 - PICTURE 1: Attach the HANDLE (A) to the HANDLE FRAMES (B) using TWO SHORT
SCREWS (C).
! - STEP 2 - PICTURE 2: Decide if you want the handle attached in front of the carriage or behind it (it can
be removed and reattached,
by an adult, in the other position at any time).
Attach the TWO HANDLE FRAMES (B) to the WICKER BODY (D) using FOUR LONG BOLTS (E), FOUR
WASHERS (F), and FOUR CAP NUTS (G). The bolts with washers go through the holes inside of the wicker
body, and then secure the parts together on the outside of the body using the cap nuts.
PICTURE 1
PICTURE 2
A
B
B
D
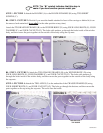
! - STEP 3 - PICTURE 3: Attach the TWO CHASSIS FRAMES (H) to the WICKER BODY (D) using
FOUR LONG BOLTS (E), FOUR WASHERS (F), and FOUR CAP NUTS (G). The bolts with washers go
through the holes inside of the wicker body, and then secure the parts together on the outside of the body using
the cap nuts.
STEP 4 - PICTURE 4: Attach the TWO AXLES (I) to the underside of the CHASSIS FRAMES (H) using
FOUR SHORT BOLTS (J), and FOUR CAP NUTS (G). The bolts go through the bottom, and then secure the
parts together on the top using the cap nuts. The axles face the inside.
H
H
D
PICTURE 3
PICTURE 4
I
I
Page 3 of 4
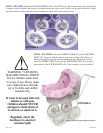
NOTE: The “!” symbol indicates that this step is
easier if you have another person assist you.
AXLES FACE
THE INSIDE