


MX49/MX61 Owner’s Manual
Quick Guide
28
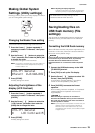
9 Press [ ] (Stop) to stop the MIDI data.
Playing back audio data of the
USB flash memory
1 Connect the USB flash memory in which the
audio data is stored.
NOTE Make sure that the desired audio data is stored in the
root directory (which is called up when you first open
the memory location) of the USB flash memory.
2 Press [EXT. SONG].
3 Press the Cursor [ ] button repeatedly if
necessary to call up the 1st page, then rotate
the [DATA] dial to select the desired audio
data.
4 Press the Cursor [ ] button repeatedly if
necessary to call up the 2nd page, then rotate
the [DATA] dial to adjust the volume for the
audio data.
5 Press [ / ] (Play/Pause).
The lamp of [ / ] (Play/Pause) flashes and the
selected audio data is played back.
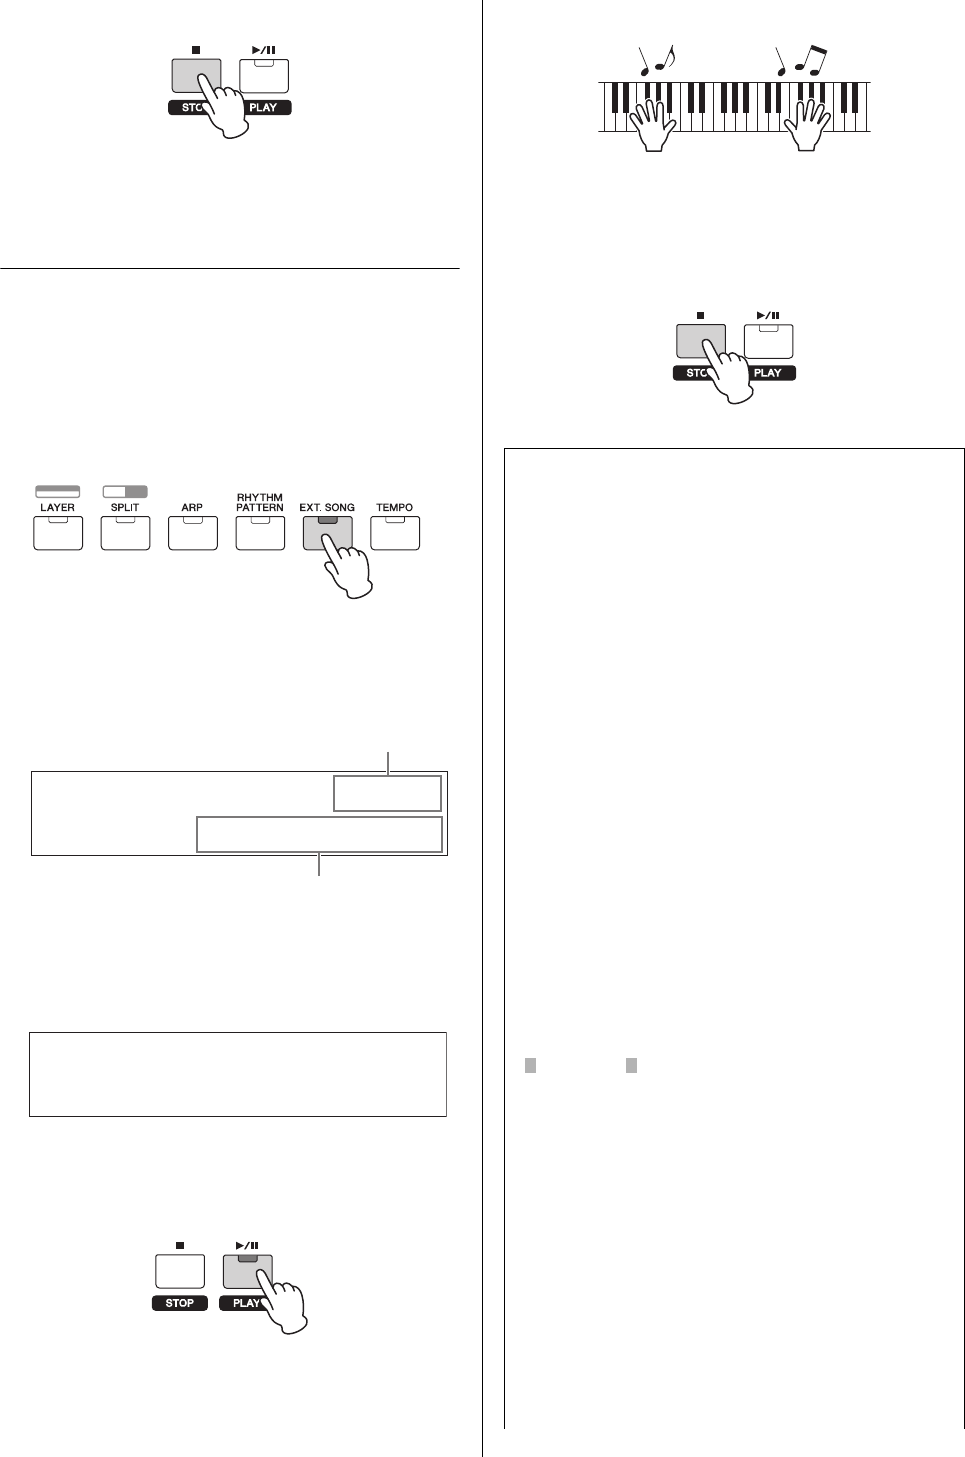
6 Play the keyboard along with the audio data.
7 To pause the audio data, press [ / ] (Play/
Pause). To resume playback, press [ / ]
(Play/Pause) again.
8 Press [ ] (Stop) to stop the audio data.
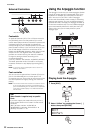
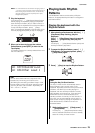
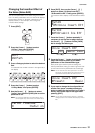
SONG***********00:00
**File=BACK_001.WAV
a
Current elapsed time of audio data (in minutes and seconds)
Name of the audio data
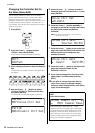
SONG**********
*****WAV*Volume=100
s
Precautions when using the USB [TO
DEVICE] terminal
This instrument features a built-in USB [TO DEVICE]
terminal. When connecting a USB flash memory to
the terminal, be sure to handle the USB flash
memory with care. Follow the important precautions
below.
NOTE For more information about the handling of USB flash
memories, refer to the owner’s manual of your
particular USB flash memory.
Compatible USB devices
Only USB memory devices of the flash-memory
variety can be used with the MX49/MX61.
Furthermore, the instrument does not necessarily
support all commercially available USB flash
memories, nor can Yamaha guarantee operation of
USB devices that you purchase. Before purchasing
a USB flash memory for use with this instrument,
please visit the following web page:
http://download.yamaha.com/
Connecting USB flash memories
When connecting a USB flash memory to the USB
[TO DEVICE] terminal, make sure that the connector
on the device is appropriate and that it is connected
in the proper direction.
NOTICE
•Avoid connecting or disconnecting the USB flash
memory during playback, file management (such as
Save, Copy, Delete and Format operations) or while
the instrument is accessing the USB flash memory in
any way. Failure to do so may result in “freezing” of
the operation of the instrument or corruption of the
USB flash memory and the data.
•When connecting then disconnecting the USB flash
memory (and vice versa), make sure to wait a few
seconds between the two operations.
NOTE • When connecting a USB cable, make sure that the
length is less than 3 meters.
• Though the instrument supports the USB 1.1
standard, you can connect and use a USB 2.0 flash
memory with the instrument. However, note that the
transfer speed is that of USB 1.1.