


MX49/MX61 Owner’s Manual
Setting Up
14
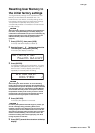
Auto Power Off function
To prevent unnecessary power consumption, this
instrument features an Auto Power Off function that
automatically turns the power off if the instrument is not
operated for a specified period of time. In the default
settings, the power will be turned off if this instrument is
not operated for 30 minutes.
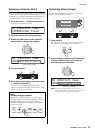
If you wish to disable the Auto Power Off function, turn the
power on while holding down the lowest key on the
keyboard. An “Auto power off disabled” message
appears briefly and Auto Power Off is disabled. The
setting is retained even if the power is turned off.
The amount of time that elapses before the power is
automatically turned off can be set by the following
operation.
[UTILITY] Æ Select “01:General” with Cursor [ ] button
Æ [ENTER] Æ Select “AutoOff” with Cursor [ ] button,
then change the value with [DATA] dial Æ [STORE]
NOTICE
•Depending on the instrument status (for example, the
settings have been modified but not yet stored), the power
may not turn off automatically, even after the elapse of the
specified period of time. Always turn off the power
manually when the instrument is not in use.
•When the instrument is not operated for a specified period
of time while connected to an external device such as an
amplifier, speaker or computer, make sure to follow the
instructions in the Owner’s Manual to turn off the power to
the instrument and the connected devices, in order to
protect the devices from damage. If you do not want the
power to turn off automatically when a device is
connected, disable Auto Power Off.
•When Auto Power Off is set to “off,” the value will be
retained even if the backup data saved on another device
is loaded to the instrument. When Auto Power Off is set to
something other than “off,” the value will be overwritten
with loaded data.
• Keep in mind that the amount of time that elapses before
the power automatically turns off is reset to 30 minutes if
you execute the Factory Set function (page 15).
NOTE • The setting time is approximate.
• To turn the power on after Auto Power Off has been exe-
cuted, press the Standby/On switch once to set it to
Standby, and then press it again to set to On.
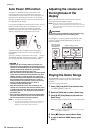
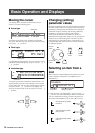
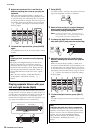
Adjusting the volume and
the brightness of the
display
Adjust the volume levels of this instrument and the
connected amplifier/speaker system.
NOTE When connecting to a set of powered speakers or PA
equipment, set the Master Volume to about 70%, then raise
the volume of the powered speakers or PA equipment to the
appropriate level.
CAUTION
Do not listen with the headphones at high volume for long
periods of time. Doing so may cause hearing loss.
If the display is not easily visible, while holding down
[UTILITY], press [INC/YES]/[DEC/NO] to adjust for
optimum visibility.
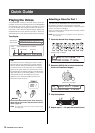
Playing the Demo Songs
The MX49/MX61 features a variety of Demo Songs,
showcasing its dynamic sound and sophisticated
functions.
Here’s how to play them back.
1
Press [FILE] and [UTILITY] at the same time.
The DEMO display is called up.
2
Rotate the [DATA] dial to select a Demo Song.
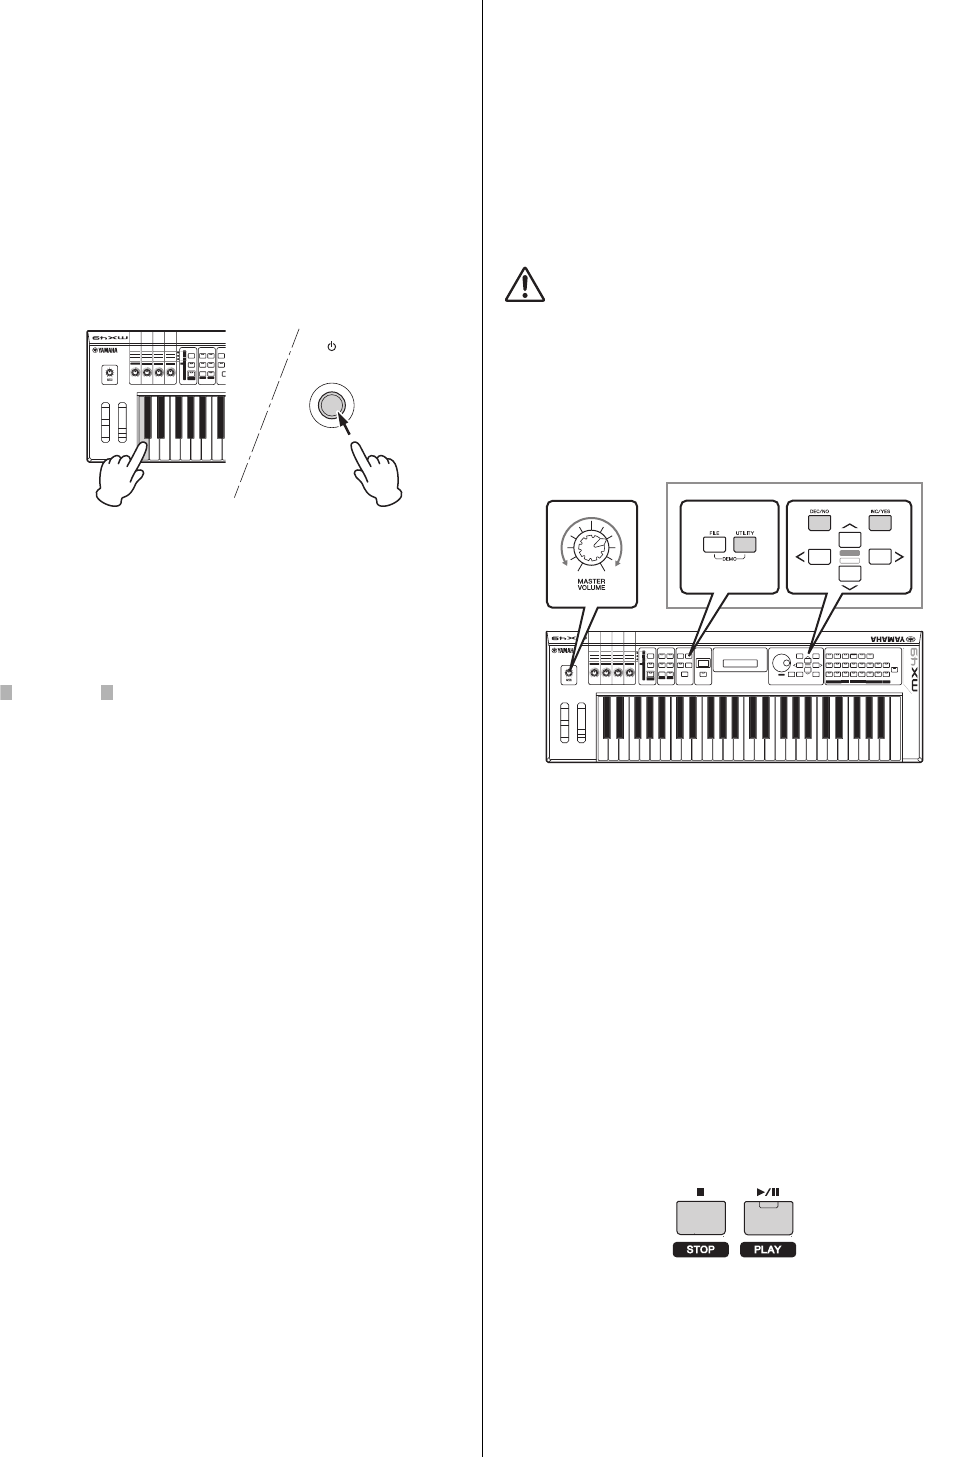
3 Press [F/ K] (Play/Pause) to play back the
Demo Song.
The Demo Song currently shown on the display starts.
NOTE To adjust the volume level of t he Demo Songs, use the
[MASTER VOLUME] Knob.
4 Press [J] (Stop) to stop the Demo Song.
5
In order to leave the DEMO display, press
[EXIT].
MX49/MX61
Adjust the volume
with the [MASTER
VOLUME] knob.
Adjust the display contrast.